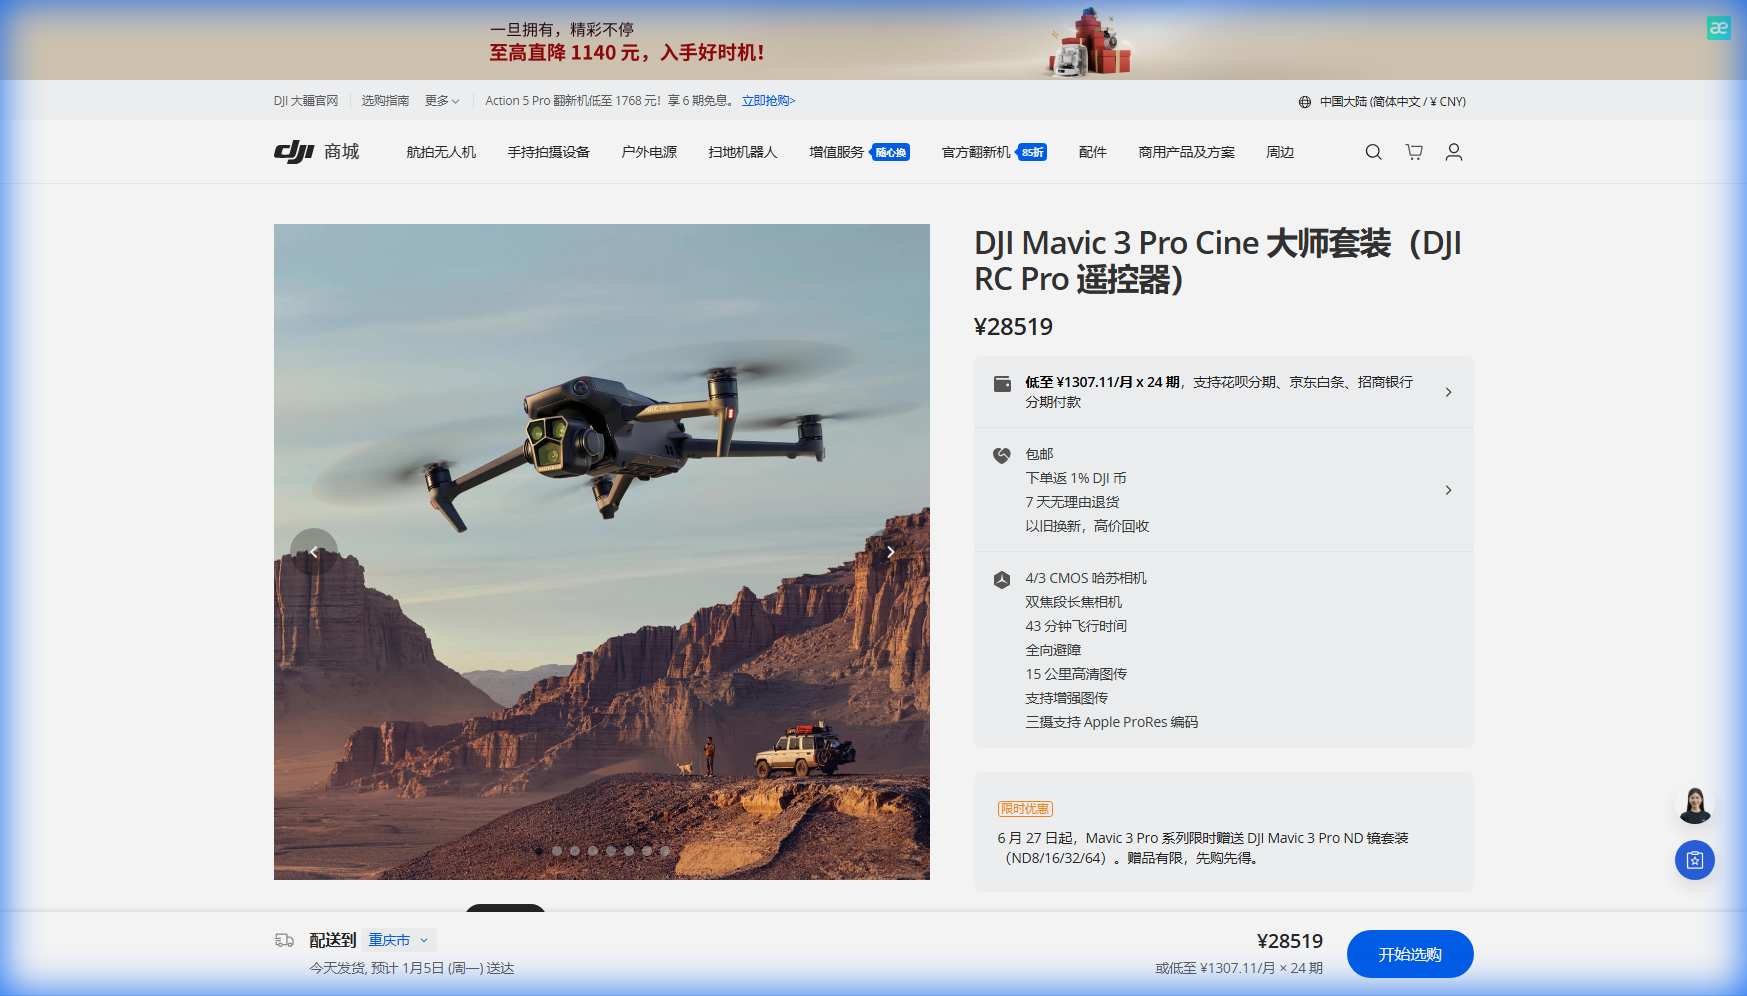
Mastering Coastal Drone Cinematography with the Mavic 3 Pro: Best Practices for Windy Conditions
Mastering Coastal Drone Cinematography with the Mavic 3 Pro: Best Practices for Windy Conditions
TL;DR
- The Mavic 3 Pro's 43-minute flight time and triple camera system make it the ideal tool for capturing stunning coastal footage, even when winds challenge lesser aircraft.
- Flying at 50-120 meters altitude provides the optimal balance between regulatory compliance, wind management, and cinematic composition for coastline shoots.
- Proper use of D-Log color profile and Hasselblad color science preserves maximum dynamic range in high-contrast beach environments.
- Pre-flight calibration, battery temperature management, and understanding wind patterns are essential for safe, professional coastal operations.
Salt spray hangs in the air. Gusts whip across the headland at 25 mph. The sun sits low on the horizon, painting the waves in gold and amber. This is the moment every aerial cinematographer lives for—and the exact scenario where preparation separates professionals from amateurs.
Coastal environments present some of the most rewarding yet demanding conditions for drone operations. The interplay of light, water, and terrain creates visual opportunities that simply don't exist elsewhere. But these same elements—combined with unpredictable wind patterns, salt corrosion risks, and complex airspace considerations—require operators to bring their absolute best.
The Mavic 3 Pro has become my go-to platform for these challenging shoots. Its combination of professional imaging capabilities and robust flight performance handles coastal conditions with remarkable confidence. Let me share the techniques and insights I've developed over hundreds of hours flying shorelines from the Pacific Northwest to the Mediterranean.
Understanding Coastal Wind Dynamics
Wind behavior along coastlines follows patterns that differ significantly from inland flying. Thermal effects create onshore breezes during daylight hours as land heats faster than water. These winds typically strengthen through midday and begin subsiding after 4:00 PM local time.
Cliff faces and headlands generate mechanical turbulence that can catch pilots off guard. Air flowing over elevated terrain creates rotors—circular wind patterns on the lee side that cause sudden altitude changes and control difficulties.
The Mavic 3 Pro's advanced flight controller compensates for these conditions automatically, but understanding the physics helps you position the aircraft strategically:
- Approach headlands from the windward side to avoid rotor zones
- Maintain higher altitudes when flying near cliff edges where updrafts are strongest
- Plan return routes that account for headwind versus tailwind flight times
- Monitor battery consumption more frequently, as wind resistance increases power draw by 15-30%
Expert Insight: I've found that the "golden window" for coastal flying occurs between 6:00-8:00 AM and 5:00-7:00 PM during summer months. Wind speeds typically drop to their daily minimum during these periods, coinciding perfectly with optimal lighting conditions. This isn't coincidence—it's thermodynamics working in your favor.
Optimal Flight Altitude: The Regulatory and Practical Balance
Altitude selection for coastal cinematography involves balancing multiple factors: regulatory limits, wind conditions, compositional requirements, and safety margins.
Most jurisdictions limit recreational and commercial drone operations to 400 feet (120 meters) AGL (above ground level). Coastal areas often include additional restrictions near airports, military installations, and wildlife preserves. Always verify current airspace designations using official sources before each flight.
From a practical standpoint, I've developed altitude guidelines based on specific shot requirements:
| Shot Type | Recommended Altitude | Rationale |
|---|---|---|
| Revealing coastline panoramas | 80-120 meters | Captures full scope of shoreline curvature |
| Wave pattern documentation | 30-50 meters | Shows texture and movement detail |
| Subject tracking (surfers, boats) | 15-30 meters | Maintains subject prominence in frame |
| Cliff face exploration | 40-70 meters | Provides safe obstacle clearance |
| Hyperlapse sequences | 60-100 meters | Ensures smooth motion over varied terrain |
Higher altitudes generally mean stronger, more consistent winds. The Mavic 3 Pro handles sustained winds up to Level 5 (approximately 24 mph) while maintaining stable footage. Flying at 50-80 meters often provides a sweet spot where wind is manageable but altitude remains sufficient for dramatic compositions.
Leveraging the Triple Camera System
The Mavic 3 Pro's three-camera array transforms coastal shooting possibilities. The primary 4/3 CMOS Hasselblad sensor captures extraordinary dynamic range—critical when exposing for bright sand, dark rocks, and reflective water surfaces simultaneously.
The 70mm medium telephoto lens compresses perspective beautifully for coastal scenes. Distant headlands appear closer, waves stack visually, and the relationship between foreground and background elements becomes more dramatic.
For wildlife documentation or detailed texture work, the 166mm equivalent telephoto reaches subjects that would otherwise require dangerously close approaches.
Camera Settings for Coastal Conditions
Bright coastal environments demand specific exposure strategies:
- Set ISO to 100 whenever possible to minimize noise
- Use ND filters (ND16 or ND32) to maintain cinematic shutter speeds
- Enable D-Log color profile for maximum post-production flexibility
- Shoot at 5.1K or 4K/60fps to allow for speed ramping in edit
The Hasselblad color science handles skin tones and natural colors with remarkable accuracy. When filming subjects against ocean backgrounds, the system preserves subtle gradations in blue and green tones that lesser cameras clip or oversaturate.
ActiveTrack and Subject Tracking in Dynamic Environments
Coastal shoots frequently involve moving subjects: surfers catching waves, boats navigating channels, wildlife traversing beaches. The Mavic 3 Pro's ActiveTrack 5.0 system maintains lock on subjects even against visually complex backgrounds.
Spotlight mode proves particularly valuable when you need manual flight control while keeping the camera trained on a specific point. I use this extensively for orbiting lighthouse structures or maintaining focus on a particular rock formation while executing complex flight paths.
For repeatable shots—essential for commercial work—Waypoint flying allows you to program exact flight paths and camera movements. Once you've captured the perfect approach to a coastal landmark, you can replicate it precisely across different times of day or weather conditions.
Subject Tracking Best Practices
- Lock tracking before subjects enter complex backgrounds (breaking waves, rocky shorelines)
- Use medium telephoto lens for tracking to maintain safe following distance
- Set obstacle avoidance to "Bypass" rather than "Brake" for smoother tracking shots
- Pre-plan escape routes in case tracking fails near obstacles
Pro Tip: When tracking surfers or kayakers, position yourself downwind and to the side of their expected path. This orientation keeps spray away from the aircraft while providing dynamic angles as subjects move through the frame. The Mavic 3 Pro's obstacle avoidance system provides backup protection, but smart positioning prevents you from ever needing it.
QuickShots and Hyperlapse for Efficient Coastal Content
Time constraints often limit coastal shoots. Tides wait for no one, and that perfect light window closes quickly. The Mavic 3 Pro's automated flight modes accelerate content capture without sacrificing quality.
QuickShots deliver professional-looking sequences with minimal setup:
- Dronie: Classic pull-back reveal, excellent for establishing coastal location
- Helix: Ascending spiral creates dramatic reveals of headlands and bays
- Rocket: Vertical ascent emphasizes scale of cliffs and rock formations
- Boomerang: Curved approach works beautifully for isolated sea stacks
Hyperlapse modes transform coastal dynamics into compressed time sequences. Cloud shadows racing across beaches, tide changes, and shifting light all become visible in ways impossible to perceive in real-time.
For coastal Hyperlapse work, I recommend:
- Free mode for complex, custom flight paths
- Circle mode around prominent features like lighthouses or rock formations
- Waypoint mode for repeatable sequences across multiple sessions
- Minimum 3-second intervals to ensure smooth motion
- 200+ photos for sequences longer than 10 seconds at 24fps
Common Pitfalls and How to Avoid Them
Even experienced pilots encounter challenges in coastal environments. These mistakes consistently cause problems:
Environmental Awareness Failures
Salt exposure degrades electronics and motors over time. While the Mavic 3 Pro handles occasional salt air exposure, repeated flights without proper cleaning accelerate wear. Wipe down the aircraft with a slightly damp cloth after every coastal session. Pay particular attention to motor vents and gimbal mechanisms.
Sand infiltration poses similar risks. Never land on beaches without a landing pad. Even brief ground contact can introduce particles into sensitive components.
Electromagnetic interference from coastal infrastructure—radio towers, radar installations, power lines—can disrupt compass calibration and GPS lock. Always calibrate the compass away from metal structures and vehicles.
Operational Errors
Underestimating return flight time leads to emergency landings. Headwinds on return journeys can double power consumption. The Mavic 3 Pro's intelligent flight systems provide accurate return-to-home estimates, but conservative pilots set personal minimums at 30% battery for initiating return in windy conditions.
Ignoring temperature effects on batteries causes unexpected shutdowns. Cold ocean breezes can drop battery temperature below optimal operating range. Keep spare batteries warm in an insulated bag or vehicle until needed. The Mavic 3 Pro's battery management system warns of temperature issues, but prevention beats reaction.
Flying beyond visual line of sight over water creates recovery impossibilities. If something goes wrong over open ocean, that aircraft is gone. Maintain positions that allow emergency landing on solid ground.
Compositional Mistakes
Centering the horizon in every shot creates monotonous footage. Use the rule of thirds—place horizons at the upper or lower third line depending on whether sky or water tells the stronger story.
Ignoring foreground elements produces flat, unengaging images. Rocks, vegetation, or structures in the lower frame create depth and lead viewers' eyes into the scene.
Over-relying on altitude for drama. Some of the most compelling coastal footage comes from low-altitude passes that emphasize texture and movement. The Mavic 3 Pro's obstacle avoidance enables confident low flying while maintaining safety margins.
Technical Specifications for Coastal Operations
| Specification | Mavic 3 Pro Value | Coastal Relevance |
|---|---|---|
| Maximum Flight Time | 43 minutes | Extended shooting windows between battery swaps |
| Wind Resistance | Level 5 (24 mph) | Handles typical coastal breeze conditions |
| Obstacle Sensing | Omnidirectional | Protection near cliffs and structures |
| Video Resolution | 5.1K/50fps, 4K/120fps | Professional delivery and slow-motion capability |
| Color Profiles | D-Log, HLG, Normal | Maximum flexibility for high-contrast scenes |
| Transmission Range | 15 km (FCC) | Reliable control over extended coastal runs |
Post-Production Considerations
Footage captured in D-Log requires color grading to achieve final look. The flat profile preserves approximately 12.8 stops of dynamic range—essential for recovering detail in bright skies and shadowed cliff faces simultaneously.
When grading coastal footage:
- Apply a base LUT designed for D-Log conversion
- Adjust white balance to taste (coastal light often runs cool)
- Enhance blues and teals selectively for water
- Add subtle warmth to sand and rock tones
- Apply graduated filters to balance sky and land exposure
The Hasselblad sensor's color accuracy means less corrective work and more creative enhancement. Skin tones, in particular, require minimal adjustment compared to footage from other platforms.
Frequently Asked Questions
How do I protect my Mavic 3 Pro from salt damage during coastal flights?
Salt exposure is an environmental reality of coastal operations, not a product limitation. After each session, wipe the entire aircraft with a microfiber cloth slightly dampened with fresh water. Focus on motor vents, gimbal mechanisms, and sensor surfaces. Store the drone in a sealed case with silica gel packets to absorb residual moisture. Avoid flying through active spray zones, and position yourself upwind of breaking waves whenever possible.
What ND filter strength should I use for beach filming?
Coastal environments typically require ND16 to ND64 filters depending on time of day and cloud cover. The goal is maintaining shutter speed at approximately double your frame rate—so 1/50 second for 24fps or 1/120 second for 60fps. Midday sun on white sand may require ND64, while overcast conditions or golden hour shooting might need only ND8 or ND16. Carry a complete filter set and adjust based on actual conditions.
Can I fly the Mavic 3 Pro over open water safely?
The Mavic 3 Pro performs reliably over water, but operators must account for specific challenges. GPS accuracy can decrease over featureless ocean surfaces, and visual positioning sensors have nothing to reference. Maintain altitudes above 10 meters to ensure downward sensors don't confuse wave patterns for ground. Always keep the aircraft within easy return distance to land, and set return-to-home altitude high enough to clear any coastal obstacles. The 43-minute flight time provides substantial margin for extended over-water operations when managed conservatively.
Coastal cinematography with the Mavic 3 Pro rewards preparation and punishes complacency. The aircraft's capabilities—from its triple camera system to its 43-minute endurance—provide the tools for extraordinary results. Your job is bringing the knowledge, planning, and situational awareness that transform those tools into compelling visual stories.
The techniques outlined here represent years of refinement across diverse coastal environments. Apply them thoughtfully, adapt them to your specific conditions, and always prioritize safety over the shot.
Ready to elevate your coastal aerial work? Contact our team for personalized guidance on equipment selection, technique development, and workflow optimization.