Mavic 3 Pro Coastal Forest Surveying Guide
Mavic 3 Pro Coastal Forest Surveying Guide
META: Learn how to survey coastal forests with the DJI Mavic 3 Pro. Expert tips on obstacle avoidance, D-Log settings, and handling unpredictable weather mid-flight.
TL;DR
- The Mavic 3 Pro's tri-camera system enables multi-scale coastal forest surveys—from canopy-level mapping to individual tree health assessment—in a single flight session.
- Obstacle avoidance and ActiveTrack are critical when navigating dense, uneven canopy structures along coastal terrain with crosswinds.
- D-Log color profile preserves shadow and highlight detail under rapidly shifting coastal lighting conditions, saving hours in post-processing.
- This guide walks you through a complete coastal forest survey workflow, including the exact settings, flight patterns, and contingency protocols I use in the field.
Why the Mavic 3 Pro Excels at Coastal Forest Surveys
Coastal forests present a unique surveying nightmare. You're dealing with dense, multi-layered canopies, salt-laden air, unpredictable thermals off the water, and lighting that shifts from harsh glare to deep shadow in minutes. Most consumer drones buckle under these conditions.
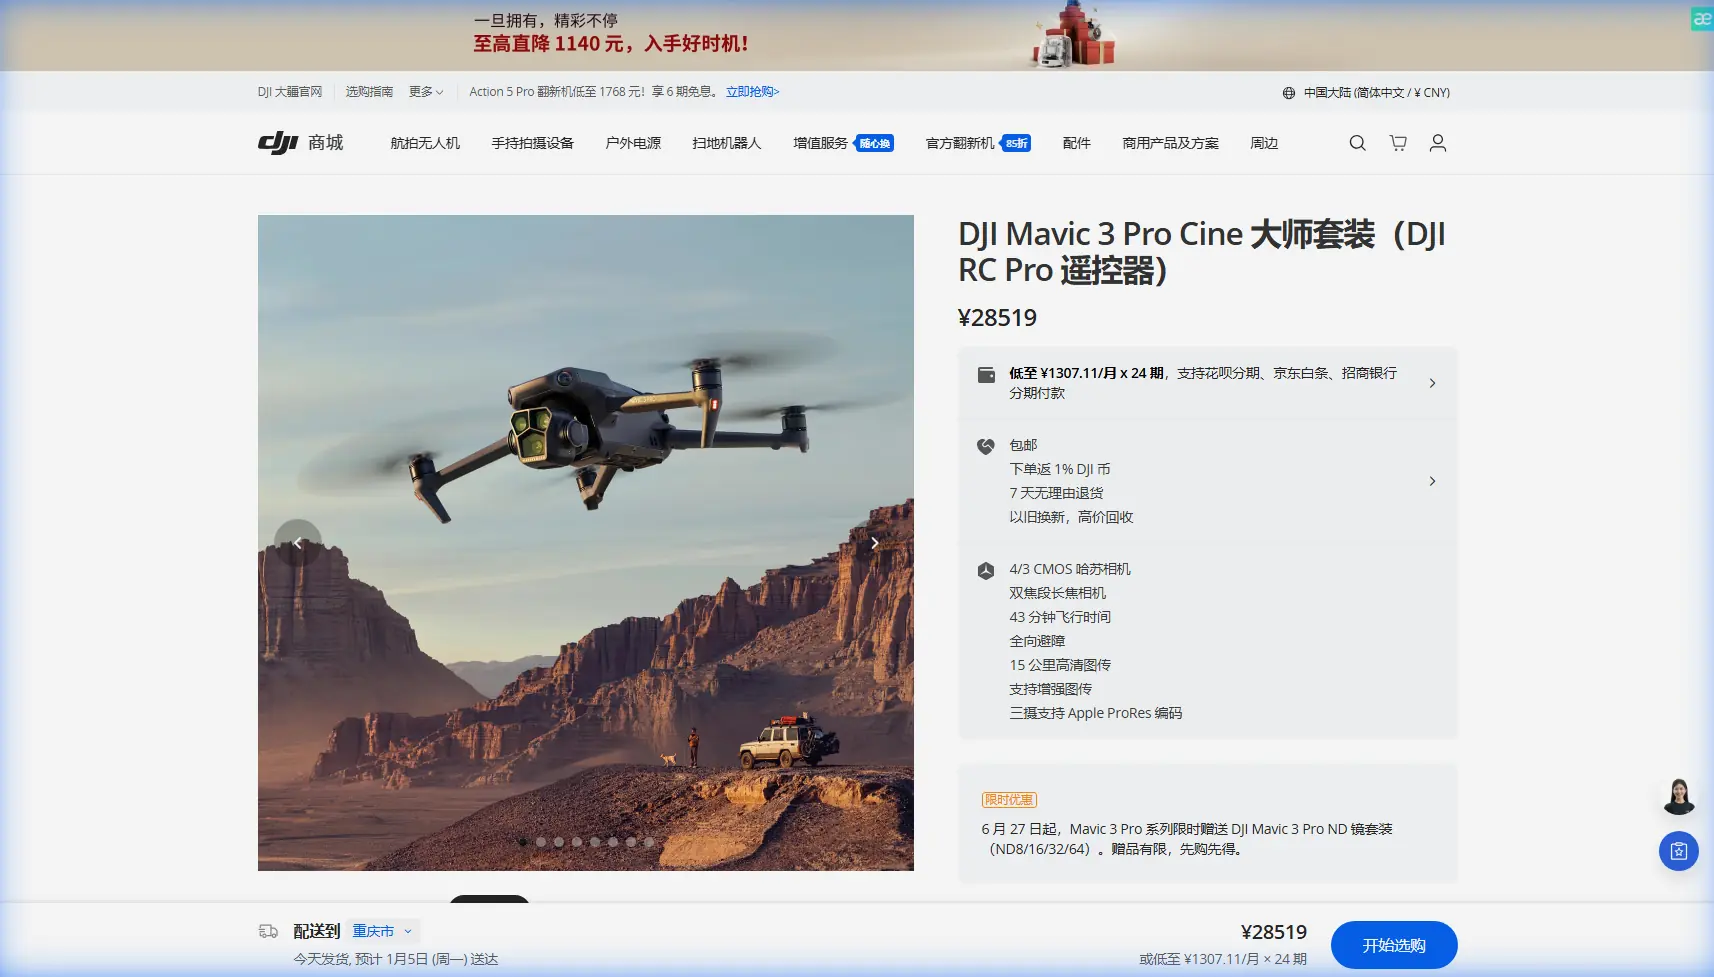
The Mavic 3 Pro doesn't. Its 4/3 CMOS Hasselblad main camera paired with a 166mm tele camera and a 70mm medium tele camera gives you three distinct focal lengths without swapping hardware. That tri-camera setup is what makes multi-scale forest data collection possible on a single battery cycle.
I'm Chris Park, and I've been surveying coastal forest ecosystems from Northern California to the Pacific Northwest for the past three years using DJI platforms. This guide distills everything I've learned into a repeatable, field-tested workflow.
Pre-Flight Planning for Coastal Forest Environments
Site Assessment and Airspace Clearance
Before you even open the case, you need to understand three things about your survey area:
- Canopy height variability: Coastal forests often feature dramatic height differences between species. Sitka spruce can tower at 60+ meters while adjacent shore pine sits at 15 meters. Map these variations using existing LiDAR datasets or satellite imagery.
- Wind corridor mapping: Coastal terrain funnels wind through valleys and along ridgelines. Use apps like UAV Forecast or Windy to identify surface and altitude wind layers.
- Electromagnetic interference sources: Coastal installations—lighthouses, communication towers, marine radar—can interfere with GPS and compass calibration.
- Regulatory compliance: Check FAA B4UFLY or local equivalents. Many coastal forests overlap with wildlife refuges or restricted zones.
Optimal Flight Window
The best survey window for coastal forests is 2–3 hours after sunrise or 2 hours before sunset. Midday sun creates harsh shadows beneath the canopy that obliterate ground-level detail. Overcast days are actually ideal for canopy health surveys because diffused light provides even exposure across the entire scene.
Expert Insight: I schedule coastal flights during incoming marine layer transitions. The soft, even light just before fog rolls in produces the most consistent exposure across dense canopy. You get roughly a 20–30 minute window of perfect conditions—plan accordingly.
Flight Settings and Camera Configuration
Camera Setup
Getting your camera dialed in before launch is non-negotiable. Here's my exact configuration for coastal forest work:
- Shooting mode: RAW + JPEG (RAW for post-processing, JPEG for quick field review)
- Color profile: D-Log on the Hasselblad camera for maximum dynamic range (12.8 stops)
- ISO: Locked at 100–200 to minimize noise in shadow recovery
- Shutter speed: 1/500s minimum to counteract wind-induced vibration
- White balance: Manual, set to 5600K for consistent color across variable coastal lighting
- Aperture: f/2.8–f/5.6 depending on depth-of-field requirements
Why D-Log Is Essential for Forest Surveys
D-Log isn't just a videography preference—it's a surveying tool. Coastal forests create extreme contrast ratios between sunlit canopy tops and shaded understory. A standard color profile clips highlights and crushes shadows, destroying usable data.
D-Log captures a flat, high-dynamic-range image that preserves detail across the full tonal range. In post-processing, this means you can pull usable vegetation health data from both the brightest canopy crowns and the darkest forest floor simultaneously.
Flight Pattern Configuration
For comprehensive forest surveys, I use a modified double-grid pattern:
- Primary grid: 80% front overlap, 75% side overlap at 120 meters AGL
- Secondary grid: Perpendicular to the first at 90 meters AGL to capture oblique canopy angles
- Terrain follow mode: Enabled, using DJI's terrain awareness to maintain consistent AGL over undulating coastal topography
- Speed: 5–7 m/s maximum for sharp image capture
Obstacle Avoidance and ActiveTrack in Dense Canopy
Navigating the Canopy Edge
The Mavic 3 Pro features omnidirectional obstacle sensing across all six directions with a detection range of up to 200 meters forward. In coastal forest environments, this system is constantly active, processing data from APAS 5.0 (Advanced Pilot Assistance System) to navigate around branches, snags, and unexpected canopy protrusions.
When I fly manual transects along the canopy edge to assess tree health or storm damage, I set obstacle avoidance to "Bypass" mode rather than "Brake." This allows the drone to autonomously route around detected obstacles while maintaining forward momentum—critical when you're working against limited battery time.
Using ActiveTrack for Linear Feature Surveys
ActiveTrack isn't just for following mountain bikers. In forest surveying, I use ActiveTrack 5.0 to lock onto and follow linear features:
- Ridgeline transects: Lock onto the ridge edge and let the drone maintain consistent offset distance
- Stream corridor mapping: Track waterways through forest gaps
- Trail and road surveys: Follow access corridors beneath partial canopy
The Mavic 3 Pro's Subject tracking algorithm maintains lock even when the target feature is partially occluded by tree cover, which happens constantly in coastal forests.
Pro Tip: When using ActiveTrack along a ridgeline, set your tracking offset to 15 meters lateral and 30 meters above the ridge. This gives you clean sightlines while keeping the drone safely above the canopy turbulence zone.
When Weather Changes Mid-Flight: A Field Case Study
During a survey of a 450-hectare coastal Sitka spruce stand near the Oregon coast last autumn, I was running the second battery of a planned four-battery mapping session. Conditions at launch were ideal: 8 km/h winds, overcast, 14°C.
Forty minutes in, a squall line that wasn't predicted to arrive for another two hours accelerated inland. Wind jumped from 8 to 32 km/h in under three minutes. Visibility dropped as rain began sheeting horizontally across the survey area.
Here's what happened—and what the Mavic 3 Pro did:
- Wind warning triggered at 28 km/h, alerting me on the DJI RC Pro controller.
- I initiated Return to Home (RTH) immediately. The drone calculated a wind-compensated return path that angled into the headwind rather than fighting a direct route, conserving battery.
- Obstacle avoidance remained fully operational despite rain on the sensors. The drone rerouted around two tall snags it detected during the descent corridor.
- The Mavic 3 Pro landed with 22% battery remaining—enough margin that the situation never became an emergency.
The critical lesson: the drone's max wind resistance of 12 m/s (approximately 43 km/h) gave me a safety buffer. But I still lost half a day of survey data. Now I build weather contingency checkpoints every 15 minutes into my flight plans and never launch with fewer than two alternate landing zones mapped.
Technical Comparison: Mavic 3 Pro vs. Common Survey Alternatives
| Feature | Mavic 3 Pro | Mavic 3 Classic | Air 3 | Phantom 4 RTK |
|---|---|---|---|---|
| Camera System | Tri-camera (Hasselblad) | Single Hasselblad | Dual camera | Single 1-inch |
| Max Flight Time | 43 minutes | 46 minutes | 46 minutes | 30 minutes |
| Obstacle Sensing | Omnidirectional | Omnidirectional | Omnidirectional | Forward/Backward only |
| Max Wind Resistance | 12 m/s | 12 m/s | 12 m/s | 10 m/s |
| D-Log Support | Yes | Yes | Yes (D-Log M) | No |
| ActiveTrack | 5.0 | 5.0 | 5.0 | No |
| QuickShots | Yes | Yes | Yes | No |
| Hyperlapse | Yes | Yes | Yes | No |
| Sensor Size (Main) | 4/3 CMOS | 4/3 CMOS | 1/1.3-inch | 1-inch |
| Focal Lengths | 24/70/166mm equiv. | 24mm equiv. | 24/70mm equiv. | 24mm equiv. |
The Mavic 3 Pro's advantage for forest surveying is clear: three focal lengths enable canopy overview, mid-range species identification, and close-up health assessment without repositioning.
Leveraging QuickShots and Hyperlapse for Stakeholder Deliverables
Survey data doesn't exist in a vacuum. Clients—land managers, conservation agencies, timber companies—need visual context. This is where QuickShots and Hyperlapse become unexpectedly valuable in a professional survey workflow.
- QuickShots (Dronie, Helix, Rocket): Use these to generate quick contextual overview clips of each survey zone. A 30-second Helix around a survey plot gives stakeholders immediate spatial understanding.
- Hyperlapse (Waypoint mode): Program a slow, sweeping Hyperlapse along the entire survey boundary. This produces a compressed time-lapse flight that communicates scale in a way static maps cannot.
These aren't gimmicks. They're communication tools that dramatically reduce the number of revision meetings with clients who struggle to interpret orthomosaic maps or point cloud data.
Common Mistakes to Avoid
- Skipping compass calibration at the field site: Coastal environments with iron-rich volcanic rock or nearby marine infrastructure will throw off compass readings from your last calibration. Calibrate on-site, every time.
- Flying too high over the canopy: Above 150 meters AGL, you lose the resolution needed for species-level identification. Stay between 80–120 meters AGL for the best balance of coverage and detail.
- Ignoring salt air exposure: Coastal missions expose the drone to salt spray and humid, corrosive air. Wipe down all surfaces with a slightly damp microfiber cloth after every coastal flight and inspect gimbal bearings for salt residue weekly.
- Using Auto white balance in D-Log: Auto WB introduces shot-to-shot color inconsistency that makes stitching and color-grading a nightmare. Lock it manually.
- Relying solely on automated flight paths: Automated grid patterns don't account for real-time wind shifts, wildlife incursions (eagles are a real threat on the coast), or sudden fog. Always maintain visual line of sight and manual override readiness.
Frequently Asked Questions
Can the Mavic 3 Pro handle rain during a coastal forest survey?
The Mavic 3 Pro does not carry an official IP weather-resistance rating. Light drizzle may not cause immediate failure, but moisture on obstacle avoidance sensors degrades their accuracy, and water ingress through motor vents or gimbal seals can cause long-term damage. Land immediately if rain begins. My field protocol is to abort the mission at the first sign of precipitation and switch to data processing tasks until conditions clear.
How many batteries do I need for a typical coastal forest survey?
For a 100-hectare survey area at 100 meters AGL with 80/75% overlap using the double-grid pattern, plan on 6–8 batteries depending on wind conditions. Each battery delivers roughly 35 minutes of real-world flight time under moderate coastal wind loads (versus the rated 43 minutes in ideal conditions). I carry 10 batteries minimum to any coastal survey to account for aborted missions and weather-related re-flights.
Is the Mavic 3 Pro accurate enough for professional forestry surveys without RTK?
The Mavic 3 Pro's onboard GPS provides approximately 1.5 meter horizontal accuracy on geotagged images. For many forestry applications—canopy cover mapping, species distribution, health assessment, change detection—this is sufficient when combined with ground control points (GCPs). For sub-centimeter accuracy required in timber volume estimation or legal boundary surveys, you'll need to supplement with GCPs and post-processing kinematic (PPK) workflows or consider an RTK-equipped platform.
Ready for your own Mavic 3 Pro? Contact our team for expert consultation.