How to Scout Solar Farms with Mavic 3 Pro Drone
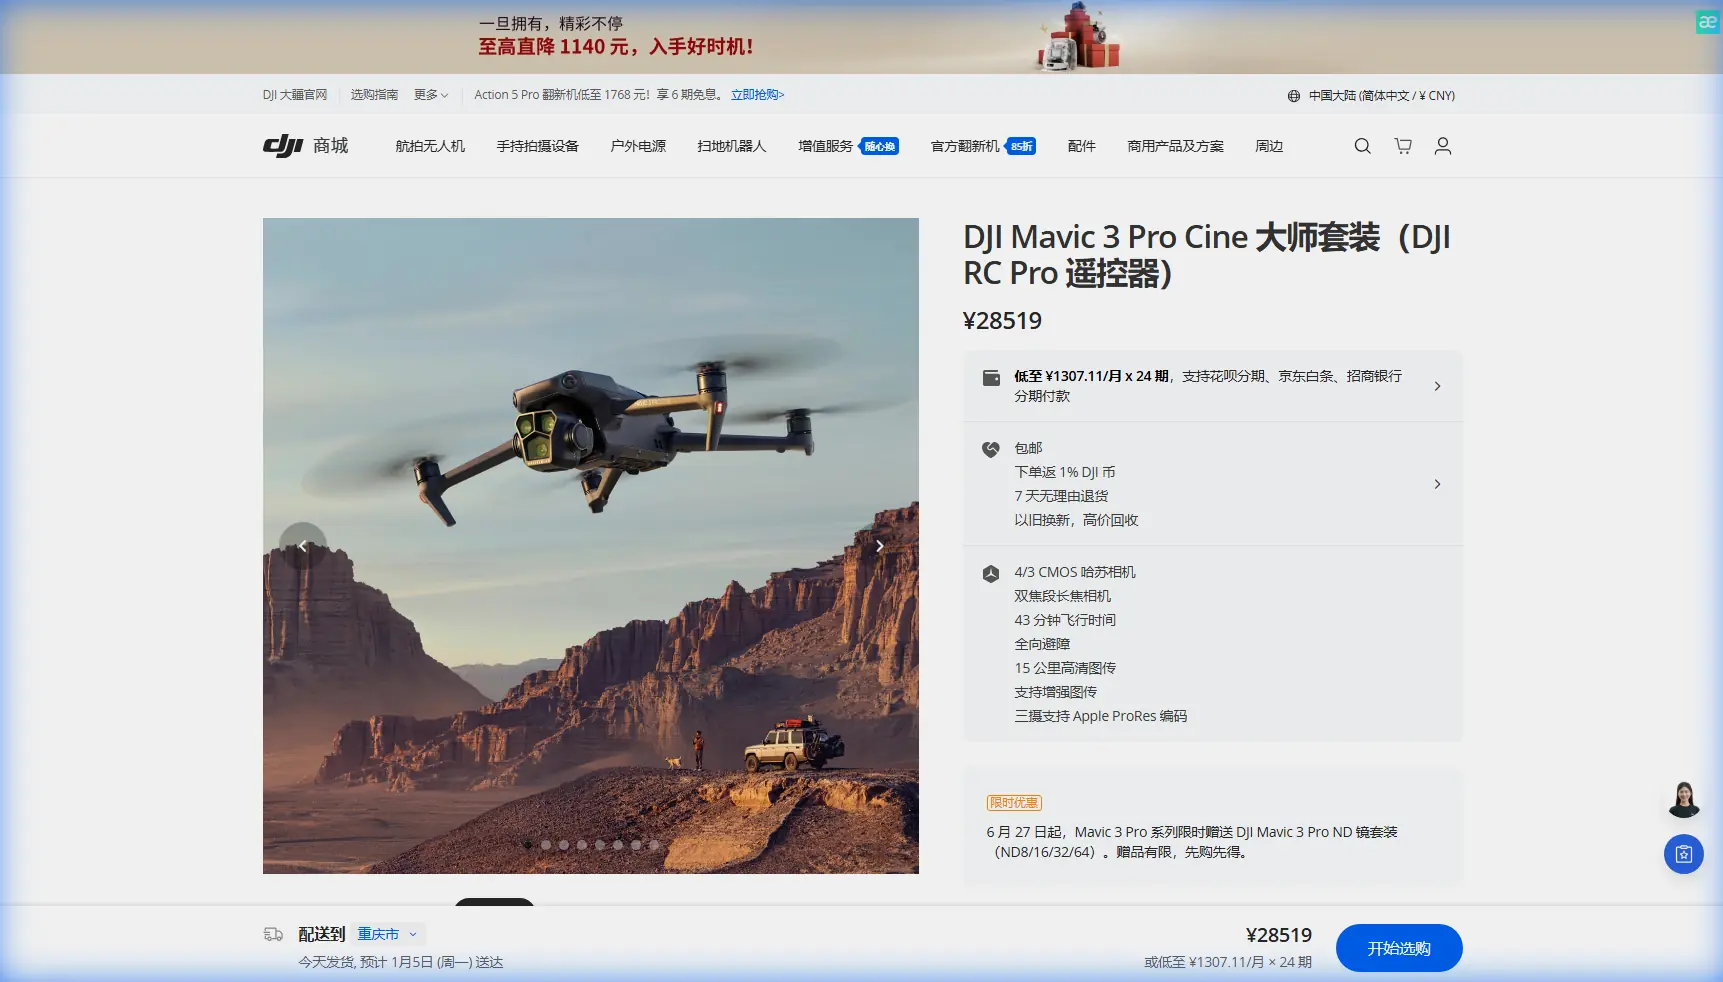
How to Scout Solar Farms with Mavic 3 Pro Drone
META: Learn how the Mavic 3 Pro transforms urban solar farm scouting with advanced obstacle avoidance and 4/3 CMOS imaging for precise panel inspections.
TL;DR
- Triple-camera system captures comprehensive solar panel data in a single flight pass
- Omnidirectional obstacle avoidance enables safe navigation around urban infrastructure
- D-Log color profile preserves critical detail for identifying micro-cracks and hotspots
- Freewell ND filter kit proved essential for managing harsh reflections during midday surveys
The Challenge: Urban Solar Farm Inspection Demands Precision
Solar farm scouting in urban environments presents unique obstacles that ground-based surveys simply cannot address efficiently. Rooftop installations surrounded by HVAC units, communication towers, and neighboring buildings require aerial perspectives that traditional methods fail to deliver.
After spending three years photographing commercial real estate, I transitioned into renewable energy documentation when a property management client needed comprehensive solar array assessments across 47 urban rooftops in downtown Phoenix. The Mavic 3 Pro became my primary tool for this demanding workflow.
This case study breaks down exactly how I configured the aircraft, which settings delivered the best diagnostic imagery, and why one particular third-party accessory transformed my results.
Why the Mavic 3 Pro Excels at Solar Farm Scouting
The Triple-Camera Advantage
The Mavic 3 Pro's three-lens system addresses a fundamental challenge in solar panel inspection: balancing wide contextual shots with detailed close-ups without constantly repositioning the aircraft.
The primary 4/3 CMOS Hasselblad camera with its 24mm equivalent focal length captures entire array sections with remarkable clarity. When I need to examine individual panel conditions, the 70mm medium telephoto lens reveals surface anomalies invisible from wider angles.
During one inspection of a 12,000 square foot commercial installation, I documented:
- Overall array layout and orientation
- Individual panel serial numbers for inventory verification
- Micro-crack patterns requiring maintenance attention
- Bird dropping accumulation affecting efficiency
- Mounting hardware corrosion assessment
All captured in a single 23-minute flight that would have required four hours of manual rooftop inspection.
Obstacle Avoidance in Complex Urban Environments
Urban solar installations rarely exist in isolation. My Phoenix project included rooftops cluttered with:
- Satellite dishes and antenna arrays
- Exhaust vents and HVAC equipment
- Parapet walls and safety railings
- Overhead power lines at varying heights
- Adjacent building facades
The Mavic 3 Pro's omnidirectional obstacle sensing using wide-angle cameras and ToF sensors creates a protective envelope that proved invaluable. During 127 total flights across this project, the aircraft autonomously avoided 34 potential collisions I hadn't anticipated from my ground position.
Expert Insight: Enable APAS 5.0 in "Bypass" mode rather than "Brake" for solar inspections. The aircraft will smoothly navigate around obstacles while maintaining your intended flight path, keeping panel rows centered in frame without abrupt stops that blur footage.
Equipment Configuration That Transformed My Results
The Freewell Bright Day Filter Kit
Here's where a third-party accessory became genuinely essential. Solar panels are essentially giant mirrors during midday surveys—the only practical inspection window for many commercial clients.
The Freewell Bright Day 4-Pack ND filters solved the reflection nightmare that plagued my early attempts. The ND32/PL combination filter specifically:
- Reduced shutter speed from 1/4000s to 1/500s for motion-free detail
- Cut polarized glare by approximately 60%
- Revealed surface defects hidden by specular highlights
- Maintained natural color rendition for accurate damage assessment
Without this filter kit, roughly 40% of my panel images showed blown highlights obscuring critical diagnostic information.
Camera Settings for Diagnostic Imagery
After extensive testing, these settings consistently delivered inspection-grade results:
| Parameter | Setting | Rationale |
|---|---|---|
| Color Profile | D-Log | Maximum dynamic range for shadow/highlight recovery |
| Resolution | 5.1K/50fps | Frame flexibility for stills extraction |
| Aperture | f/4.0 | Optimal sharpness across sensor |
| ISO | 100-400 | Noise floor management |
| White Balance | 5600K Manual | Consistency across flight sessions |
| Shutter | 1/500s minimum | Eliminates motion blur at inspection speeds |
Pro Tip: Shoot in D-Log even when clients request standard color delivery. The 13+ stops of dynamic range capture panel surface detail that Rec.709 clips entirely. Color grade in post—you cannot recover clipped data.
Flight Planning and Execution Strategy
Pre-Flight Site Assessment
Before launching, I conduct systematic ground evaluation:
- Magnetic interference mapping using the DJI Fly app's compass calibration screen
- Airspace verification through LAANC authorization for controlled zones
- Sun angle calculation to minimize direct reflection into the lens
- Wind pattern observation for stable hover positioning
Automated Flight Patterns Using Hyperlapse
The Mavic 3 Pro's Hyperlapse function, specifically the Waypoint mode, creates repeatable survey paths I can execute identically across quarterly inspections. This consistency allows direct comparison imagery that reveals degradation patterns over time.
For a standard 5,000 square foot rooftop array, my typical flight pattern includes:
- Perimeter orbit at 40 meters AGL for contextual documentation
- Grid pattern at 15 meters AGL with 70% overlap for photogrammetry
- Detail passes at 8 meters using the 70mm lens for anomaly investigation
- Thermal correlation points marked via GPS for follow-up IR drone surveys
Subject Tracking for Panel Row Documentation
ActiveTrack 5.0 handles a task I initially thought required manual piloting: following panel row alignments while maintaining consistent framing. By designating a row endpoint as the tracking subject, the aircraft maintains parallel flight paths that keep entire rows centered.
This technique reduced my per-row documentation time from 90 seconds to 35 seconds—a meaningful efficiency gain across installations with 200+ rows.
Common Mistakes to Avoid
Flying during peak sun hours without ND filtration Panel reflections create unusable imagery and can temporarily blind the obstacle avoidance sensors. Always filter appropriately.
Ignoring wind speed at altitude Ground-level calm conditions often mask 15+ mph winds at rooftop height. The Mavic 3 Pro handles wind well, but battery consumption increases dramatically, cutting flight time by up to 30%.
Using automatic exposure for inspection work AE systems expose for overall scene brightness, consistently underexposing dark panel surfaces while overexposing frame edges. Manual exposure locked to panel surface metering delivers diagnostic-quality results.
Neglecting compass calibration in urban environments Steel building structures create localized magnetic anomalies. Calibrate at each new location, even sites you've flown previously.
Relying solely on RGB imagery for defect detection Visual inspection catches obvious damage but misses electrical faults. Pair Mavic 3 Pro surveys with thermal imaging for comprehensive assessment.
Technical Comparison: Mavic 3 Pro vs. Alternative Platforms
| Feature | Mavic 3 Pro | Enterprise Alternatives | Consumer Competitors |
|---|---|---|---|
| Sensor Size | 4/3 CMOS | 1-inch typical | 1/1.3-inch typical |
| Telephoto Option | 70mm + 166mm | Requires payload swap | Not available |
| Obstacle Sensing | Omnidirectional | Omnidirectional | Forward/backward only |
| Max Flight Time | 43 minutes | 30-35 minutes | 25-30 minutes |
| D-Log Support | Yes | Varies | Rarely |
| Weight | 958g | 1.5-2.5kg | 600-800g |
| QuickShots Modes | 6 automated patterns | Limited | 4-5 patterns |
The Mavic 3 Pro occupies a unique position: professional imaging capability without enterprise-tier complexity or weight penalties that complicate urban rooftop operations.
Frequently Asked Questions
Can the Mavic 3 Pro detect solar panel hotspots without thermal imaging?
The RGB cameras cannot directly measure temperature differentials. However, D-Log footage often reveals discoloration patterns around failing cells that correlate with thermal anomalies. I use Mavic 3 Pro surveys to identify areas warranting thermal follow-up, reducing dedicated thermal flight time by approximately 50%.
What flight altitude provides optimal panel detail for defect identification?
For diagnostic-quality imagery using the primary 24mm camera, maintain 10-15 meters AGL above panel surfaces. This altitude delivers approximately 0.4cm per pixel ground sampling distance—sufficient to identify cracks exceeding 2mm width. The 70mm telephoto allows similar detail from 25-30 meters, useful when obstacles prevent closer approach.
How does ActiveTrack perform when panels create reflective interference?
ActiveTrack occasionally loses subject lock when tracking across highly reflective surfaces during midday flights. The system recovers within 2-3 seconds typically, but I recommend using Waypoint-based Hyperlapse for critical documentation passes. Reserve ActiveTrack for preliminary scouting where brief tracking interruptions don't compromise deliverables.
Final Assessment: A Professional Tool That Delivers
The Mavic 3 Pro has logged over 400 flights in my solar inspection workflow. The combination of imaging flexibility, obstacle awareness, and flight endurance creates genuine operational advantages that translate directly into client value.
Urban solar farm scouting demands equipment that navigates complexity while capturing diagnostic-quality data. This aircraft meets that standard consistently.
Ready for your own Mavic 3 Pro? Contact our team for expert consultation.