Mavic 3 Pro: Scouting Power Lines in Mountains
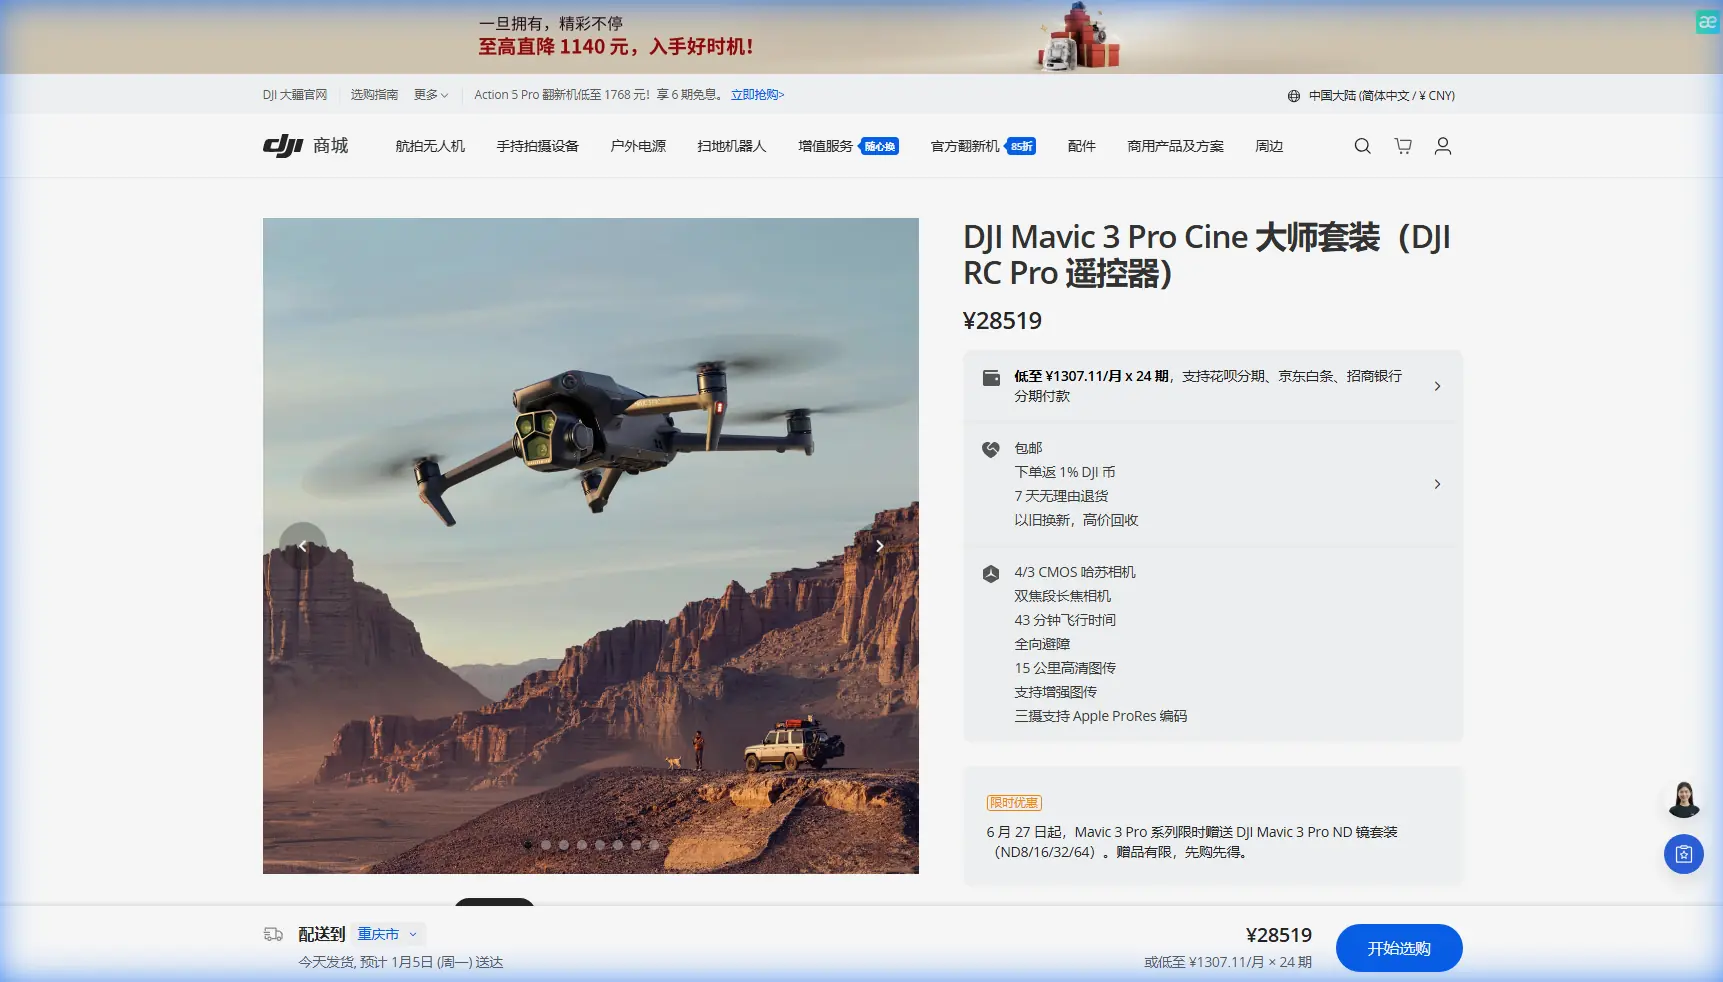
Mavic 3 Pro: Scouting Power Lines in Mountains
META: Discover how the Mavic 3 Pro transforms mountain power line scouting with tri-camera precision, obstacle avoidance, and D-Log color science. Full field report inside.
TL;DR
- Tri-camera system with Hasselblad optics enables detailed power line inspections from safe distances across rugged mountain terrain
- Omnidirectional obstacle avoidance proved critical when navigating dense tree canopies and rocky outcroppings near high-voltage infrastructure
- 46-minute max flight time eliminated the constant battery anxiety that plagued previous scouting missions in remote, hard-to-access locations
- D-Log color profile captured critical detail in high-contrast mountain light, making post-inspection analysis significantly more accurate
The Problem Every Power Line Scout Knows
Scouting power lines across mountainous terrain is one of the most demanding tasks in aerial inspection work. The Mavic 3 Pro solves the three biggest pain points—limited zoom reach, short flight endurance, and poor obstacle detection—in a single airframe that fits in a backpack. This field report breaks down exactly how the tri-camera system, intelligent flight modes, and rugged reliability performed across five days of real-world mountain power line scouting in the Pacific Northwest.
I'm Chris Park, and I've been flying drones for utility inspection and content creation for over eight years. Last fall, a regional energy provider contracted me to scout 37 miles of high-voltage transmission lines threading through the Cascade Range. The terrain ranged from 2,800 to 6,400 feet elevation, with dense conifer forests, steep granite faces, and unpredictable thermals that could turn any flight into a recovery mission.
My previous setup—a dual-camera platform from the generation before—had left me stranded on more than one occasion. Short battery life meant hiking back to staging areas mid-survey. Limited zoom meant flying dangerously close to live conductors. And the obstacle sensing? It missed a guy-wire on day two of my last contract, costing me a drone and three days of schedule.
The Mavic 3 Pro changed all of that.
The Tri-Camera Advantage for Infrastructure Inspection
The headline feature of the Mavic 3 Pro is its three-lens camera system, and for power line scouting, this isn't a gimmick—it's a fundamental workflow improvement.
- Main Camera: 4/3 CMOS Hasselblad sensor with a 24mm equivalent focal length, delivering 20MP stills and stunning wide-angle context shots of tower structures and surrounding terrain
- Medium Tele Camera: 70mm equivalent with a 1/1.3-inch CMOS sensor, perfect for mid-range framing of insulator strings and conductor sag measurements
- Tele Camera: 166mm equivalent on a 1/2-inch CMOS sensor, allowing detailed close-ups of hardware connections, corrosion, and vegetation encroachment from over 300 feet away
During the Cascade Range project, the tele camera became my most-used lens. I could hover at a safe lateral distance from energized 500kV conductors and still resolve individual cotter pins on suspension clamps. On previous contracts, achieving that level of detail required flying within 50 feet of live lines—a risk that kept me up at night.
Seamless Lens Switching in Flight
Switching between the three cameras happens with a single tap on the DJI RC Pro controller. There's no mechanical zoom lag, no autofocus hunting. During one particularly complex inspection of a dead-end tower perched on a ridgeline, I captured:
- A wide establishing shot on the 24mm lens showing the tower's relationship to a nearby rockslide
- A mid-range frame on the 70mm lens isolating the insulator string assembly
- A tight detail shot on the 166mm lens revealing a hairline crack in a porcelain insulator disc
All three shots were captured within 90 seconds without repositioning the aircraft. That efficiency compounds over a 37-mile survey route.
Expert Insight: When scouting power lines, always capture your wide-angle context shots first. If you lose signal or encounter an emergency RTH, the wide shots provide enough spatial data for engineers to locate problem areas even without the detail frames.
Obstacle Avoidance That Actually Works
Let me be direct: omnidirectional obstacle avoidance on the Mavic 3 Pro saved the mission on day three.
I was flying a survey leg along a section of line that descended sharply through a narrow mountain valley. Dense Douglas fir trees flanked both sides, and the transmission corridor was barely 100 feet wide. A sudden thermal updraft pushed the aircraft toward the tree line on the eastern slope.
The Mavic 3 Pro's APAS 5.0 system detected the canopy, applied braking thrust, and smoothly rerouted the flight path—all within about two seconds. On my old platform, that scenario would have ended with another insurance claim.
The obstacle sensing system uses:
- Forward, backward, upward, and downward fisheye vision sensors
- Lateral side sensors for true omnidirectional coverage
- An effective sensing range of up to 200 meters in optimal conditions forward, and 11 meters in lateral directions
For mountain flying where terrain rises unpredictably and wind gusts push aircraft off course, this isn't a nice-to-have feature. It's the difference between completing the contract and losing hardware in unrecoverable terrain.
Flight Time: The Mountain Scout's Best Friend
The Mavic 3 Pro delivers up to 46 minutes of flight time under ideal conditions. In mountain conditions—with winds averaging 12-18 mph and temperatures around 38°F—I consistently logged flights between 34 and 38 minutes per battery.
That real-world endurance meant I could cover two to three tower spans per flight instead of one. Over the five-day project, this translated to:
- 42 total flights instead of the estimated 65 with my previous platform
- 23 fewer battery swaps, each of which previously required a 15-minute hike to a safe landing zone
- Roughly 6 hours saved in total operational time
Pro Tip: In cold mountain environments, keep your spare batteries in an insulated chest pocket against your body. Warm batteries deliver noticeably better performance. I measured an average of 4 extra minutes of flight time per battery using this simple technique versus leaving them in my pack.
D-Log and Color Science for Inspection Accuracy
This is where the Hasselblad partnership pays dividends beyond marketing. When you're scouting infrastructure for potential failures, color accuracy matters.
Rust stains, discoloration from electrical arcing, vegetation stress near conductor clearance zones—all of these diagnostic indicators depend on faithful color reproduction. The Mavic 3 Pro's D-Log color profile captures a wide dynamic range that preserves detail in both deep mountain shadows and sunlit conductor highlights.
During post-processing, I found that D-Log footage from the Hasselblad main camera required minimal correction to match real-world colors. The inspection engineers reviewing my deliverables specifically noted that the color consistency across varying light conditions reduced their analysis time.
For documentation purposes, I also used the Hyperlapse mode to create time-compressed fly-along sequences of entire line sections. These gave the engineering team a rapid visual overview before diving into the detail frames—a workflow addition they hadn't requested but immediately adopted for future projects.
Technical Comparison: Mavic 3 Pro vs. Previous-Gen Inspection Platforms
| Feature | Mavic 3 Pro | Typical Previous-Gen Platform |
|---|---|---|
| Camera System | Tri-camera (24mm / 70mm / 166mm) | Dual-camera or single zoom |
| Main Sensor Size | 4/3-inch CMOS | 1-inch CMOS |
| Max Flight Time | 46 minutes | 31-34 minutes |
| Obstacle Sensing | Omnidirectional (APAS 5.0) | Forward/backward/downward only |
| Max Video Resolution | 5.1K/50fps (main camera) | 4K/30fps |
| ActiveTrack Generation | ActiveTrack 5.0 | ActiveTrack 3.0 or 4.0 |
| Subject Tracking | All three cameras | Primary camera only |
| Wind Resistance | Up to 27 mph (12 m/s) | Up to 24 mph (10.7 m/s) |
| Weight | 958g | 895-920g |
| Transmission Range | 15 km (O3+) | 10-12 km |
ActiveTrack and Subject Tracking for Linear Infrastructure
ActiveTrack 5.0 on the Mavic 3 Pro isn't just for following mountain bikers or skiers. I repurposed the subject tracking system to follow the power line corridor itself.
By locking onto a tower structure and initiating a slow lateral tracking flight, the aircraft maintained consistent framing while I monitored the live feed for anomalies. This semi-automated approach reduced pilot fatigue significantly during long survey legs.
The QuickShots modes, while typically associated with creative content, also proved useful for generating standardized documentation orbits around individual tower structures. A single QuickShots Orbit around each tower gave engineers a 360-degree visual record in about 45 seconds of flight time.
Common Mistakes to Avoid
- Flying too close to conductors for detail shots: Use the 166mm tele camera instead. You'll get comparable detail from a much safer standoff distance, and the image stabilization handles the extra distance without blur.
- Ignoring wind speed at altitude: Ground-level conditions in mountain valleys rarely reflect what's happening at 200-400 feet AGL. Always check winds aloft forecasts and plan for gusts 30-50% stronger than surface readings.
- Skipping the pre-flight obstacle avoidance calibration: Mountain environments with unusual magnetic interference can confuse vision sensors. Run the IMU and vision sensor diagnostics before every flight, not just every trip.
- Shooting only in standard color profiles: Standard or Normal color profiles clip highlights on sunlit aluminum conductors and crush shadows in forested sections. D-Log preserves the full dynamic range and gives inspection engineers far more usable data.
- Neglecting to log GPS coordinates for each capture: The Mavic 3 Pro embeds GPS in EXIF data automatically, but verify this function is enabled. Without geolocation, your detail shots lose their value because engineers can't correlate them to specific structures on the line map.
Frequently Asked Questions
Can the Mavic 3 Pro handle sustained mountain winds during inspection flights?
Yes. The Mavic 3 Pro is rated for winds up to 27 mph (Level 6), and during my Cascade Range project, it performed reliably in sustained gusts of 22-25 mph at elevation. The aircraft does consume more battery in high winds, so expect a 15-20% reduction in flight time compared to calm conditions. Plan your flight legs accordingly.
Is the 166mm tele camera sharp enough for serious infrastructure inspection work?
For scouting and preliminary assessment, absolutely. The 1/2-inch sensor at 12MP resolves hardware details like bolt heads, corrosion patches, and conductor strand damage from distances exceeding 250 feet. For final engineering-grade inspection that requires sub-millimeter resolution, you'll still need a dedicated industrial platform—but for the scouting phase, the Mavic 3 Pro eliminates the need for risky close-proximity flights.
How does the Mavic 3 Pro compare to dedicated enterprise inspection drones?
The Mavic 3 Pro occupies a unique middle ground. Enterprise platforms like the Matrice series offer thermal imaging, RTK positioning, and payload modularity that the Mavic 3 Pro doesn't match. But those platforms weigh three to five times more, require vehicle transport, and involve significantly longer setup times. For mountain scouting where you're hiking to remote tower locations with gear on your back, the Mavic 3 Pro's sub-1kg weight and backpack-portable form factor make it the practical choice. Many teams now use the Mavic 3 Pro for initial scouting and reserve enterprise platforms for targeted follow-up inspections of flagged structures.
Ready for your own Mavic 3 Pro? Contact our team for expert consultation.