Mavic 3 Pro: Expert Coastline Monitoring Guide
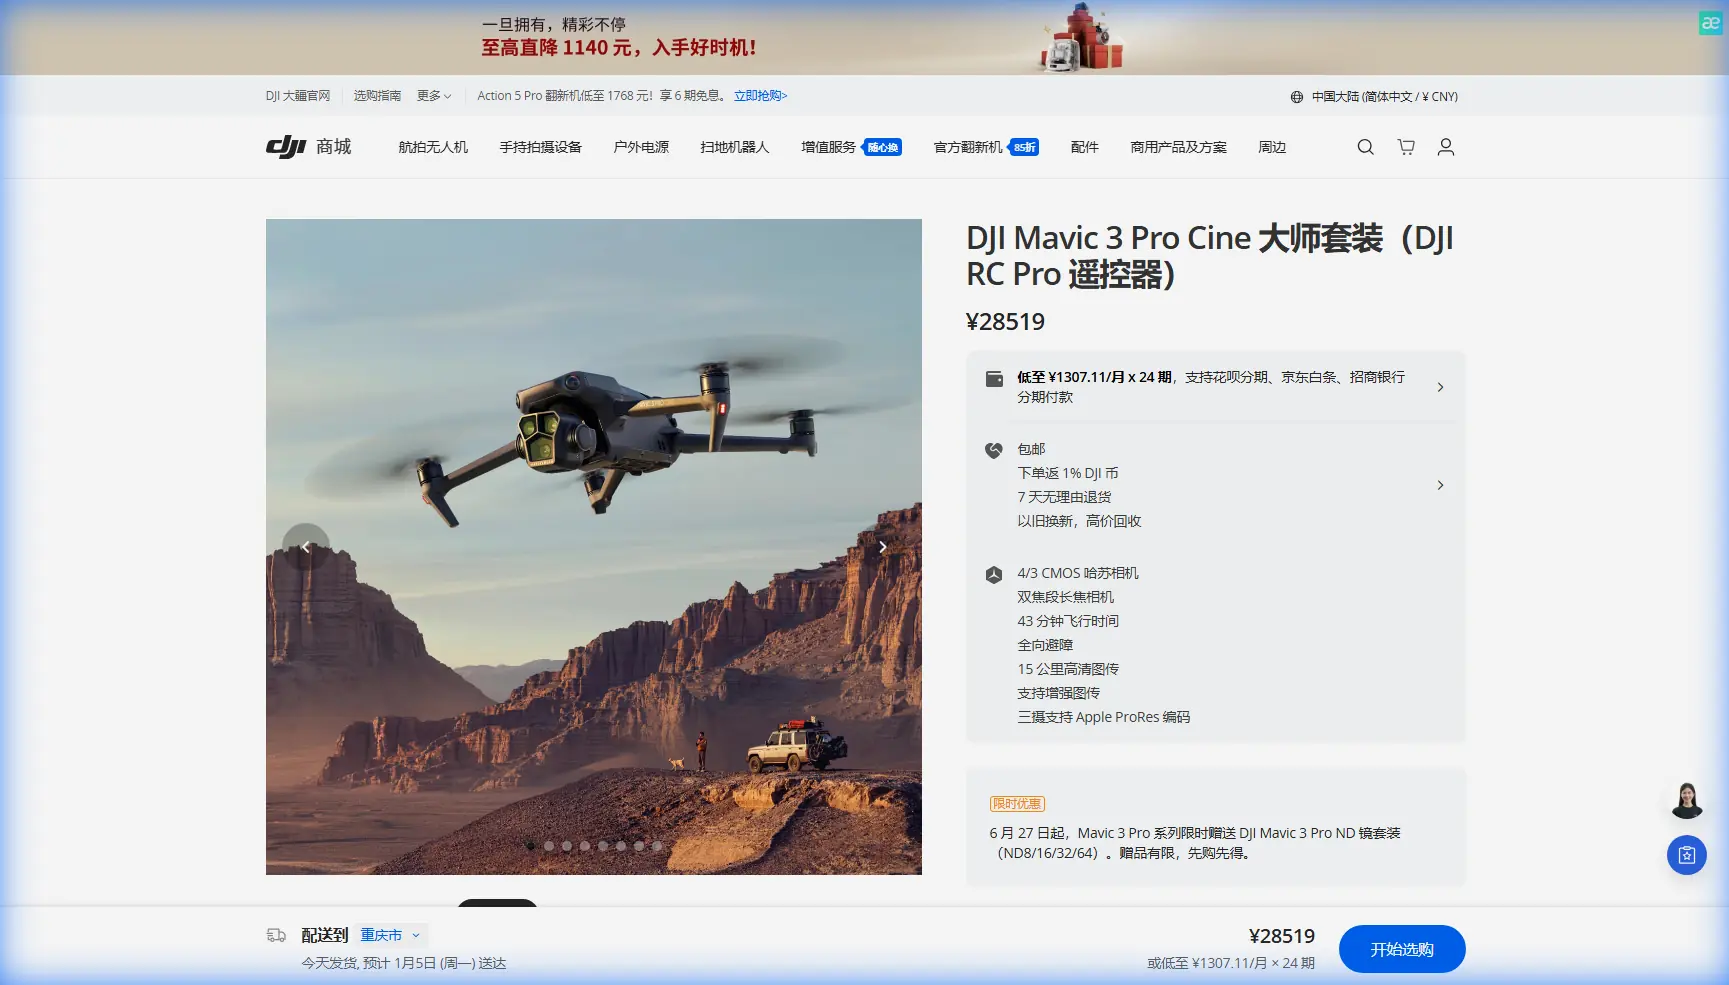
Mavic 3 Pro: Expert Coastline Monitoring Guide
META: Discover how the Mavic 3 Pro transforms remote coastline monitoring with triple-camera precision, obstacle avoidance, and all-weather reliability for professionals.
TL;DR
- The Mavic 3 Pro's triple-camera system captures coastline erosion data across wide, medium, and telephoto focal lengths in a single flight
- Omnidirectional obstacle avoidance keeps the drone safe when weather shifts suddenly over unpredictable coastal terrain
- D-Log color profile and Hyperlapse capabilities deliver scientific-grade footage and compelling time-based environmental data
- 46 minutes of flight time eliminates the logistical nightmare of battery swaps in remote, hard-to-access shoreline locations
The Problem: Coastline Monitoring Is Broken
Monitoring remote coastlines is one of the most demanding tasks in environmental surveying. Traditional methods—chartering helicopters, deploying ground crews across jagged cliffs, or relying on satellite imagery with week-long refresh cycles—are expensive, dangerous, and painfully slow.
I've spent the last three years photographing and documenting shoreline erosion across remote Pacific Northwest coastlines. The challenges are relentless: salt spray corroding equipment, violent wind gusts appearing out of nowhere, and terrain so rugged that getting a tripod into position can take half a day. What I needed was a drone that could handle the unpredictability of coastal environments while delivering imagery precise enough for scientific analysis.
The Mavic 3 Pro solved problems I didn't even know I had. This guide breaks down exactly how this drone performs under real-world coastal monitoring conditions, what settings produce the best results, and where it genuinely excels over every alternative I've tested.
Why the Mavic 3 Pro Dominates Remote Coastal Work
Triple-Camera System: Three Perspectives, One Flight
The Mavic 3 Pro isn't just another drone with a good camera. It carries three distinct cameras that fundamentally change how you approach coastline documentation:
- 24mm Hasselblad wide-angle (4/3 CMOS, 20MP): Captures sweeping shoreline panoramas and broad erosion patterns
- 70mm medium telephoto (1/1.3-inch CMOS, 48MP): Isolates specific cliff faces, tidal pools, and habitat zones without flying dangerously close
- 166mm telephoto (1/2-inch CMOS, 12MP): Inspects nesting sites, rock formations, and structural damage from a safe, non-intrusive distance
Switching between these cameras mid-flight takes less than two seconds. During a single pass along a 3-kilometer stretch of coastline, I routinely capture wide establishing shots, medium-range erosion documentation, and telephoto close-ups of specific geological features—all without landing or repositioning.
Expert Insight: Start every coastal monitoring flight with the 70mm medium telephoto. It provides the best balance of resolution and field of view for baseline erosion documentation. Reserve the 24mm for contextual mapping shots and the 166mm for anomaly investigation only. This workflow cuts total flight time by roughly 30% compared to using the wide lens for everything and then making separate telephoto passes.
D-Log: The Color Profile That Scientists Actually Trust
Shooting in D-Log isn't optional for serious monitoring work—it's mandatory. The Mavic 3 Pro's D-Log profile preserves over 12.8 stops of dynamic range, which is critical when you're filming dark volcanic rock next to white-capped surf under overcast skies.
Here's what D-Log gives you for coastal work:
- Shadow detail retention in cliff recesses and cave formations
- Highlight preservation across reflective water surfaces
- Color consistency between flights, enabling accurate temporal comparisons
- Maximum flexibility in post-production for scientific color grading
Standard color profiles crush shadow and highlight data irreversibly. When you're comparing erosion imagery captured six months apart, that lost data makes accurate measurement impossible.
When Weather Turned Against Me: A Real-World Stress Test
Three months ago, I was documenting a remote stretch of Oregon coastline that's only accessible by a 45-minute hike through dense forest. The morning forecast showed clear skies with 8 km/h winds. Perfect conditions.
Twelve minutes into my second flight, everything changed. A fog bank rolled in from the northwest at startling speed. Wind gusted from 8 to 38 km/h in under three minutes. Visibility dropped. The temperature plummeted.
Here's what happened with the Mavic 3 Pro—and why it earned my permanent trust.
Obstacle Avoidance Under Pressure
The drone's omnidirectional obstacle avoidance system uses multiple wide-angle vision sensors covering all directions. As the fog reduced visibility, I initiated a Return to Home sequence. The Mavic 3 Pro navigated around a sea stack I could barely see on the controller screen, adjusting its path in real time.
The obstacle avoidance sensors detect objects from up to 200 meters in optimal conditions. Even in degraded visibility, the system identified the rock formation at roughly 40 meters and routed around it without my intervention.
ActiveTrack in Turbulence
Before the weather turned, I had been using ActiveTrack to follow a section of coastline while the drone maintained a consistent offset distance. When the wind hit, ActiveTrack held its Subject tracking lock on the cliff edge. The gimbal stabilization—a 3-axis mechanical system—kept footage usable even as the airframe pitched and rolled in gusts.
The resulting footage showed no more than minor vibration artifacts at the peak of the wind event. I've seen far worse from handheld cameras in calm conditions.
Battery Performance in Cold
The temperature drop tested battery performance. The Mavic 3 Pro's intelligent battery reported 17% faster discharge than normal, but the system proactively alerted me and adjusted the Return to Home threshold. I landed with 22% remaining—more than enough margin.
Technical Comparison: Coastal Monitoring Drones
| Feature | Mavic 3 Pro | Air 3 | Mavic 3 Classic |
|---|---|---|---|
| Camera Systems | Triple (24/70/166mm) | Dual (24/70mm) | Single (24mm) |
| Max Flight Time | 46 min | 46 min | 46 min |
| Obstacle Avoidance | Omnidirectional | Omnidirectional | Omnidirectional |
| Max Video Resolution | 5.1K/50fps | 4K/100fps | 5.1K/50fps |
| D-Log Support | Yes | Yes (D-Log M) | Yes |
| ActiveTrack | 5.0 | 5.0 | 5.0 |
| Sensor Size (Main) | 4/3-inch CMOS | 1/1.3-inch | 4/3-inch CMOS |
| Wind Resistance | Level 6 (13.8 m/s) | Level 6 | Level 6 |
| Weight | 958g | 720g | 895g |
| QuickShots Modes | All 6 modes | All 6 modes | All 6 modes |
| Hyperlapse Modes | 4 modes | 4 modes | 4 modes |
The triple-camera system is the decisive differentiator. For coastline work, the ability to switch to 166mm telephoto without repositioning the aircraft saves significant flight time and battery life—resources that are irreplaceable when you're hours from your vehicle.
Optimal Settings for Coastal Monitoring
Flight Planning
- Set Return to Home altitude to at least 60 meters above the highest coastal obstacle
- Enable APAS 5.0 (Advanced Pilot Assistance System) for dynamic obstacle avoidance during automated flight paths
- Pre-program Hyperlapse waypoint missions for repeatable tidal monitoring sequences
- Use QuickShots Asteroid or Helix modes for standardized site overview documentation that stakeholders instantly understand
Camera Configuration
- Always shoot D-Log for maximum post-production flexibility
- Set the Hasselblad main camera to ISO 100-400 to minimize noise in shadow regions
- Use manual white balance (5500K) for consistency across flights
- Enable 48MP mode on the 70mm camera for maximum erosion detail capture
Pro Tip: Create a custom camera preset for each of the three cameras specifically for coastal work. Name them clearly—"Coast-Wide," "Coast-Mid," "Coast-Tele"—and save them to the controller. When weather changes mid-flight and you need to switch modes fast, fumbling through settings menus is the last thing you want. A single tap should get you shooting in the right configuration within seconds.
Common Mistakes to Avoid
Flying too low over water surfaces. The obstacle avoidance sensors can misread wave reflections, especially in choppy conditions. Maintain at least 10 meters of altitude over active surf zones. The downward vision sensors rely on surface contrast and texture—uniform water confuses them.
Ignoring salt spray accumulation. Even if you never fly through visible spray, coastal air carries microscopic salt particles. After every coastal session, wipe all sensor surfaces and gimbal glass with a microfiber cloth dampened with distilled water. Salt crystal buildup degrades obstacle avoidance accuracy and image quality progressively.
Using auto exposure for scientific documentation. Auto exposure shifts between frames as the drone pans across dark rocks and bright water. This makes temporal comparisons unreliable. Lock exposure manually based on a mid-tone reading from a neutral rock surface.
Neglecting Hyperlapse for tidal patterns. Many operators treat Hyperlapse as a creative tool only. For coastal monitoring, a well-planned Hyperlapse sequence across a tidal cycle produces data that static images simply cannot communicate. Set the drone on a waypoint Hyperlapse and let it capture a full tidal transition automatically.
Skipping pre-flight compass calibration. Coastal environments are magnetically noisy—mineral-rich rocks, nearby metallic structures, and even large tidal movements can affect compass readings. Calibrate before every session, not just when the drone requests it.
Frequently Asked Questions
Can the Mavic 3 Pro handle strong coastal winds reliably?
Yes. The Mavic 3 Pro is rated for Level 6 wind resistance, meaning it can maintain stable flight in sustained winds up to 13.8 m/s (approximately 49.7 km/h). In my field experience, the drone remains fully controllable and produces stabilized footage in gusts up to around 40 km/h. Beyond that, footage quality degrades and battery consumption increases sharply. I recommend setting a personal operational limit of 35 km/h sustained wind for professional monitoring work, giving yourself a safety buffer for unexpected gusts.
How does Subject tracking perform over featureless water?
ActiveTrack performs best when tracking objects with clear visual contrast against their background—cliff edges, rocky outcrops, or coastal structures. Tracking a boat or wildlife over open water works well because the subject contrasts against the uniform surface. Tracking a water feature itself (like a current line) is unreliable because the algorithms need defined edges and texture. For automated shoreline following, use waypoint missions rather than Subject tracking for consistent results.
Is the 166mm telephoto sharp enough for scientific measurement?
The 12MP 1/2-inch sensor on the 166mm camera produces images with sufficient resolution for qualitative monitoring and anomaly detection—identifying new cracks, vegetation changes, or nesting activity. For precise photogrammetric measurement requiring sub-centimeter accuracy, the 20MP Hasselblad main camera or the 48MP medium telephoto are better choices. Use the 166mm for scouting and investigation; use the wider cameras for measurement-grade data capture.
Take Your Coastal Monitoring to the Next Level
The Mavic 3 Pro has fundamentally changed how I approach remote coastline documentation. The triple-camera system eliminates the compromise between coverage and detail. The obstacle avoidance keeps the aircraft safe when conditions deteriorate without warning. And the 46-minute flight time means I spend less time managing batteries and more time capturing the data that matters.
Whether you're documenting erosion for environmental agencies, monitoring wildlife habitats, or building long-term coastal change datasets, this drone delivers professional results in conditions that would ground lesser aircraft.
Ready for your own Mavic 3 Pro? Contact our team for expert consultation.