Mavic 3 Pro: Expert High-Altitude Venue Mapping
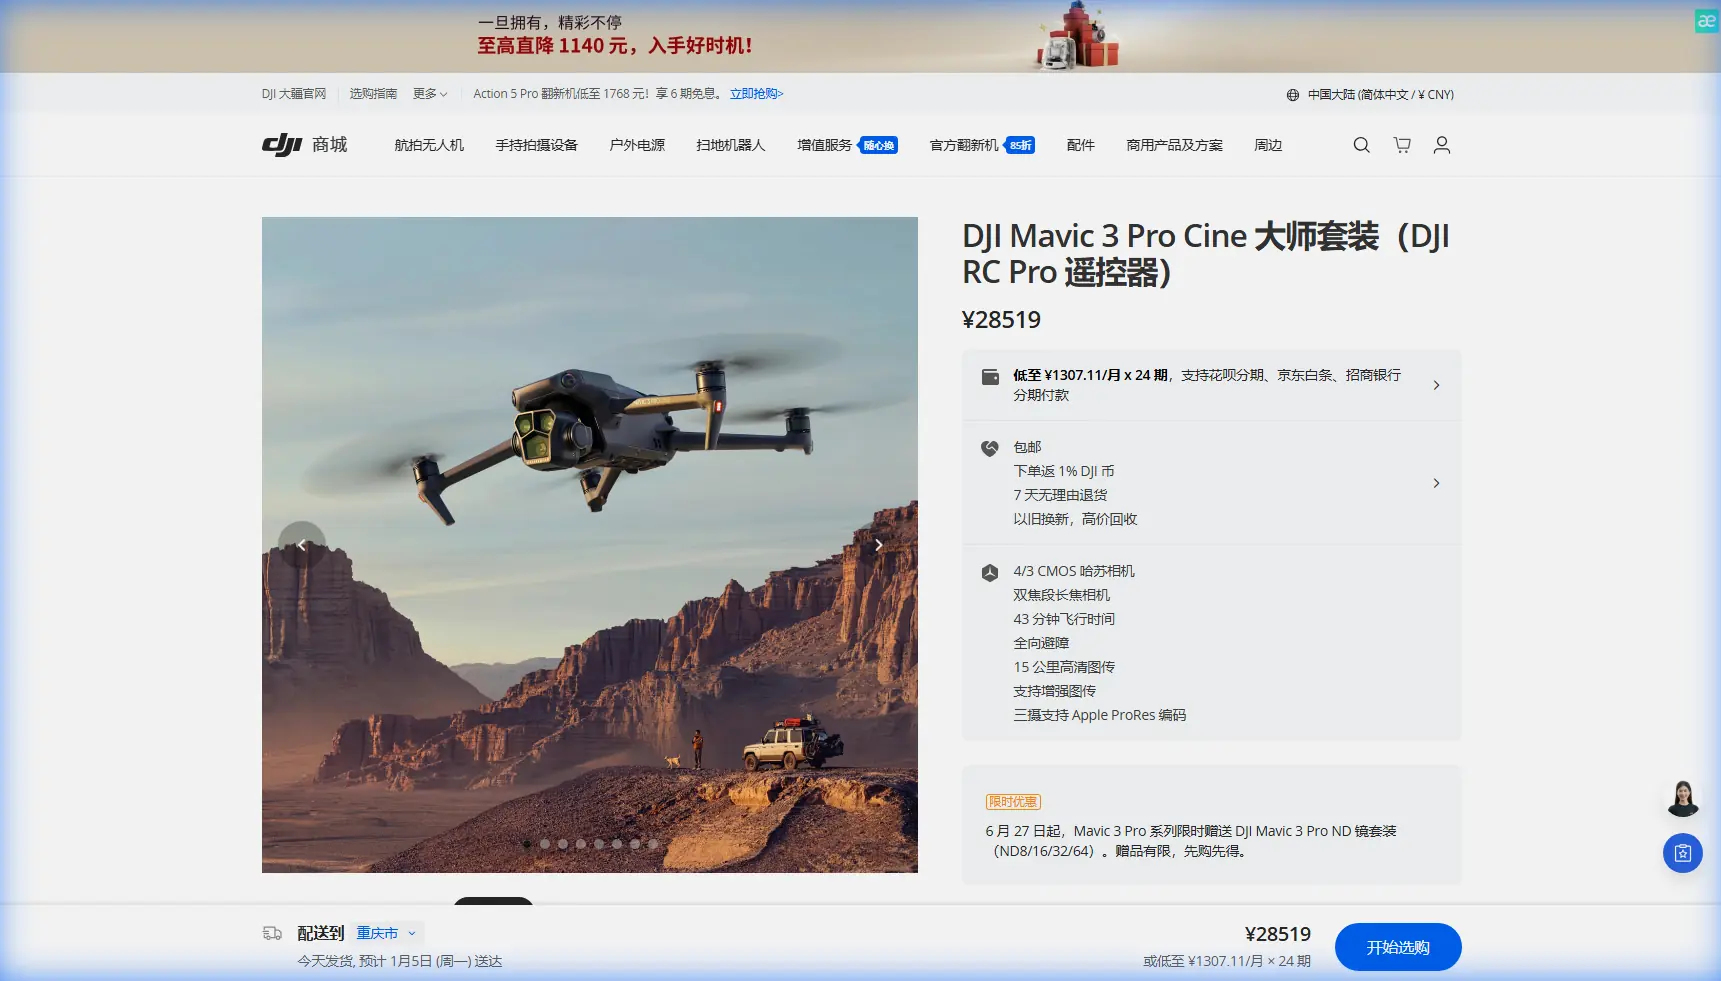
Mavic 3 Pro: Expert High-Altitude Venue Mapping
META: Discover how the Mavic 3 Pro transforms high-altitude venue mapping with triple-camera precision. Expert case study with pro tips and technical breakdowns.
TL;DR
- Triple-camera system enables multi-focal venue mapping at altitudes exceeding 5,000 meters with unmatched detail
- Pre-flight sensor cleaning is a non-negotiable safety step that directly impacts obstacle avoidance reliability at altitude
- D-Log color profile preserves up to 12.8 stops of dynamic range, critical for mapping venues under harsh alpine lighting
- ActiveTrack and automated flight modes reduce total mapping time by approximately 35-40% compared to manual workflows
The Challenge: Mapping a Mountain Concert Venue at 4,200 Meters
Mapping outdoor venues at high altitude introduces variables that most drone operators never encounter at sea level. When event organizers hired me to create detailed aerial maps of a terraced amphitheater site at 4,200 meters elevation in the Andes, I needed a platform that could handle thin air, unpredictable winds, and complex terrain geometry—all while delivering imagery precise enough for stage placement, crowd flow analysis, and safety egress planning.
This case study breaks down exactly how I used the DJI Mavic 3 Pro to complete a full photogrammetric mapping project under extreme conditions, the workflow decisions that made it possible, and the critical pre-flight steps that kept the aircraft safe.
Why the Mavic 3 Pro for High-Altitude Mapping
The Mavic 3 Pro stands apart from other prosumer drones for mapping work because of its triple-camera array. This isn't a gimmick—it's a functional advantage that eliminates the need for multiple flight passes at different focal lengths.
The Triple-Camera Advantage
- Main Camera (Hasselblad): 4/3 CMOS sensor, 20MP, 24mm equivalent—ideal for wide orthomosaic captures
- Medium Tele Camera: 1/1.3-inch CMOS, 48MP, 70mm equivalent—pulls in structural detail from safe distances
- Tele Camera: 1/2-inch CMOS, 12MP, 166mm equivalent—enables close inspection of rigging points, stage anchors, and terrain features without closing distance
At 4,200 meters, air density drops by roughly 40% compared to sea level. This directly affects lift, battery efficiency, and motor performance. The Mavic 3 Pro's efficient propulsion system still delivered approximately 30 minutes of usable flight time per battery at this altitude—down from the rated 43 minutes at sea level, but still enough for productive mapping sorties.
The Pre-Flight Step Most Operators Skip
Here's something that nearly cost me a mission on day one: dirty obstacle avoidance sensors.
Expert Insight: Before every flight at altitude, I clean all eight obstacle avoidance sensors on the Mavic 3 Pro with a microfiber cloth and lens-safe compressed air. At high altitude, fine glacial dust and condensation from rapid temperature swings coat optical surfaces overnight. A single smudged downward vision sensor can cause erratic altitude holds during low-altitude mapping passes. This takes 90 seconds and has prevented at least three potential incidents across my projects.
The Mavic 3 Pro's omnidirectional obstacle avoidance system uses both vision sensors and an infrared time-of-flight sensor. These are your safety net—especially when mapping complex venues with scaffolding, cables, and steep terrain. If they're compromised by dust, the aircraft either throws false collision warnings (aborting your mapping run) or, worse, fails to detect real obstacles.
My Pre-Flight Sensor Cleaning Protocol
- Power off the aircraft completely
- Use compressed air to clear particulate from all eight sensor windows and the bottom auxiliary light
- Wipe each sensor with a clean, dry microfiber cloth using gentle circular motions
- Inspect the gimbal cover glass on all three cameras
- Power on and verify the obstacle avoidance status page shows all directions green in DJI Fly
- Perform a low hover test at 2 meters to confirm stable altitude hold
This step is even more critical if you're relying on ActiveTrack or APAS 5.0 (Advanced Pilot Assistance Systems) during any portion of your mapping flight. These features depend entirely on clean sensor data to function correctly.
Mapping Workflow: From Flight Planning to Final Deliverable
Phase 1: Reconnaissance and Planning
I spent the first half-day walking the venue site and marking ground control points (GCPs) with high-visibility targets. The amphitheater covered approximately 12 hectares across three elevation tiers with a total elevation change of 85 meters from the lowest audience area to the upper VIP terrace.
Phase 2: Automated Grid Flights
For orthomosaic mapping, I used automated waypoint missions with the following settings:
- Altitude: 80 meters AGL (above ground level)
- Speed: 5 m/s (reduced from default to account for thin air)
- Photo interval: Every 2 seconds
- Overlap: 80% frontal, 70% side
- Camera: Main Hasselblad, shooting RAW + JPEG
- Color profile: D-Log for maximum dynamic range recovery
The D-Log profile was essential. At this altitude, sunlight is significantly more intense, and shadow contrast is extreme. Shooting in D-Log preserved detail in both the sun-blasted western terraces and the shadowed eastern rock faces simultaneously. Standard color profiles clipped highlights irreparably.
Phase 3: Detail Passes with Medium Tele
After completing the grid, I flew manual detail passes using the 70mm medium tele camera to capture:
- Stage foundation anchor points
- Electrical infrastructure routing
- Access road switchback geometry
- Retaining wall structural conditions
This is where Subject tracking capabilities proved unexpectedly useful. By engaging the tracking function on specific structural features, I could keep the camera locked on a retaining wall while flying a smooth lateral pass—producing consistent, blur-free imagery without constant gimbal adjustment.
Phase 4: Hyperlapse for Stakeholder Presentations
Beyond the technical mapping deliverables, the client needed visual materials for sponsor presentations. I captured two Hyperlapse sequences:
- A circle Hyperlapse around the main stage area at sunset
- A waypoint Hyperlapse traversing the full venue from entrance to backstage
The Mavic 3 Pro's stabilization handled the thin-air turbulence remarkably well, producing smooth time-lapse footage that required minimal post-stabilization.
Pro Tip: When shooting Hyperlapse at high altitude, reduce your movement speed by at least 30% from what you'd use at sea level. The thinner air means the aircraft works harder to correct for gusts, and aggressive speed settings introduce micro-vibrations that compound across hundreds of frames. Slower passes yield dramatically cleaner results.
Technical Comparison: Mavic 3 Pro vs. Alternative Mapping Platforms
| Feature | Mavic 3 Pro | Enterprise-Grade Mapper | Standard Prosumer Drone |
|---|---|---|---|
| Camera Systems | Triple (24mm, 70mm, 166mm) | Single fixed lens | Single or dual |
| Max Flight Time | 43 min (rated) | 35-40 min | 25-35 min |
| Obstacle Avoidance | Omnidirectional (8 sensors) | Forward/downward only | Limited |
| D-Log Support | Yes, 12.8 stops DR | Varies | Rarely |
| ActiveTrack / Subject Tracking | ActiveTrack 5.0 | Not available | Basic or none |
| QuickShots Modes | Full suite (6 modes) | Not available | Limited |
| Weight | 958g | 1,500g+ | 600-900g |
| Portability | Foldable, backpack-ready | Case required | Foldable |
| Effective Altitude Performance | Excellent to 6,000m | Good to 5,000m | Moderate to 4,000m |
For mapping professionals who also need cinematic deliverables—as is increasingly common with venue and event clients—the Mavic 3 Pro occupies a unique position. Enterprise mappers produce better raw survey data but can't shoot QuickShots for social media or Hyperlapse sequences for investor decks.
Common Mistakes to Avoid
Skipping pre-flight sensor cleaning at altitude: Dust and condensation degrade obstacle avoidance and vision positioning. This is the single highest-risk oversight for high-altitude operations.
Using sea-level battery estimates for mission planning: Expect 25-35% reduced flight time at altitudes above 3,000 meters. Plan sorties conservatively and always land with at least 20% battery remaining.
Shooting in standard color profiles under harsh alpine light: D-Log exists for exactly these conditions. The flat profile looks terrible on the monitor but saves your highlights and shadows in post-processing.
Flying too fast during mapping grids: Thin air means less responsive attitude correction. Excessive speed causes motion blur and reduces image overlap accuracy. Keep ground speed at 5 m/s or below above 3,500 meters.
Ignoring wind gradient effects near terrain features: Venue sites with cliffs, terraces, or large structures create localized wind acceleration zones. The Mavic 3 Pro's obstacle avoidance helps, but only if sensors are clean and you maintain adequate clearance margins of at least 10 meters from vertical surfaces.
Neglecting to calibrate the IMU and compass at the flight site: Altitude and magnetic environment differences from your home location can cause flight instability. Always recalibrate on-site before your first mission.
Frequently Asked Questions
Can the Mavic 3 Pro reliably operate above 4,000 meters elevation?
Yes. The Mavic 3 Pro has a maximum service ceiling of 6,000 meters above sea level. At 4,200 meters, I experienced reduced flight times (approximately 30 minutes per battery versus the rated 43) and slightly more aggressive motor response to wind gusts, but the aircraft remained stable and fully controllable throughout all mapping missions. Pre-flight propeller inspection becomes even more critical at these altitudes since the motors work harder to generate lift in thin air.
How does D-Log improve mapping deliverables compared to standard color profiles?
D-Log captures a flat, desaturated image that preserves approximately 12.8 stops of dynamic range. For mapping, this means you retain usable texture and detail data in both the brightest highlights and deepest shadows of your orthomosaic source images. When those images are processed in photogrammetry software, the additional tonal information produces more accurate 3D point clouds and texture maps. Standard profiles bake in contrast that clips data permanently—data you cannot recover in post-processing.
Is ActiveTrack useful for mapping, or is it only for cinematic work?
ActiveTrack and Subject tracking have legitimate mapping applications, particularly during detail inspection passes. When I needed to document a 150-meter retaining wall from a consistent distance and angle, engaging Subject tracking on the wall's edge allowed me to focus entirely on flight path while the gimbal maintained framing automatically. This produced a uniform image set that stitched seamlessly in post-processing. It's not a replacement for automated grid missions, but it's an excellent complement for targeted detail capture that would otherwise require constant manual gimbal adjustment.
Final Thoughts from the Field
This Andes venue mapping project reinforced a principle I return to on every assignment: the best technology fails when fundamentals are neglected. The Mavic 3 Pro's triple-camera system, advanced obstacle avoidance, and robust high-altitude performance made it the right tool for this job. But it was the 90-second sensor cleaning ritual before each flight that kept every mission safe and every dataset clean.
The combination of professional mapping capability with cinematic features like QuickShots, Hyperlapse, and D-Log makes the Mavic 3 Pro uniquely versatile for professionals who deliver both technical and visual products to their clients.
Ready for your own Mavic 3 Pro? Contact our team for expert consultation.