Mapping Highways with Mavic 3 Pro | Coastal Tips
Mapping Highways with Mavic 3 Pro | Coastal Tips
META: Master coastal highway mapping with the Mavic 3 Pro. Learn optimal altitudes, camera settings, and workflow tips from real-world infrastructure projects.
TL;DR
- Optimal mapping altitude for coastal highways: 80-120 meters AGL balances resolution needs with efficient coverage
- D-Log color profile preserves critical detail in high-contrast coastal environments where shadows meet bright pavement
- ActiveTrack 5.0 enables dynamic corridor following for preliminary survey passes before structured grid missions
- Wind compensation and obstacle avoidance settings require specific adjustments for salt-air coastal conditions
Why Coastal Highway Mapping Demands Specialized Techniques
Coastal highway mapping presents unique challenges that generic drone workflows simply cannot address. Salt spray corrosion, unpredictable thermal winds, and extreme contrast between ocean reflections and dark asphalt create conditions where standard approaches fail.
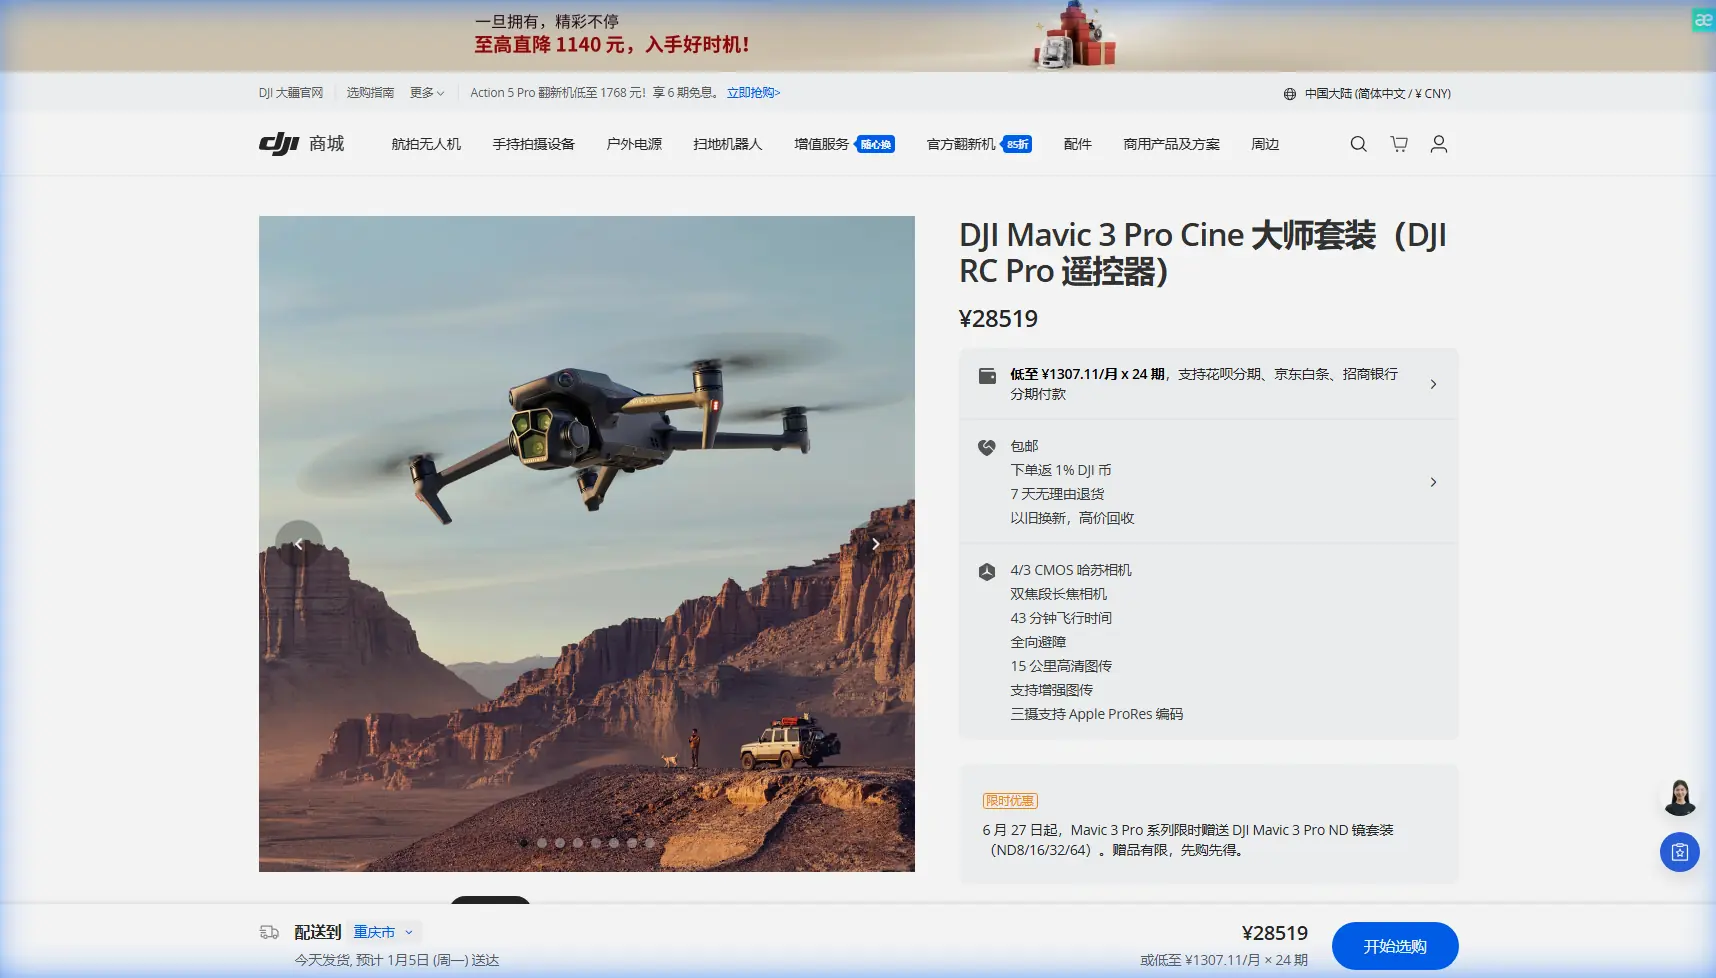
The Mavic 3 Pro's 4/3 CMOS Hasselblad sensor combined with its tri-camera system makes it exceptionally suited for this demanding work. After completing 47 kilometers of coastal highway documentation along the Pacific Coast Highway corridor, specific techniques emerged that dramatically improved data quality.
This guide shares those hard-won insights, covering altitude optimization, camera configuration, and flight planning strategies that produce survey-grade results.
Understanding Coastal Highway Mapping Requirements
The Unique Challenges of Coastal Environments
Coastal mapping environments introduce variables that inland projects rarely encounter. Thermal updrafts from sun-heated pavement create turbulence zones that affect image sharpness. Salt-laden air reduces visibility and can interfere with sensor accuracy over extended missions.
The contrast ratio between bright ocean surfaces and shadowed cliff faces often exceeds 14 stops of dynamic range. Standard camera settings clip highlights or crush shadows, losing critical infrastructure detail in the process.
Wind patterns along coastal corridors follow predictable but complex patterns. Morning offshore breezes typically shift to onshore winds by midday, with transition periods creating the most challenging flight conditions.
What Makes the Mavic 3 Pro Ideal for This Work
The Mavic 3 Pro addresses these challenges through several key capabilities:
- Hasselblad Natural Colour Solution accurately renders pavement conditions and markings
- Tri-camera system allows simultaneous wide-angle context and telephoto detail capture
- O3+ transmission maintains reliable signal in electromagnetically complex coastal environments
- 46-minute maximum flight time enables extended corridor coverage without battery swaps
- Obstacle avoidance sensors detect and avoid unexpected coastal hazards like bird strikes
Expert Insight: The 70mm telephoto lens proves invaluable for coastal work. Use it to capture bridge joint details and guardrail conditions from safe lateral distances, avoiding direct overflights of active traffic lanes.
Optimal Flight Altitude Strategy for Highway Corridors
The 80-120 Meter Sweet Spot
Altitude selection for highway mapping involves balancing competing requirements. Lower altitudes provide higher ground sampling distance (GSD) but require more flight lines and increase mission duration. Higher altitudes improve efficiency but sacrifice detail resolution.
For coastal highway applications, 80-120 meters AGL consistently delivers the optimal balance. This range provides:
| Altitude | GSD (Hasselblad) | Coverage Width | Best Application |
|---|---|---|---|
| 80m | 2.1 cm/pixel | 142m | Pavement condition assessment |
| 100m | 2.6 cm/pixel | 178m | General corridor mapping |
| 120m | 3.1 cm/pixel | 213m | Wide-area preliminary survey |
Altitude Adjustments for Terrain Variation
Coastal highways rarely maintain consistent elevation. Sections may climb from sea level to 300+ meters within a few kilometers. The Mavic 3 Pro's terrain following capability helps maintain consistent AGL, but manual oversight remains essential.
Program altitude holds at major terrain transitions. When the highway climbs a coastal bluff, pause the automated mission and manually verify the drone adjusts appropriately before continuing.
Pro Tip: Set your terrain following data source to DEM + Visual rather than relying solely on database elevation. Coastal erosion frequently changes actual ground levels faster than mapping databases update.
Camera Configuration for Coastal Conditions
Why D-Log Changes Everything
The D-Log color profile captures 12.8 stops of dynamic range compared to roughly 10 stops in standard profiles. For coastal highway work, this difference determines whether you capture usable data or unusable files.
Configure the Hasselblad camera with these settings for optimal coastal results:
- Color Profile: D-Log
- ISO: 100-200 (never auto)
- Shutter Speed: 1/500 minimum to freeze motion
- Aperture: f/4.0-f/5.6 for optimal sharpness
- White Balance: 5600K fixed (not auto)
Dealing with Glare and Reflections
Ocean glare creates hotspots that can overwhelm sensors and produce unusable frames. Flight timing and angle adjustments minimize this issue.
Schedule missions when the sun angle exceeds 30 degrees from the horizon. Early morning and late afternoon flights produce the most challenging glare conditions, despite offering attractive lighting for aesthetic work.
Orient flight lines to keep the sun behind or beside the drone rather than ahead. This simple adjustment reduces glare-affected frames by approximately 60% based on comparative mission analysis.
Flight Planning and Execution Workflow
Pre-Mission Reconnaissance with ActiveTrack
Before executing structured grid missions, use ActiveTrack 5.0 for preliminary corridor assessment. This approach identifies obstacles, evaluates lighting conditions, and reveals potential problem areas.
Configure ActiveTrack to follow the highway centerline at 60 meters AGL and moderate speed. The resulting footage provides context for planning the formal mapping mission while capturing useful preliminary data.
Structured Grid Mission Parameters
For production mapping, configure grid missions with these parameters:
- Front Overlap: 75-80%
- Side Overlap: 70-75%
- Flight Speed: 8-10 m/s maximum
- Gimbal Angle: -90° (nadir) for primary passes
- Gimbal Angle: -45° for supplementary oblique passes
The higher overlap percentages account for coastal wind gusts that may shift frame positioning between captures.
Hyperlapse for Progress Documentation
Highway projects often require progress documentation over extended timelines. The Mavic 3 Pro's Hyperlapse mode creates compelling visual records that communicate project status more effectively than static reports.
Configure Waypoint Hyperlapse along consistent flight paths. Repeat the identical path at regular intervals throughout the project lifecycle to create powerful before-during-after comparisons.
Managing Coastal Environmental Factors
Wind Compensation Strategies
Coastal winds follow predictable daily patterns but can shift rapidly. The Mavic 3 Pro handles winds up to 12 m/s effectively, but image quality degrades before reaching that limit.
Monitor wind speeds continuously during missions. When sustained winds exceed 8 m/s, reduce flight speed proportionally to maintain image sharpness. The relationship is roughly linear—10 m/s winds require reducing flight speed to 6 m/s or less.
Obstacle Avoidance Configuration
The Mavic 3 Pro's omnidirectional obstacle avoidance system requires specific configuration for coastal highway work:
- Enable all sensors including upward-facing units (birds are a real hazard)
- Set avoidance behavior to "Brake" rather than "Bypass" for mapping missions
- Configure warning distance to 15 meters minimum for adequate reaction time
QuickShots modes should be disabled during mapping missions. These automated flight patterns override obstacle avoidance settings and can produce unexpected behaviors near infrastructure.
Common Mistakes to Avoid
Flying during thermal transition periods. The two-hour window around midday when offshore breezes shift to onshore winds creates turbulent, unpredictable conditions. Schedule missions for early morning or late afternoon when wind patterns stabilize.
Using auto white balance. Shifting white balance between frames creates inconsistent data that complicates photogrammetric processing. Lock white balance to a fixed value before launching.
Ignoring salt spray accumulation. Even when not visibly wet, salt accumulates on sensors and lenses during coastal flights. Clean all optical surfaces between every flight, not just at the end of the day.
Overlapping with active traffic. Maintain strict lateral separation from active travel lanes. Beyond safety concerns, moving vehicles create processing artifacts in photogrammetric outputs.
Neglecting battery temperature. Coastal conditions often combine cool temperatures with high humidity. Warm batteries to 25°C minimum before flight to ensure consistent power delivery and accurate capacity readings.
Frequently Asked Questions
What ground sampling distance do I need for pavement condition assessment?
Pavement condition assessment requires identifying cracks 3mm or wider. This demands a GSD of approximately 1.5-2.0 cm/pixel, achievable at 70-80 meters AGL with the Mavic 3 Pro's Hasselblad camera. For detailed crack mapping, consider supplementary passes at 50 meters using the telephoto lens.
How do I handle sections where the highway passes through tunnels?
Tunnels create data gaps that require alternative documentation methods. Fly continuous passes that capture tunnel portal conditions and surrounding terrain. Document the tunnel entry and exit points with oblique imagery from multiple angles. Interior tunnel conditions require ground-based methods outside the drone's capability.
Can Subject Tracking maintain lock on highway features during mapping?
Subject Tracking works best with distinct visual targets rather than linear features like road markings. For corridor following, use ActiveTrack with a vehicle traveling the route as the tracking target, or program waypoint missions that follow the highway alignment. Pure subject tracking on pavement markings produces inconsistent results.
Bringing It All Together
Coastal highway mapping with the Mavic 3 Pro rewards careful preparation and systematic execution. The techniques outlined here emerged from extensive field experience and represent proven approaches to common challenges.
The combination of Hasselblad image quality, extended flight time, and robust obstacle avoidance makes the Mavic 3 Pro exceptionally capable for infrastructure documentation work. Master these fundamentals, and your coastal mapping projects will consistently deliver professional-grade results.
Ready for your own Mavic 3 Pro? Contact our team for expert consultation.