How to Map Mountain Fields with Mavic 3 Pro
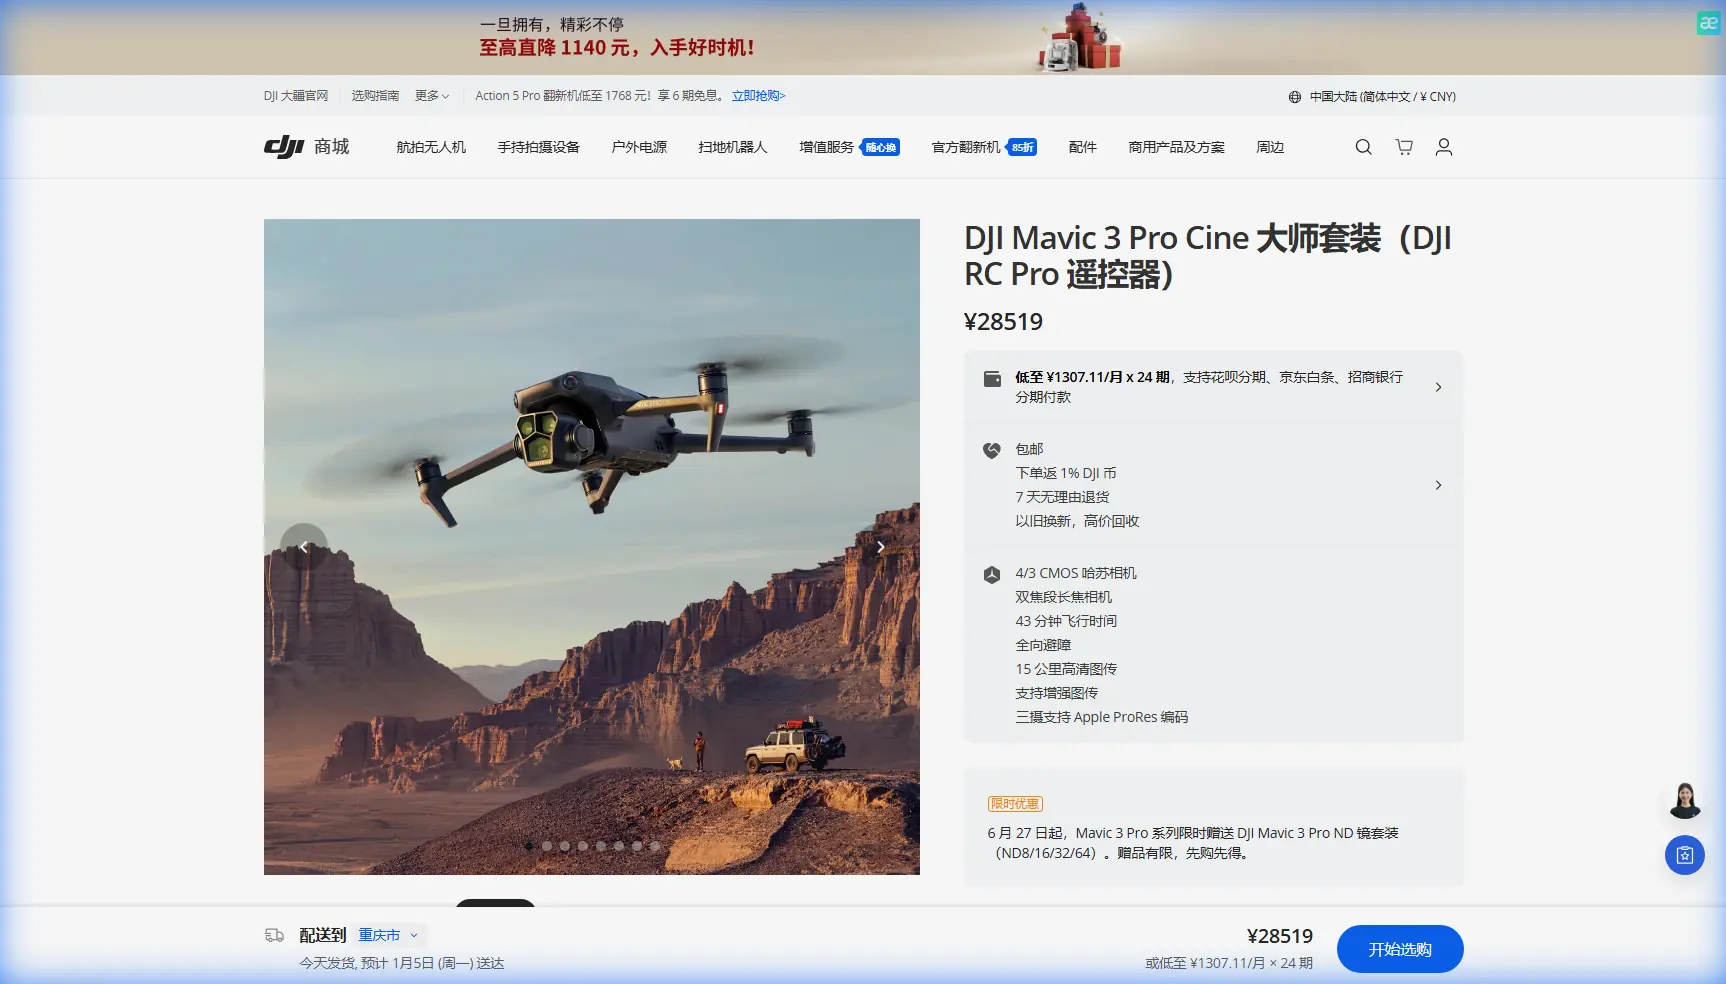
How to Map Mountain Fields with Mavic 3 Pro
META: Master mountain field mapping with the Mavic 3 Pro. Learn terrain techniques, flight settings, and pro workflows for accurate agricultural surveys.
TL;DR
- 4/3 CMOS Hasselblad sensor captures field data with superior dynamic range for accurate crop analysis in challenging mountain light
- Omnidirectional obstacle sensing enables confident low-altitude flights near trees, structures, and uneven terrain
- 46-minute flight time covers up to 200 acres per battery in mountainous regions where elevation changes drain power faster
- Triple-camera system allows simultaneous wide-angle mapping and telephoto detail inspection without landing
Mountain agriculture presents unique mapping challenges that standard consumer drones simply cannot handle. Steep gradients, unpredictable thermals, and dramatic lighting shifts between shadowed valleys and sun-exposed ridges demand specialized equipment and techniques.
The Mavic 3 Pro addresses these challenges with a sensor system and flight capabilities that outperform competitors like the Autel EVO II Pro in high-altitude, variable-terrain environments. This guide walks you through the complete workflow for mapping mountain fields—from pre-flight planning to post-processing deliverables.
Why Mountain Field Mapping Demands Premium Equipment
Traditional flat-terrain mapping follows predictable patterns. You set your altitude, program your grid, and let the drone execute. Mountain fields break every assumption in that workflow.
Elevation changes of 50-200 meters within a single field mean your ground sampling distance (GSD) varies dramatically. A drone flying at a fixed altitude of 120 meters might be 40 meters above one corner of your field and 180 meters above another.
The Mavic 3 Pro's terrain follow mode combined with its 1-inch equivalent sensor maintains consistent GSD across these elevation changes. Competitors using smaller sensors lose critical detail in the high-altitude portions of uneven terrain.
The Hasselblad Advantage for Agricultural Data
Crop health analysis depends on accurate color reproduction. The Mavic 3 Pro's Hasselblad L2D-20c camera delivers:
- 12.8 stops of dynamic range capturing detail in both shadowed valleys and bright ridgelines
- Native D-Log color profile preserving maximum data for NDVI processing
- 20MP resolution at the wide-angle setting for comprehensive field coverage
- Adjustable aperture from f/2.8 to f/11 controlling depth of field in uneven terrain
Expert Insight: When mapping fields with elevation changes exceeding 30 meters, shoot in D-Log rather than standard color profiles. The additional dynamic range prevents blown highlights on sun-facing slopes while retaining shadow detail in valleys—critical for accurate vegetation index calculations.
Pre-Flight Planning for Mountain Terrain
Successful mountain mapping starts hours before you arrive on site. The variables you must account for include wind patterns, solar angle, and terrain obstacles that don't appear on standard maps.
Wind Assessment Protocol
Mountain thermals create unpredictable wind conditions that change throughout the day. The Mavic 3 Pro's obstacle avoidance system helps, but prevention beats reaction.
Optimal flight windows:
- Early morning (sunrise to 10 AM): Thermals haven't developed, winds typically under 10 mph
- Late afternoon (4 PM to sunset): Thermals dissipating, more stable conditions
- Avoid midday: Peak thermal activity creates turbulence near ridgelines
Check wind forecasts at multiple elevations. A calm valley floor often masks 25+ mph winds at ridge height. Apps like Windy or UAV Forecast provide altitude-specific predictions.
Solar Angle Considerations
Shadow patterns in mountain terrain change rapidly. A field that appears fully illuminated at 9 AM might have 40% shadow coverage by 10 AM as the sun angle shifts relative to surrounding peaks.
Planning checklist:
- Calculate sun position for your planned flight time
- Identify potential shadow sources (ridges, trees, structures)
- Schedule flights when shadows fall outside your mapping area
- Allow 15-minute buffer for unexpected delays
Flight Settings for Mountain Mapping
The Mavic 3 Pro offers extensive customization. These settings optimize performance for agricultural mapping in challenging terrain.
Camera Configuration
| Setting | Recommended Value | Rationale |
|---|---|---|
| Photo Format | RAW + JPEG | RAW for processing, JPEG for quick review |
| Color Profile | D-Log | Maximum dynamic range for post-processing |
| Aperture | f/5.6 to f/8 | Sharp across frame, sufficient depth of field |
| ISO | 100-400 | Minimize noise in shadow areas |
| Shutter Speed | 1/500 or faster | Prevent motion blur during flight |
| White Balance | Manual (5500K) | Consistent color across flight |
Flight Parameters
Altitude strategy matters more in mountains than flat terrain. Rather than a single fixed altitude, consider a stepped approach:
- Identify the highest point in your mapping area
- Set your base altitude 40 meters above that point
- Enable terrain follow for consistent GSD
- Program overlap at 75% front, 65% side minimum
The Mavic 3 Pro's ActiveTrack 5.0 isn't typically used for mapping, but the underlying subject tracking algorithms power its terrain-following accuracy. The drone continuously adjusts altitude based on downward sensor data.
Pro Tip: For fields with tree lines or structures, fly your perimeter first at higher altitude to identify obstacles. Then program your grid pattern with obstacle locations marked. This prevents mid-mission interruptions that create data gaps.
Executing the Mapping Mission
With planning complete, execution follows a systematic workflow that maximizes data quality while minimizing battery consumption.
Launch Site Selection
Mountain terrain limits suitable launch locations. Your site must provide:
- Clear line of sight to the entire mapping area
- Level ground for stable takeoff and landing
- GPS signal strength above 12 satellites
- Cellular or RTK signal if using network corrections
The Mavic 3 Pro's QuickShots modes aren't relevant for mapping, but the same sensor suite that enables Hyperlapse captures provides the stability needed for consistent overlap in grid patterns.
Battery Management Strategy
The 46-minute maximum flight time drops significantly in mountain conditions. Expect 30-35 minutes of actual mapping time due to:
- Higher motor power consumption fighting thermals
- Increased altitude requiring more lift
- Cold temperatures reducing battery efficiency
- Safety margins for return-to-home
Per-battery coverage estimates:
- Flat terrain at 120m: 250+ acres
- Moderate slopes (15-30°): 180-200 acres
- Steep terrain (30°+): 120-150 acres
Plan your mission segments around these realistic estimates. The Mavic 3 Pro's battery swap takes under 60 seconds with practice.
Real-Time Monitoring
During flight, monitor these indicators:
- Gimbal pitch angle: Should remain consistent; variations indicate terrain-follow issues
- Ground speed: Drops in headwinds affect image spacing
- Battery temperature: Below 15°C reduces capacity
- Signal strength: Mountains create RF shadows
Post-Processing Mountain Mapping Data
Raw imagery requires processing to become actionable agricultural intelligence. The Mavic 3 Pro's output integrates with standard photogrammetry workflows.
Software Compatibility
The 20MP Hasselblad images process efficiently in:
- DJI Terra: Native integration, terrain-aware processing
- Pix4Dmapper: Industry standard, excellent mountain terrain handling
- Agisoft Metashape: Flexible, handles challenging datasets
- OpenDroneMap: Open-source option for budget-conscious operations
Quality Control Checklist
Before processing, verify:
- Complete coverage with no gaps
- Consistent exposure across all images
- Sufficient overlap (check edge areas)
- No motion blur in sample images
- Accurate GPS timestamps
Common Mistakes to Avoid
Flying in midday thermals: The Mavic 3 Pro handles wind well, but turbulence near ridgelines causes inconsistent altitude and image blur. Schedule flights for stable conditions.
Ignoring elevation-based GSD variation: A fixed altitude produces inconsistent resolution across sloped terrain. Always enable terrain follow or manually adjust altitude for different field sections.
Insufficient overlap on slopes: Standard 70/60 overlap fails on steep terrain. Increase to 80/70 for slopes exceeding 20 degrees.
Single-battery mission planning: Mountain conditions reduce flight time by 25-35%. Plan for multiple batteries and identify safe swap locations before launch.
Neglecting shadow timing: A perfectly executed flight with 30% shadow coverage produces unusable data. Verify sun angle before every mission.
Frequently Asked Questions
How does the Mavic 3 Pro compare to the Phantom 4 RTK for mountain mapping?
The Phantom 4 RTK offers centimeter-level accuracy through integrated RTK, but the Mavic 3 Pro provides superior image quality through its larger sensor and Hasselblad color science. For agricultural applications where vegetation analysis matters more than absolute positioning, the Mavic 3 Pro delivers better results. Its omnidirectional obstacle avoidance also provides significant safety advantages in complex mountain terrain where the Phantom 4 RTK's limited sensors create blind spots.
What ground control point (GCP) strategy works best for mountain terrain?
Place GCPs at elevation extremes—both the highest and lowest points in your mapping area—plus the corners and center. For a typical mountain field, 8-12 GCPs provide sufficient accuracy. The Mavic 3 Pro's GPS achieves 1.5-meter horizontal accuracy without GCPs, but agricultural applications requiring sub-meter accuracy need ground control regardless of drone model.
Can the Mavic 3 Pro map fields in light rain or fog?
The Mavic 3 Pro lacks official weather sealing, so rain operations risk equipment damage. Light fog reduces image contrast and creates processing challenges. For mountain mapping, wait for clear conditions. Morning fog typically clears by mid-morning, providing a window before afternoon thermals develop.
Mountain field mapping transforms agricultural decision-making, revealing drainage patterns, crop stress, and terrain features invisible from ground level. The Mavic 3 Pro's combination of sensor quality, flight endurance, and obstacle awareness makes it the optimal tool for these demanding environments.
Ready for your own Mavic 3 Pro? Contact our team for expert consultation.