Urban Construction Mapping with Mavic 3 Pro
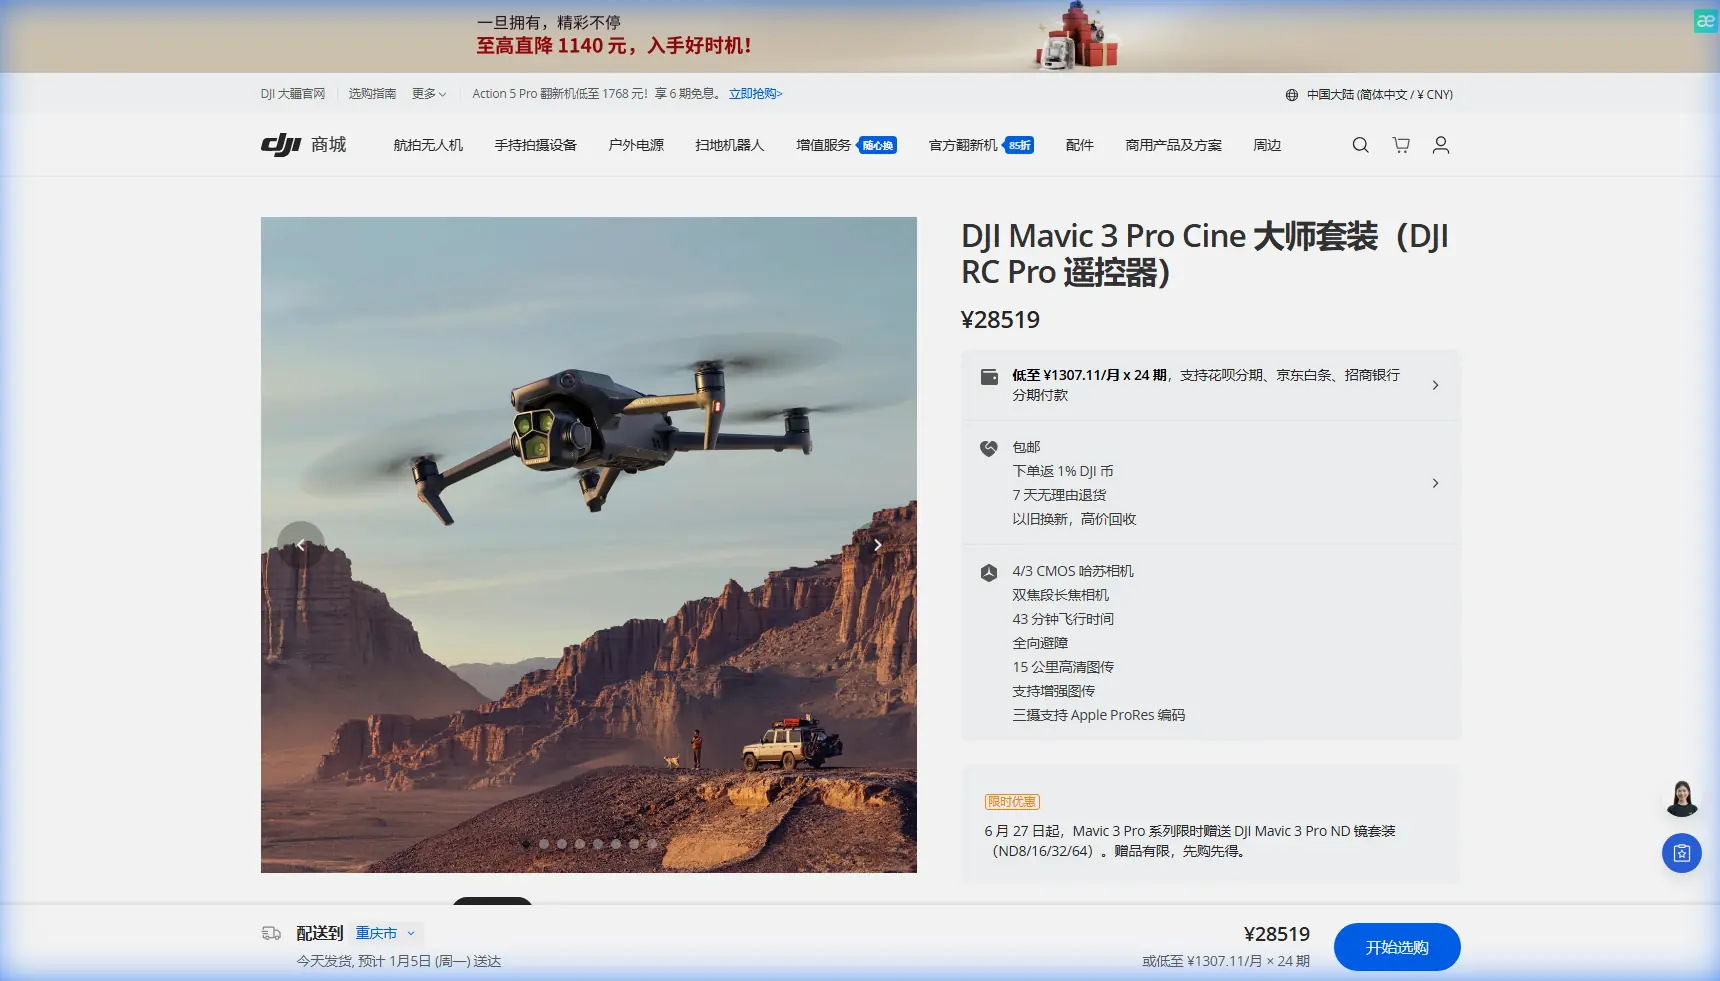
Urban Construction Mapping with Mavic 3 Pro
META: Learn how to map urban construction sites with the DJI Mavic 3 Pro. Expert tutorial covering obstacle avoidance, D-Log, and ActiveTrack workflows.
TL;DR
- Pre-flight sensor cleaning is the most overlooked step that directly impacts obstacle avoidance reliability on urban job sites
- The Mavic 3 Pro's triple-camera system enables multi-resolution mapping passes without swapping hardware
- ActiveTrack 5.0 and intelligent flight modes dramatically reduce the number of manual passes needed for comprehensive site coverage
- Following a structured mapping workflow cuts average urban construction survey time by 35-45%
Why Sensor Cleaning Is Your First Safety Checkpoint
Dusty construction sites destroy mapping accuracy faster than any software limitation. Before every single flight, I clean every obstacle avoidance sensor on the Mavic 3 Pro—all eight vision sensors and the infrared sensing system. A smudge of concrete dust on even one downward-facing sensor can cause erratic altitude holds, missed obstacles, or emergency landings mid-survey.
This is not optional maintenance. It is the single most important pre-flight step that separates professionals from amateurs on active construction sites.
I use a microfiber lens pen and compressed air canister, working front to back: forward vision sensors first, then downward, backward, lateral, and upward. The entire process takes 90 seconds. Those 90 seconds have saved me from at least three potential collisions with cranes and scaffolding over the past year.
Understanding the Mavic 3 Pro's Triple-Camera Advantage for Mapping
The Mavic 3 Pro carries three distinct cameras on a single gimbal, and this changes the entire approach to urban construction mapping.
Camera Breakdown for Site Surveys
- Main Camera (Hasselblad 4/3 CMOS): 20MP, ideal for wide orthomosaic captures and overall site documentation with a 24mm equivalent focal length
- Medium Tele Camera: 48MP at 70mm equivalent, perfect for mid-range structural detail and facade inspections
- Tele Camera: 12MP at 166mm equivalent, used for close-up defect identification on upper floors without flying dangerously close
Instead of flying three separate drones or landing to swap lenses, I switch between all three cameras in a single flight. On a typical 2-acre urban construction site, this reduces total flight time from roughly 6 battery cycles to 3-4.
Expert Insight: Always start your mapping pass with the wide Hasselblad camera for the orthomosaic grid, then switch to the 70mm medium tele for your second pass focusing on vertical structures. Save the 166mm tele for targeted inspection of flagged areas only. This three-pass hierarchy prevents data overload and keeps your photogrammetry software from choking on mixed-resolution datasets.
Step-by-Step Urban Construction Mapping Tutorial
Step 1: Site Assessment and Airspace Check
Before powering on the Mavic 3 Pro, walk the site perimeter and identify:
- Crane positions and their swing radii
- Temporary structures like scaffolding that may not appear on older maps
- Active work zones where personnel are present
- RF interference sources such as welding equipment or heavy generators
- Restricted airspace overlaps from nearby helipads or hospitals
Document these in your flight planning app. I use DJI Pilot 2 on the DJI RC Pro controller for its waypoint mission capabilities.
Step 2: Configure Obstacle Avoidance for Urban Environments
The Mavic 3 Pro offers omnidirectional obstacle sensing with an effective range of 0.5m to 20m on the forward sensors. For construction sites, I configure the following settings:
- Set obstacle avoidance to Brake mode, not Bypass (Bypass can send the drone into unpredictable lateral paths near scaffolding)
- Set minimum return-to-home altitude at least 15 meters above the tallest structure on site
- Enable APAS 5.0 only during transit flights, disable during precision mapping runs
- Configure a geofence around the site boundary with a 30-meter buffer
Step 3: Plan Your Grid Flight for Orthomosaic Capture
For accurate construction mapping, your grid parameters matter enormously:
- Altitude: 60-80 meters AGL for full-site orthomosaics
- Front overlap: 80%
- Side overlap: 70%
- Speed: 5-7 m/s maximum
- Camera angle: Nadir (straight down, -90°)
- Image format: RAW (DNG) for maximum post-processing flexibility
Program these into a waypoint mission. The Mavic 3 Pro's 43-minute maximum flight time gives you substantial coverage per battery, but on construction sites with active obstacle avoidance engaged, expect 30-35 minutes of effective mission time due to the additional processing load on the flight computer.
Step 4: Execute Vertical Structure Passes
After the nadir grid, switch to the 70mm medium tele camera and fly oblique passes at 45-degree gimbal angles around all vertical structures. This captures facade data that straight-down passes completely miss.
Fly these passes at 40-50 meters AGL with the camera angled at -45°, circling each building face in a structured pattern. The medium tele's 48MP resolution at this range delivers approximately 0.5 cm/pixel ground sample distance—more than sufficient for identifying rebar exposure, formwork alignment issues, and concrete pour defects.
Step 5: Targeted Inspection with the Tele Camera
Switch to the 166mm tele camera for specific areas flagged by the project manager. This is where Subject tracking via ActiveTrack 5.0 becomes valuable—not for tracking moving subjects, but for locking the camera onto a specific structural feature while you manually fly a slow arc around it.
Lock the tracking box on a column joint or beam connection, then fly a gentle semicircle at a safe distance. The gimbal automatically keeps the subject centered while you focus entirely on flight safety. This technique produces 12-18 high-resolution images per feature with consistent framing.
Pro Tip: When using ActiveTrack for structural inspection, reduce your maximum flight speed to 2 m/s and keep the drone at least 8 meters from any surface. The tele camera's reach means you never need to get dangerously close. If ActiveTrack loses the subject lock near a reflective glass facade, immediately switch to manual gimbal control—reflective surfaces confuse the tracking algorithm.
Optimizing Camera Settings for Construction Environments
D-Log Color Profile for Maximum Data Retention
Shoot in D-Log color profile on the Hasselblad main camera for all mapping flights. D-Log preserves 12.8 stops of dynamic range, which is critical when mapping sites with deep shadows cast by partially constructed buildings adjacent to sunlit concrete surfaces.
Standard color profiles clip highlights on bright concrete and lose shadow detail in structural cavities. D-Log captures everything, and your photogrammetry software processes the full tonal range into more accurate 3D models.
Hyperlapse for Progress Documentation
Beyond technical mapping, clients expect visual progress reports. The Mavic 3 Pro's Hyperlapse mode in Waypoint configuration lets you program an identical flight path and execute it weekly. The resulting time-lapse sequences provide compelling visual evidence of construction progress.
Set Hyperlapse to capture at 2-second intervals with a 5-second output interval for smooth results. Save individual frames as well as the compiled video—the frames serve as timestamped documentation.
QuickShots for Client Presentations
QuickShots modes—particularly Orbit and Helix—produce polished cinematic clips of the site for stakeholder meetings. While not technically part of the mapping workflow, a 60-second QuickShots compilation at the end of a survey flight takes minimal additional battery and significantly elevates the professionalism of your deliverables.
Technical Comparison: Mapping Capabilities
| Feature | Mavic 3 Pro | Mavic 3 Enterprise | Phantom 4 RTK |
|---|---|---|---|
| Camera System | Triple (24/70/166mm) | Dual (24/56mm) + Thermal | Single (24mm) |
| Max Resolution | 48MP (medium tele) | 48MP (wide) | 20MP |
| Obstacle Avoidance | Omnidirectional | Omnidirectional | Forward/Backward |
| Max Flight Time | 43 min | 45 min | 30 min |
| RTK Support | No (PPK via third-party) | Yes (built-in) | Yes (built-in) |
| D-Log Support | Yes | No | No |
| ActiveTrack | 5.0 | Not available | Not available |
| Weight | 958g | 920g | 1391g |
| Ideal Use Case | Visual mapping + inspection | Survey-grade mapping | Precision surveying |
Common Mistakes to Avoid
Flying too fast during grid passes. Exceeding 7 m/s on the Mavic 3 Pro causes subtle motion blur in RAW captures that degrades orthomosaic stitching accuracy. Slow down. The battery life supports it.
Ignoring wind data between buildings. Urban construction sites create wind tunnels between structures. The Mavic 3 Pro handles Level 6 winds (39-49 km/h), but turbulence between buildings is unpredictable. Monitor the wind warning indicator constantly and abort if gusts exceed 40 km/h.
Using Bypass obstacle avoidance on active sites. Bypass mode tells the drone to find an alternate path around obstacles. Near cranes and scaffolding, this can route the drone into an even more dangerous position. Always use Brake mode on construction sites.
Neglecting the downward sensors in dusty conditions. Concrete dust, sawdust, and particulate matter accumulate on downward vision sensors within minutes on active construction sites. If the drone suddenly shows altitude instability, land immediately and clean the sensors. This ties directly back to the pre-flight cleaning protocol that should anchor every survey operation.
Shooting in JPEG instead of RAW. JPEG compression destroys the subtle tonal gradations that photogrammetry software needs to distinguish surface textures and calculate accurate depth maps. Always shoot DNG RAW for mapping missions, regardless of storage constraints. Carry extra microSD cards—the Mavic 3 Pro supports UHS-I Speed Class 3 cards and higher.
Frequently Asked Questions
Can the Mavic 3 Pro produce survey-grade maps without RTK?
The Mavic 3 Pro does not have built-in RTK, so it cannot natively produce survey-grade accuracy (typically 1-2 cm). With onboard GPS alone, expect 1-3 meter horizontal accuracy. You can improve this to 3-5 cm by placing ground control points (GCPs) across your site and processing through photogrammetry software like Pix4D or DroneDeploy. For projects requiring true RTK precision, consider the Mavic 3 Enterprise, but for visual documentation, progress tracking, and volumetric estimation, the Mavic 3 Pro's accuracy is more than sufficient.
How many batteries do I need for a typical urban construction site survey?
For a 1-2 acre urban construction site using the three-pass workflow described above (nadir grid, oblique passes, targeted inspection), plan for 3-4 fully charged batteries. The Fly More Combo includes 3 batteries and a charging hub. I carry 5 batteries minimum to account for wind-related hovering delays, obstacle avoidance pauses, and the occasional aborted run. Each battery charges from empty to full in approximately 96 minutes via the standard charger.
Is ActiveTrack safe to use near construction structures?
ActiveTrack 5.0 is safe when used correctly with Brake-mode obstacle avoidance enabled, flight speeds limited to 2 m/s, and a minimum 8-meter clearance from all structures. Never use ActiveTrack in Trace mode (where the drone follows behind a target) near buildings—use Spotlight mode instead, which locks the camera on the subject while you retain full manual control over the drone's flight path. This gives you the framing benefit of Subject tracking without surrendering navigation control in a complex environment.
Start Mapping Your Construction Sites Today
The Mavic 3 Pro's triple-camera system, robust obstacle avoidance, and intelligent flight modes make it one of the most versatile tools available for urban construction mapping. Pair it with a disciplined pre-flight cleaning routine and a structured three-pass workflow, and you will deliver faster, more detailed site surveys than traditional methods allow.
Ready for your own Mavic 3 Pro? Contact our team for expert consultation.