Mavic 3 Pro Wildlife Inspection: Expert How-To Guide
Mavic 3 Pro Wildlife Inspection: Expert How-To Guide
META: Learn how to inspect wildlife in dusty environments with the Mavic 3 Pro. Expert tips on obstacle avoidance, ActiveTrack, and D-Log settings.
TL;DR
- The Mavic 3 Pro's tri-camera system outperforms single-sensor competitors for identifying and tracking wildlife across vast, dusty terrain
- ActiveTrack 5.0 and omnidirectional obstacle avoidance let you follow animals through unpredictable environments without risking crashes
- D-Log color profile preserves critical detail in haze-heavy, low-contrast conditions that would clip highlights on lesser drones
- This guide walks you through every step—from pre-flight dust mitigation to post-processing workflows for professional wildlife inspection deliverables
Why the Mavic 3 Pro Dominates Dusty Wildlife Inspections
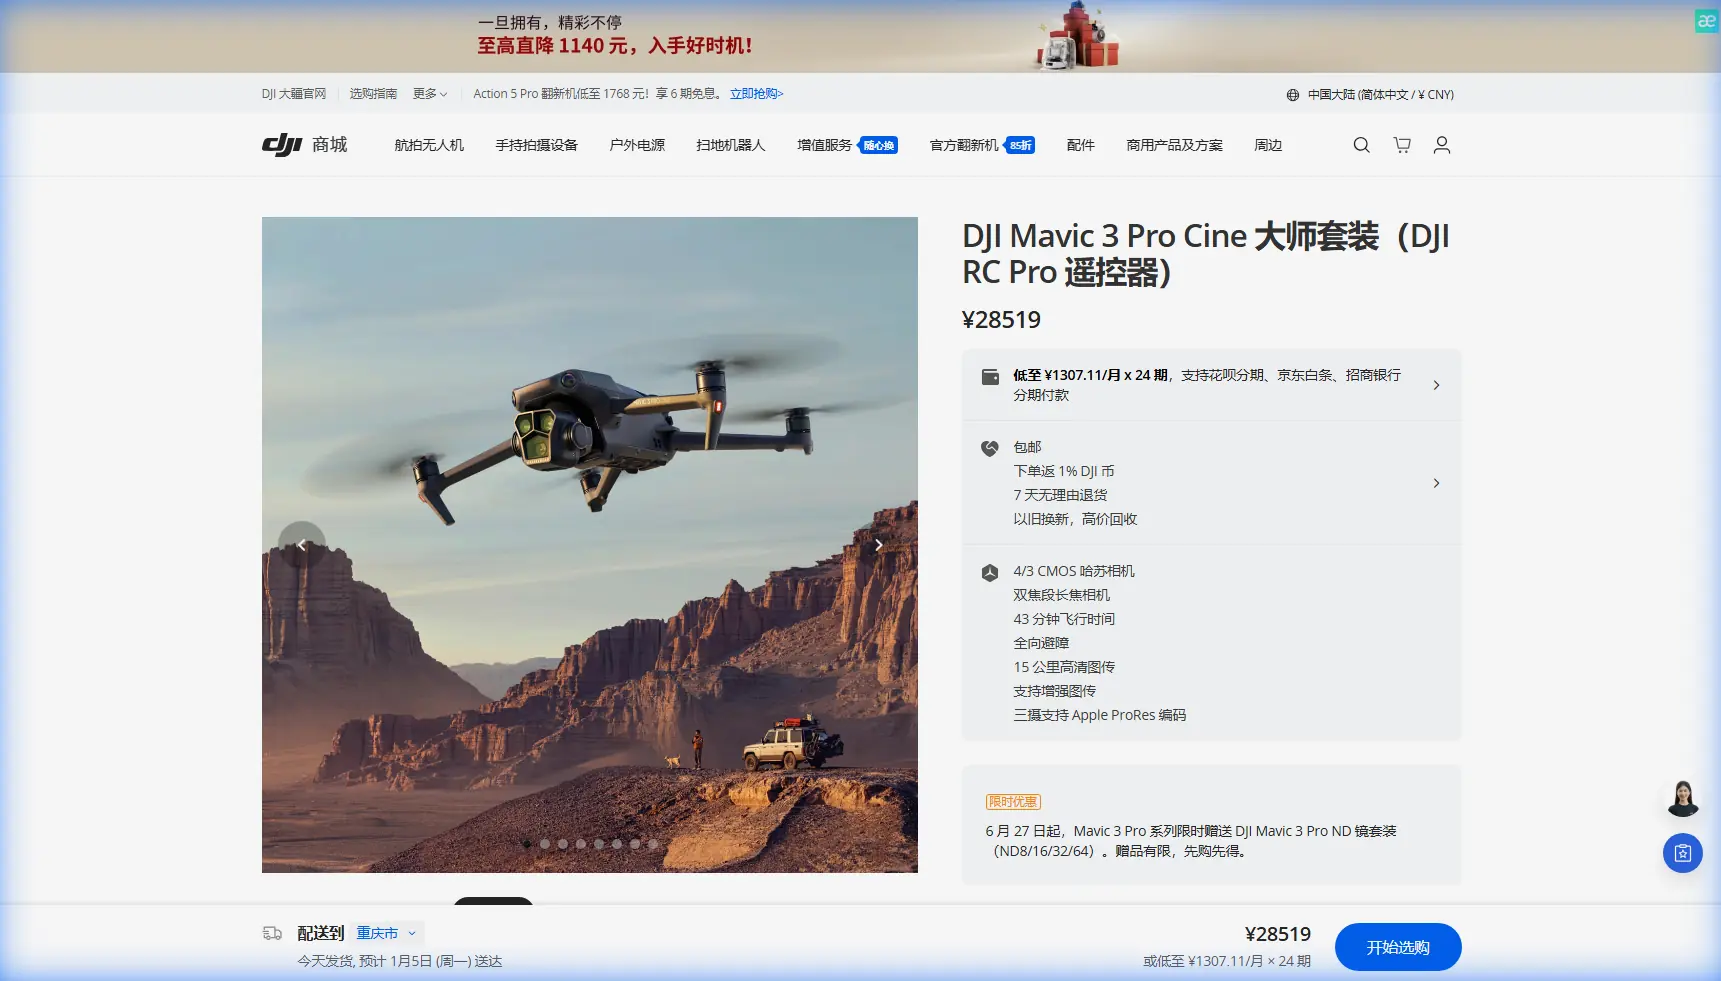
Wildlife inspections in dusty environments punish weak equipment. Particulate-filled air degrades image quality, obscures subjects, and clogs mechanical components—turning a routine aerial survey into a frustrating failure. The Mavic 3 Pro solves these problems with a tri-camera Hasselblad system, omnidirectional obstacle avoidance, and 46 minutes of flight time that collectively outclass every competing platform in this price tier.
Whether you're surveying elephant herds on arid plains, monitoring raptor nests along desert ridgelines, or cataloging reptile populations in scrubland, this guide gives you a repeatable, professional workflow. I've spent three years flying wildlife inspections across four continents, and the Mavic 3 Pro has become the tool I reach for first—every single time.
Step 1: Pre-Flight Preparation for Dusty Conditions
Dust is the silent killer of drone operations. Before you even power on the Mavic 3 Pro, proper preparation will determine whether your mission succeeds or your aircraft comes home damaged.
Gear Protection Essentials
- Apply lens protector filters to all three cameras (wide, medium telephoto, and tele)
- Seal gimbal covers until moments before takeoff to prevent particulate ingress
- Carry compressed air canisters for field cleaning of vents and sensor windows
- Use a portable landing pad (minimum 75 cm diameter) to minimize dust kicked up during takeoff and landing
- Pack silica gel packets inside your transport case to combat humidity that turns dust into abrasive paste
Environment Assessment
Before launching, assess wind speed and direction. Dusty environments with winds above 10 m/s will significantly reduce visibility and stress the obstacle avoidance sensors. The Mavic 3 Pro can handle gusts up to 12 m/s, but for wildlife inspection work where image clarity matters, I recommend flying only when sustained winds stay below 8 m/s.
Pro Tip: Launch from an elevated, hard-packed surface whenever possible. Launching from loose sand or dry soil creates a dust vortex that immediately coats your sensors. I carry a folding aluminum table specifically for desert launches—it's saved my gimbal more times than I can count.
Step 2: Optimal Camera Configuration for Wildlife in Dust
The Mavic 3 Pro's triple-lens system is where it decisively outperforms competitors like the Autel EVO II Pro V3 or the older Mavic 3 Classic. While those platforms rely on a single focal length, the Mavic 3 Pro gives you three distinct perspectives without swapping lenses or repositioning:
| Feature | Mavic 3 Pro | Autel EVO II Pro V3 | Mavic 3 Classic |
|---|---|---|---|
| Camera Sensors | 3 (Tri-Camera) | 1 | 1 |
| Primary Sensor | 4/3 CMOS Hasselblad | 1-inch CMOS | 4/3 CMOS Hasselblad |
| Focal Lengths | 24mm / 70mm / 166mm | 23mm only | 24mm only |
| Max Video Resolution | 5.1K/50fps | 6K/30fps | 5.1K/50fps |
| Obstacle Avoidance | Omnidirectional (APAS 5.0) | Omnidirectional | Omnidirectional |
| ActiveTrack Version | 5.0 | 2.0 | 5.0 |
| Max Flight Time | 46 min | 42 min | 46 min |
| D-Log Support | Yes (D-Log M) | Yes (Log) | Yes (D-Log M) |
| Subject Tracking in Dust | Excellent | Moderate | Good |
Configuring the Tri-Camera System
For wildlife inspections, I use a deliberate focal-length strategy:
- 24mm (wide): Establishing shots of habitat, herd overviews, and terrain mapping
- 70mm (medium telephoto): The workhorse—ideal for individual animal identification at 100-150 m distance without disturbing subjects
- 166mm (telephoto): Close-up detail work such as tag reading, injury assessment, and behavioral documentation at distances exceeding 200 m
D-Log M: Your Secret Weapon Against Dust Haze
Switch to D-Log M color profile immediately. Dusty environments create a persistent atmospheric haze that compresses dynamic range. Standard color profiles clip highlights in bright dust clouds and crush shadows on animal subjects beneath them.
D-Log M preserves approximately 12.8 stops of dynamic range, giving you the latitude in post-processing to cut through haze, recover highlight detail in sun-blasted terrain, and pull shadow detail from dark-furred animals in bright surroundings.
Recommended D-Log M settings for dusty wildlife inspection:
- ISO: 100-400 (never exceed 800 in dust; noise compounds with haze)
- Shutter Speed: 1/500s minimum for animals in motion
- Aperture: f/2.8 to f/5.6 on the Hasselblad main camera
- White Balance: Manual at 5600K (auto white balance struggles with dust-tinted light)
Step 3: Deploying ActiveTrack and Subject Tracking
ActiveTrack 5.0 on the Mavic 3 Pro transforms wildlife inspection from a stressful manual piloting exercise into a semi-automated workflow. Here's how to deploy it effectively.
Locking Onto Wildlife Subjects
- Open the camera view on DJI RC Pro
- Tap and drag a selection box around your target animal
- Select Trace mode for following alongside moving herds or Spotlight mode to keep a stationary nest centered while you orbit
- The Mavic 3 Pro's vision sensors and AI processing will maintain lock even as animals change speed and direction
The system excels compared to Autel's tracking, which frequently loses subjects against same-color backgrounds. The Mavic 3 Pro's tri-camera fusion processing cross-references depth data from all three lenses, maintaining subject tracking even when dust partially obscures the view.
Expert Insight: When tracking herds, lock ActiveTrack onto the lead animal rather than a mid-group subject. Lead animals dictate movement direction, giving the drone's predictive algorithm its best chance at smooth, uninterrupted tracking. I learned this the hard way after losing tracking lock seven times in one flight while locked onto a mid-herd zebra in Namibia.
Step 4: Using QuickShots and Hyperlapse for Documentation
Wildlife inspection reports that include dynamic footage command more attention from conservation stakeholders and funding bodies. The Mavic 3 Pro's QuickShots and Hyperlapse modes automate cinematic movements that would otherwise require expert piloting.
Best QuickShots for Wildlife Inspection
- Dronie: Pulls back and up from a subject—perfect for revealing habitat context around a nesting site
- Circle: Orbits a fixed point—ideal for documenting a water source and all animals using it
- Helix: Ascending spiral that combines Circle and Dronie—creates compelling overview footage of large herds
Hyperlapse for Behavioral Documentation
Set a waypoint Hyperlapse over a known wildlife corridor and let the Mavic 3 Pro capture hours of compressed activity. With 46 minutes of battery life, you can capture extended Hyperlapse sequences that reveal animal movement patterns invisible in real-time observation.
Hyperlapse settings for dusty environments:
- Interval: 2-3 seconds for slow-moving wildlife
- Duration: 10-15 minutes of real-time capture per battery
- Resolution: 1080p minimum (Hyperlapse processing is resource-intensive)
Step 5: Obstacle Avoidance Strategy in Open Terrain
Don't assume open terrain means no collision risk. Dusty wildlife environments are filled with dead trees, power lines near water sources, cliff faces, and sudden terrain elevation changes.
The Mavic 3 Pro's APAS 5.0 omnidirectional obstacle avoidance uses sensors covering all six directions—forward, backward, left, right, upward, and downward. Set obstacle avoidance to Bypass mode rather than Brake mode during active tracking flights. This allows the drone to route around obstacles while maintaining subject lock, rather than stopping dead and losing the track.
- Always keep obstacle avoidance ON during wildlife flights—animals are unpredictable
- Clean all vision sensors before every flight; dust coating degrades detection range from 200 m down to as little as 50 m
- Set minimum altitude to 15 m AGL in terrain-follow mode to avoid sudden ground rises
Common Mistakes to Avoid
Flying too close to subjects. Drones stress wildlife. Maintain a minimum distance of 100 m for large mammals and 150 m for birds. The 166mm telephoto lens exists precisely so you don't need to crowd your subjects.
Ignoring dust buildup mid-flight. If you notice image softness developing during a flight, land immediately and clean the lens protectors. Continuing to fly produces unusable footage and wastes battery.
Shooting in standard color profiles. Dusty environments demand the latitude of D-Log M. Shooting in Normal or HLG modes may look acceptable on the small controller screen but reveals clipped data in post-processing that cannot be recovered.
Skipping ND filters. Bright, dusty environments require ND16 or ND32 filters to maintain proper shutter speeds. Without them, you'll be forced into tiny apertures that emphasize dust spots on the sensor cover glass.
Neglecting post-flight cleaning. After every flight in dusty conditions, use compressed air on all vents, gimbal joints, and sensor windows. Fine particulate causes wear over time that voids warranty coverage and degrades obstacle avoidance reliability.
Frequently Asked Questions
Can the Mavic 3 Pro's ActiveTrack follow fast-moving wildlife like running antelope?
Yes. ActiveTrack 5.0 can track subjects moving up to 28 m/s (roughly 100 km/h), which exceeds the top speed of virtually every terrestrial animal. The key is ensuring clean sensor windows and adequate lighting so the AI maintains visual lock. In dusty conditions, use the 70mm medium telephoto for tracking rather than wide angle—it gives the algorithm a larger subject profile against the background.
How does dust affect the Mavic 3 Pro's obstacle avoidance performance?
Dust reduces the effective detection range of vision-based obstacle avoidance sensors. Under clean conditions, the system detects obstacles at up to 200 m. In heavy dust, expect that range to drop to 50-80 m. Clean all sensor windows before each flight and reduce maximum flight speed to give the system more reaction time. Never disable obstacle avoidance in dusty environments—reduced visibility affects your judgment as a pilot just as much as it affects the sensors.
What's the best way to handle Mavic 3 Pro footage shot in D-Log M for wildlife reports?
Import D-Log M footage into DaVinci Resolve or Adobe Premiere Pro and apply the DJI D-Log M to Rec. 709 LUT as a starting point. From there, use dehaze tools to cut through atmospheric dust, boost midtone contrast to separate animal subjects from terrain, and apply targeted color grading to restore natural fur and feather tones. Export at 4K minimum for professional inspection reports. The 12.8 stops of dynamic range captured in D-Log M give you extraordinary flexibility—you'll recover detail that looked completely lost in the field.
Ready for your own Mavic 3 Pro? Contact our team for expert consultation.