Expert Venue Inspecting with the Mavic 3 Pro Drone
Expert Venue Inspecting with the Mavic 3 Pro Drone
META: Master remote venue inspections with the Mavic 3 Pro. Learn expert techniques for obstacle avoidance, D-Log capture, and efficient workflows.
TL;DR
- The Mavic 3 Pro's triple-camera system captures venue details from wide establishing shots to telephoto close-ups without repositioning
- Obstacle avoidance sensors enable confident flying in complex remote structures with minimal collision risk
- D-Log color profile preserves maximum dynamic range for professional inspection documentation
- Third-party ND filter kits dramatically improve footage quality in challenging outdoor lighting conditions
Why Remote Venue Inspections Demand the Right Drone
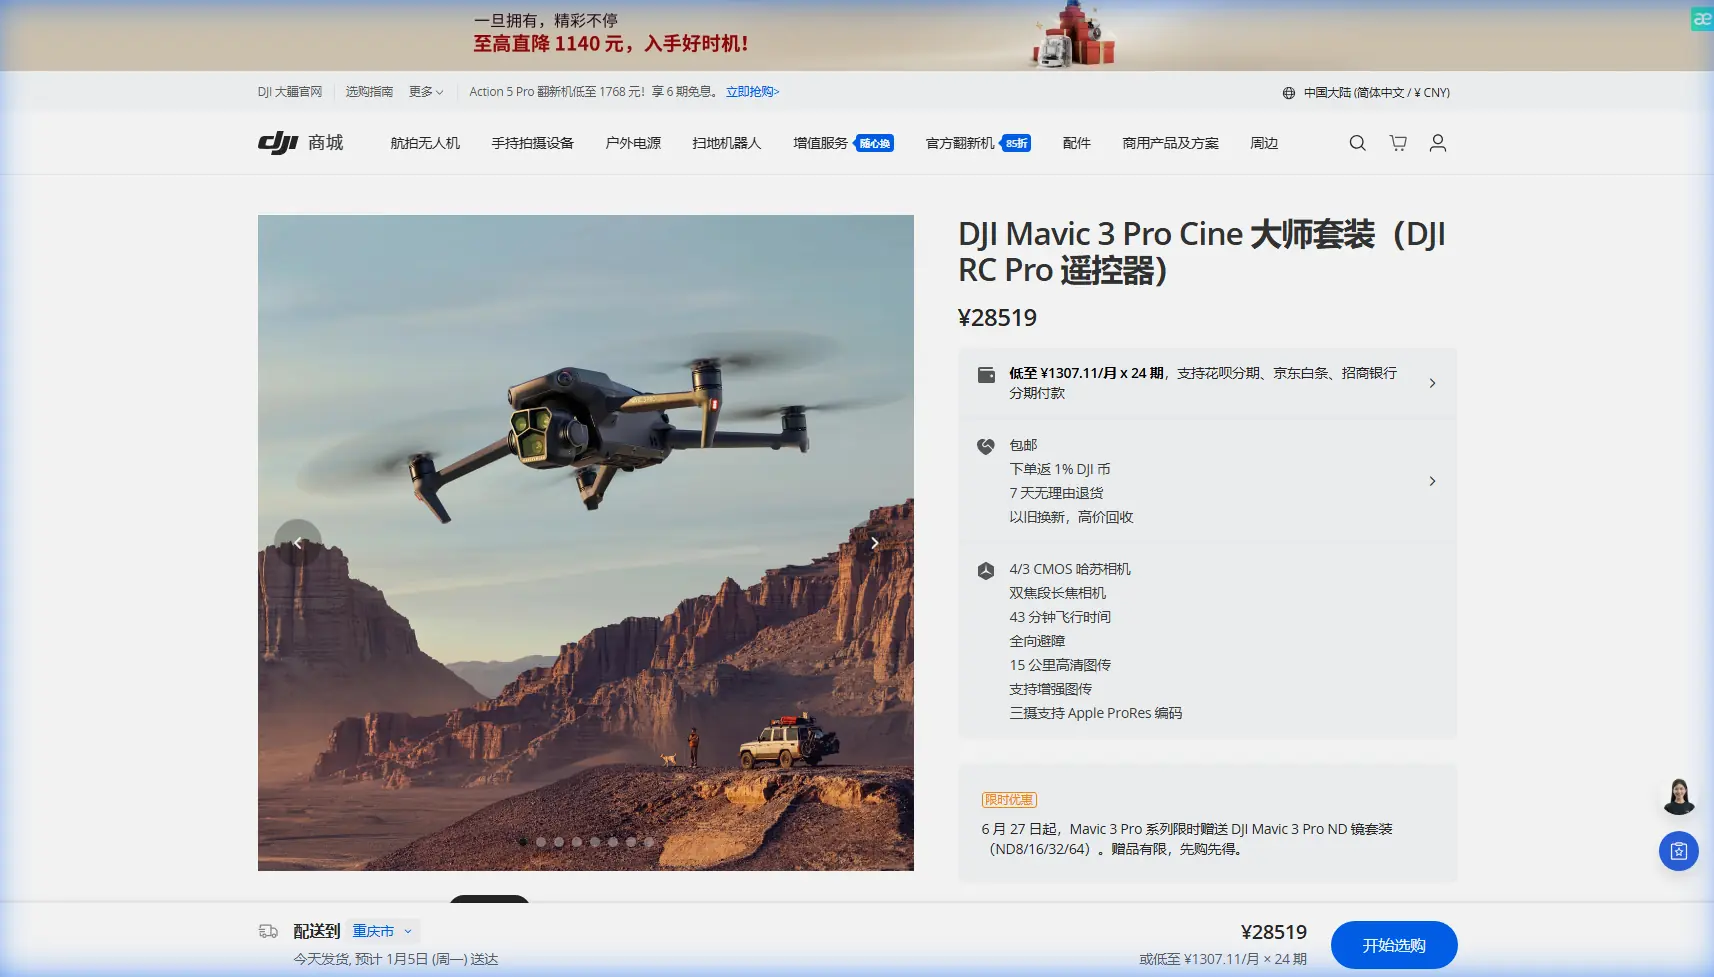
Inspecting venues in remote locations presents unique challenges that ground-based photography simply cannot solve. The Mavic 3 Pro delivers a triple-camera Hasselblad system with focal lengths spanning 24mm to 166mm equivalent—here's how to leverage every capability for thorough, efficient venue documentation.
Whether you're scouting wedding locations, evaluating event spaces, or documenting historical sites, this guide walks you through professional techniques that transform raw aerial footage into actionable inspection reports.
Understanding the Mavic 3 Pro's Inspection Advantages
The Triple-Camera System Explained
The Mavic 3 Pro distinguishes itself through three distinct cameras working in harmony:
- Main Camera (24mm equivalent): 4/3 CMOS sensor with 20MP resolution for wide venue context shots
- Medium Tele (70mm equivalent): 48MP sensor ideal for architectural details and structural elements
- Tele Camera (166mm equivalent): 12MP sensor for distant inspection points without approaching structures
This configuration eliminates the constant repositioning required with single-camera drones. During a recent alpine resort inspection, I captured exterior panoramas, window conditions, and rooftop details from a single hover position 300 feet away.
Expert Insight: Switch between cameras mid-flight using the dedicated toggle rather than digital zoom. Optical transitions preserve full resolution and reveal details that cropped images miss entirely.
Obstacle Avoidance for Complex Environments
Remote venues often feature unpredictable obstacles: overhanging trees, power lines, architectural protrusions, and wildlife. The Mavic 3 Pro's omnidirectional obstacle sensing covers all directions with:
- Forward/backward sensors effective to 200 meters
- Lateral and vertical sensors providing 360-degree protection
- APAS 5.0 automatically plotting safe flight paths around detected obstacles
I've flown confidently through partially collapsed barn structures and dense forest clearings where manual piloting alone would risk the aircraft.
Step-by-Step Remote Venue Inspection Workflow
Step 1: Pre-Flight Planning and Site Assessment
Before launching, establish your inspection priorities:
- Identify critical documentation points (entrances, structural concerns, utility connections)
- Map potential obstacle zones using satellite imagery
- Check airspace restrictions through the DJI Fly app's integrated maps
- Confirm weather conditions with particular attention to wind speeds above 25 mph
Create a shot list organized by camera focal length. This prevents mid-flight confusion and ensures comprehensive coverage.
Step 2: Establishing Context with Wide Shots
Begin every inspection with 24mm main camera footage that establishes:
- Venue relationship to surrounding landscape
- Access roads and parking areas
- Overall structural condition from multiple angles
- Natural lighting patterns throughout the property
Use Hyperlapse mode for dynamic establishing sequences. The Mavic 3 Pro's Free mode Hyperlapse allows custom flight paths that showcase venue scale dramatically.
Step 3: Detailed Structural Documentation
Switch to the 70mm medium telephoto for systematic structural inspection:
- Roof conditions including missing shingles, drainage issues, and chimney integrity
- Window and door frame conditions
- Foundation visibility and potential settling
- Exterior finish deterioration
The 48MP resolution at this focal length captures hairline cracks invisible to wider lenses. Enable D-Log color profile for maximum shadow detail in structural assessments.
Pro Tip: When documenting potential damage, capture three shots: context (where on the structure), medium (the affected area), and close-up (specific damage detail). This three-shot sequence provides complete documentation for repair estimates.
Step 4: Leveraging Subject Tracking for Dynamic Coverage
ActiveTrack 5.0 transforms venue perimeter documentation. Lock onto a structural feature—a distinctive chimney, entrance portico, or tower—and the drone maintains framing while you focus on flight path.
Subject tracking excels for:
- Continuous footage around irregular building footprints
- Maintaining consistent framing during elevation changes
- Creating smooth reveal shots approaching venue entrances
The tracking algorithm handles partial occlusions when trees or structures temporarily block the subject.
Step 5: QuickShots for Presentation-Ready Content
Beyond inspection documentation, clients often need promotional material. QuickShots automates cinematic movements:
- Dronie: Ascending reveal perfect for venue introductions
- Helix: Orbital ascending shot showcasing property scope
- Rocket: Vertical climb emphasizing venue height and surroundings
- Circle: Steady orbit for 360-degree exterior views
These automated sequences free you to monitor for obstacles while the Mavic 3 Pro executes professional camera movements.
Essential Third-Party Accessories for Remote Inspections
The Game-Changing ND Filter Kit
The Freewell Variable ND filter system transformed my remote venue work. Standard Mavic 3 Pro footage in bright outdoor conditions suffers from:
- Excessive shutter speeds creating choppy motion
- Blown highlights on reflective surfaces
- Harsh contrast obscuring structural details
Variable ND filters (2-5 stops and 6-9 stops) enable proper 180-degree shutter rule compliance regardless of lighting conditions. The difference in footage smoothness and color accuracy justifies the investment immediately.
Additional accessories worth considering:
- Landing pad for dusty or uneven remote terrain
- Signal boosters extending range in mountainous areas
- Tablet sun hoods for screen visibility in bright conditions
- Carrying cases with waterproof protection for unpredictable weather
Technical Comparison: Mavic 3 Pro vs. Inspection Alternatives
| Feature | Mavic 3 Pro | Mavic 3 Classic | Air 3 |
|---|---|---|---|
| Camera Count | 3 | 1 | 2 |
| Max Sensor Size | 4/3 inch | 4/3 inch | 1/1.3 inch |
| Telephoto Reach | 166mm equiv | None | 70mm equiv |
| Max Flight Time | 43 minutes | 46 minutes | 46 minutes |
| Obstacle Sensing | Omnidirectional | Omnidirectional | Omnidirectional |
| D-Log Support | Yes | Yes | Yes |
| ActiveTrack Version | 5.0 | 5.0 | 5.0 |
| Weight | 958g | 895g | 720g |
| Video Resolution | 5.1K/50fps | 5.1K/50fps | 4K/60fps |
The Mavic 3 Pro's triple-camera advantage becomes decisive for inspection work requiring varied focal lengths without repositioning.
Common Mistakes to Avoid
Ignoring D-Log in Favor of Standard Color
Standard color profiles look appealing on the controller screen but crush shadow detail essential for structural inspection. D-Log preserves 12.8 stops of dynamic range, revealing:
- Cracks in shadowed areas
- Water damage patterns under eaves
- Subtle color variations indicating material deterioration
The flat appearance requires post-processing, but the preserved information proves invaluable.
Flying Too Close to Structures
New pilots approach structures aggressively, risking collisions and missing context. Maintain minimum 15-foot clearance and rely on telephoto capabilities for detail capture. The 166mm camera extracts remarkable detail from safe distances.
Neglecting Battery Management in Remote Locations
Remote venues mean no nearby charging options. Bring minimum three batteries and monitor consumption carefully. Cold temperatures at altitude reduce capacity by 20-30%—plan accordingly.
Skipping Systematic Coverage Patterns
Random flying produces random results. Establish consistent patterns:
- Clockwise perimeter at three altitudes (low, medium, high)
- Cardinal direction approaches to each structure face
- Overhead grid pattern for roof documentation
Systematic approaches ensure nothing gets missed.
Overlooking Audio Notes During Flight
The Mavic 3 Pro captures video, but your observations need documentation. Use voice memos on your phone to note:
- Specific concerns requiring follow-up
- Timestamp references for important footage
- Client questions to address in final reports
Frequently Asked Questions
How does the Mavic 3 Pro handle windy conditions common at remote venues?
The Mavic 3 Pro maintains stable hover in winds up to 27 mph and continues operating in gusts reaching 31 mph. Its 958g weight provides stability advantages over lighter drones, though I recommend avoiding flights when sustained winds exceed 20 mph for optimal footage quality. The gimbal's 3-axis stabilization compensates for moderate turbulence effectively.
What flight settings optimize battery life during extended venue inspections?
Enable Normal mode rather than Sport mode to reduce power consumption by approximately 15%. Lower maximum altitude limits to actual needs—climbing to 400 feet when 200 feet suffices wastes battery. Minimize hovering time by planning efficient flight paths, and keep the drone moving rather than stopping repeatedly. These practices extend effective flight time from 35 minutes to the full 43-minute rating.
Can the Mavic 3 Pro inspect interior spaces of remote venues?
While technically capable of indoor flight, I strongly advise against it. GPS signal loss triggers ATTI mode with reduced stability, obstacle sensors struggle with uniform surfaces, and collision risks multiply in confined spaces. For interior documentation, use handheld cameras or specialized indoor drones with prop guards. Reserve the Mavic 3 Pro for its strength: comprehensive exterior coverage from safe distances.
Maximizing Your Inspection Investment
The Mavic 3 Pro represents serious capability for professional venue inspection work. Its triple-camera system, robust obstacle avoidance, and extended flight time address the specific challenges remote locations present.
Master D-Log capture for maximum documentation value. Invest in quality ND filters for consistent footage across lighting conditions. Develop systematic flight patterns that ensure comprehensive coverage.
The techniques outlined here transform aerial inspection from experimental technology into reliable professional methodology. Remote venues that once required scaffolding, cherry pickers, or dangerous climbing now yield to thorough drone documentation in a fraction of the time.
Ready for your own Mavic 3 Pro? Contact our team for expert consultation.