Filming Guide: Mavic 3 Pro Forest Shoots in Wind
Filming Guide: Mavic 3 Pro Forest Shoots in Wind
META: Master forest filming with the Mavic 3 Pro in windy conditions. Expert techniques for obstacle avoidance, D-Log settings, and stabilization tips from a pro photographer.
TL;DR
- Wind resistance up to 12 m/s makes the Mavic 3 Pro reliable for forest canopy work even when conditions deteriorate
- Omnidirectional obstacle avoidance with APAS 5.0 prevents collisions with branches and trunks during complex maneuvers
- D-Log color profile captures maximum dynamic range for post-processing forest shadows and highlights
- ActiveTrack 5.0 maintains subject lock through dense foliage where GPS signals weaken
Why Forest Filming Demands More From Your Drone
Forest environments punish weak drones. Between unpredictable wind tunnels, dense obstacles, and rapidly shifting light conditions, your equipment either performs or fails spectacularly.
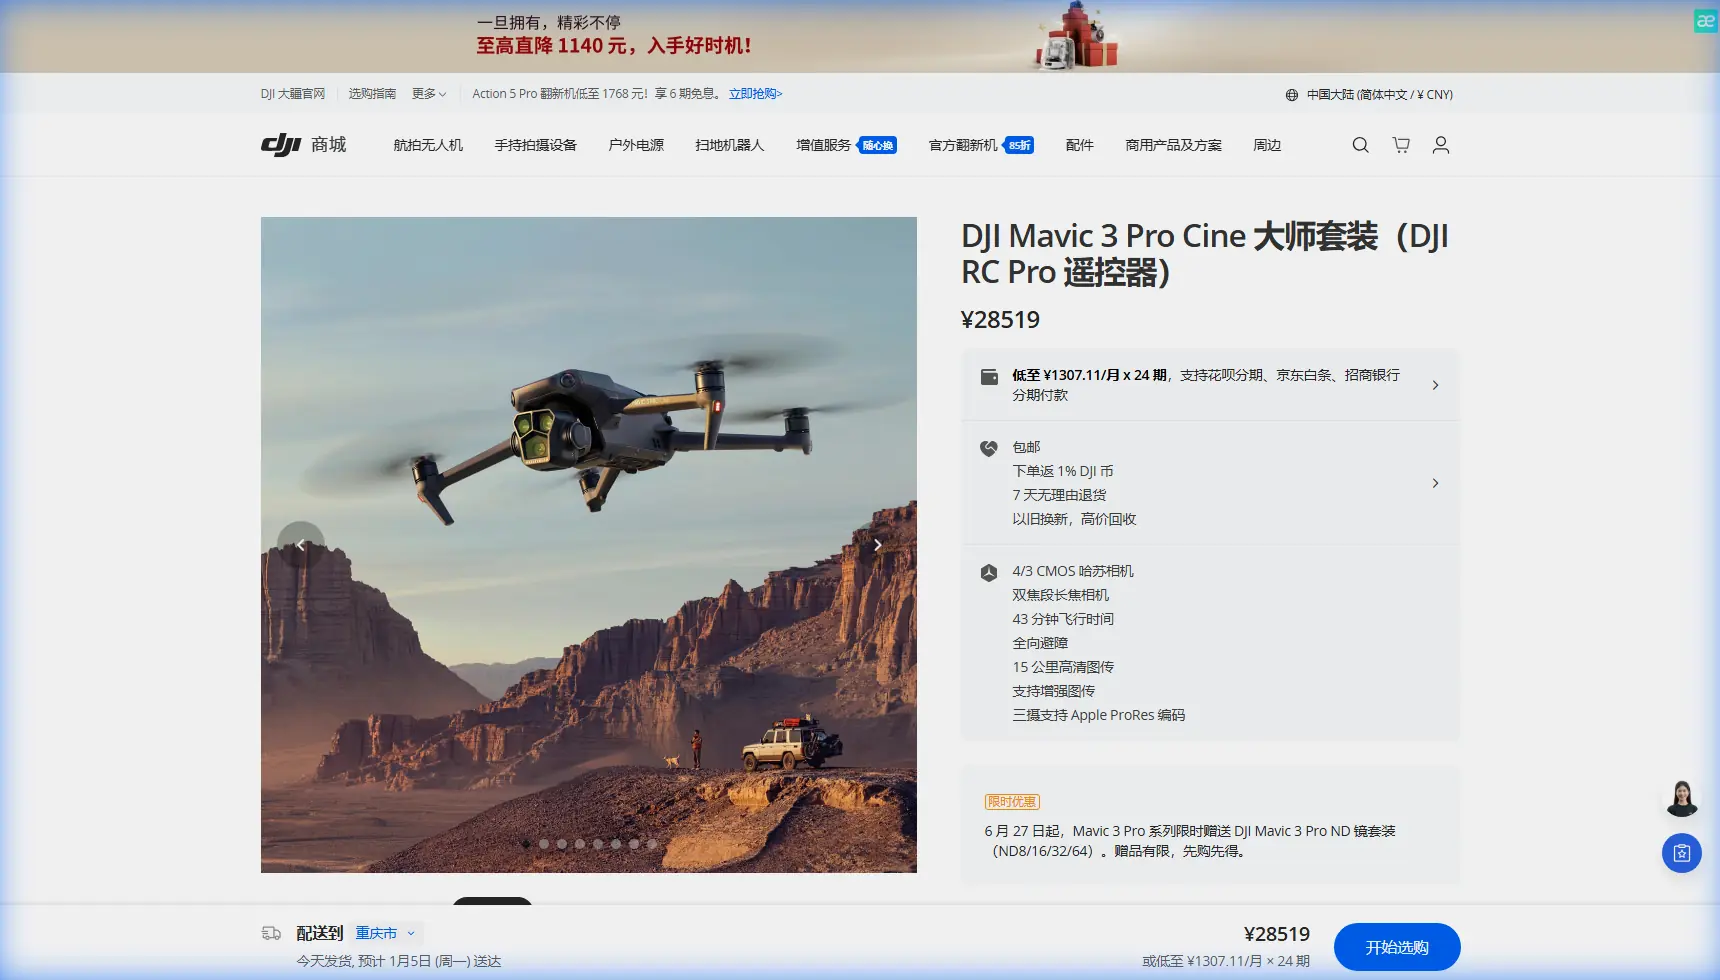
The Mavic 3 Pro addresses these challenges with a triple-camera system featuring a 4/3 CMOS Hasselblad sensor alongside 70mm and 166mm telephoto lenses. This combination lets you capture wide establishing shots of forest canopies while grabbing intimate wildlife details without repositioning.
I've spent three years filming forests across the Pacific Northwest, and the Mavic 3 Pro has become my primary tool for a reason: it handles the chaos that forest environments throw at you.
Essential Pre-Flight Setup for Windy Forest Conditions
Calibrating Your Sensors
Before launching under tree cover, complete these calibration steps:
- IMU calibration on a flat surface away from magnetic interference
- Compass calibration at least 50 meters from vehicles or metal structures
- Vision sensor check to ensure all 8 sensors register properly in DJI Fly
- Gimbal calibration for smooth footage despite wind buffeting
Optimal Camera Settings for Forest Light
Forest canopies create extreme contrast between shadowed understory and bright sky breaks. Configure your Mavic 3 Pro with these settings:
- D-Log color profile for 12.8 stops of dynamic range
- ISO 100-400 to minimize noise in shadow areas
- Shutter speed at double your frame rate (1/50 for 24fps, 1/60 for 30fps)
- Manual white balance at 5600K for consistent color across shots
- Aperture between f/2.8 and f/5.6 for optimal sharpness
Expert Insight: D-Log footage looks flat and desaturated straight from the camera. This is intentional—you're capturing maximum color data for grading. Apply a LUT in post-production to restore natural colors while retaining shadow and highlight detail that standard profiles would clip.
Wind Assessment Protocol
The Mavic 3 Pro handles sustained winds up to 12 m/s and gusts to 15 m/s. Forest environments complicate wind assessment because:
- Canopy gaps create localized wind acceleration
- Tree lines generate turbulence on their lee side
- Valley floors may be calm while ridgelines experience strong gusts
Check wind conditions at multiple elevations before committing to a flight plan. The DJI Fly app displays real-time wind speed, but ground-level readings often underestimate conditions at canopy height.
Mastering Obstacle Avoidance in Dense Environments
How APAS 5.0 Handles Forest Obstacles
The Advanced Pilot Assistance System uses omnidirectional sensing to detect obstacles in all directions simultaneously. In forest settings, this means:
- Forward/backward sensors detect trunks and major branches at up to 200 meters
- Lateral sensors catch side obstacles during tracking shots
- Upward sensors prevent canopy collisions during vertical movements
- Downward sensors maintain safe altitude above undergrowth
APAS 5.0 offers three modes for forest work:
| Mode | Behavior | Best Use Case |
|---|---|---|
| Bypass | Automatically navigates around obstacles | Open forest with clear flight paths |
| Brake | Stops when obstacles detected | Dense forest with unpredictable gaps |
| Off | No automatic avoidance | Expert pilots only, controlled environments |
When to Override Automatic Systems
Obstacle avoidance occasionally misreads forest environments. Thin branches, spider webs, and dappled light can trigger false positives or fail to register entirely.
Override automatic systems when:
- Flying through predictable gaps you've visually confirmed
- Executing precise proximity shots near tree trunks
- Operating in low light where sensors lose effectiveness
Pro Tip: Switch to Tripod Mode when filming within 3 meters of obstacles. This limits maximum speed to 1 m/s and increases control sensitivity, giving you precise positioning without triggering aggressive avoidance maneuvers.
Subject Tracking Through Dense Foliage
ActiveTrack 5.0 Configuration
ActiveTrack uses machine learning to maintain subject lock even when obstacles temporarily block the camera's view. For forest filming:
- Draw a box around your subject in the DJI Fly app
- Select Trace mode to follow behind the subject
- Enable Spotlight mode if you want manual flight control while the gimbal tracks automatically
- Set tracking sensitivity to medium to prevent erratic movements when subjects pass behind trees
Handling GPS Signal Loss
Forest canopy blocks GPS signals. The Mavic 3 Pro compensates with visual positioning and APAS integration, but you should:
- Launch from clearings where initial GPS lock is strong
- Monitor satellite count in the app (minimum 10 satellites recommended)
- Enable Return to Home altitude above canopy height
- Mark your launch point visually in case manual return becomes necessary
Capturing Dynamic Footage With QuickShots and Hyperlapse
QuickShots That Work in Forests
Not all QuickShots suit forest environments. Based on extensive testing:
Recommended:
- Spotlight – Circles subject while maintaining focus, works well around single trees
- Asteroid – Pulls back and up, effective when launched from clearings
- Boomerang – Elliptical path around subject, requires obstacle-free zone
Avoid:
- Helix – Ascending spiral risks canopy collision
- Rocket – Vertical ascent dangerous under tree cover
Hyperlapse Settings for Forest Movement
Forest Hyperlapse captures cloud movement through canopy gaps, shifting shadows, and wildlife activity. Configure:
- Course Lock mode for straight-line movement through forest corridors
- Interval of 2 seconds for smooth motion with sufficient detail
- Duration of 10+ minutes for usable final clips
- Waypoint mode for complex paths around obstacles
When Weather Changed Everything
During a recent shoot in Olympic National Forest, conditions shifted dramatically mid-flight. What started as light breeze at ground level became sustained 10 m/s winds at canopy height within minutes.
The Mavic 3 Pro's response impressed me. Rather than fighting the wind with aggressive corrections that drain battery and create jerky footage, the drone's stabilization algorithms absorbed the turbulence. The 3-axis gimbal maintained smooth footage while the aircraft itself handled positioning.
I watched my battery percentage drop faster than normal—wind resistance increases power consumption by 15-25% depending on severity—but the footage remained usable. The drone's 46-minute maximum flight time provided enough margin to complete my shot list and return safely despite the unexpected conditions.
This experience reinforced why I trust the Mavic 3 Pro for professional forest work. Equipment that fails when conditions change isn't professional equipment.
Technical Comparison: Mavic 3 Pro vs. Forest Filming Demands
| Challenge | Mavic 3 Pro Solution | Specification |
|---|---|---|
| Wind resistance | Aerodynamic design + powerful motors | Up to 12 m/s sustained |
| Obstacle density | Omnidirectional sensing | 8 sensors, APAS 5.0 |
| Low light under canopy | Large sensor + wide aperture | 4/3 CMOS, f/2.8 |
| Dynamic range | Professional color profile | 12.8 stops in D-Log |
| Flight time for complex shots | High-capacity battery | 46 minutes maximum |
| Subject tracking | AI-powered recognition | ActiveTrack 5.0 |
| Video quality | Hasselblad camera system | 5.1K/50fps, 4K/120fps |
Common Mistakes to Avoid
Launching directly under canopy: GPS acquisition fails, Return to Home becomes unreliable, and initial hover stability suffers. Always launch from clearings.
Ignoring battery temperature: Cold forest mornings reduce battery capacity by up to 20%. Warm batteries to at least 20°C before flight.
Trusting obstacle avoidance completely: Thin branches and wires may not register. Maintain visual contact and manual override readiness.
Filming only in D-Log without test footage: D-Log requires color grading. Shoot test clips and grade them before committing to a full shoot day.
Flying at maximum speed through trees: The Mavic 3 Pro reaches 21 m/s in Sport Mode, but obstacle avoidance disables at high speeds. Maintain 5 m/s or less in dense areas.
Neglecting ND filters: Bright forest clearings require ND8 or ND16 filters to maintain proper shutter speed for cinematic motion blur.
Frequently Asked Questions
Can the Mavic 3 Pro fly safely in rain or fog common to forests?
The Mavic 3 Pro lacks an official IP rating for water resistance. Light mist typically doesn't cause immediate problems, but moisture on sensors degrades obstacle avoidance accuracy. Fog also reduces visual positioning effectiveness. Land immediately if precipitation begins and dry the drone thoroughly before storage.
How does the telephoto lens help with forest wildlife filming?
The 166mm equivalent telephoto lets you capture wildlife from 100+ meters away, avoiding disturbance while getting frame-filling shots. This distance also keeps you outside the flight response zone of most animals, resulting in natural behavior rather than startled reactions.
What's the best way to recover footage if the drone crashes in dense forest?
Enable Find My Drone in DJI Fly before every flight. The app records last known coordinates and can trigger audio beacons if the drone has power. Attach a small GPS tracker as backup for remote locations. Bright-colored propeller guards also improve visual search effectiveness in green environments.
Ready for your own Mavic 3 Pro? Contact our team for expert consultation.