Mavic 3 Pro Guide: Mastering Coastal Filming Extremes
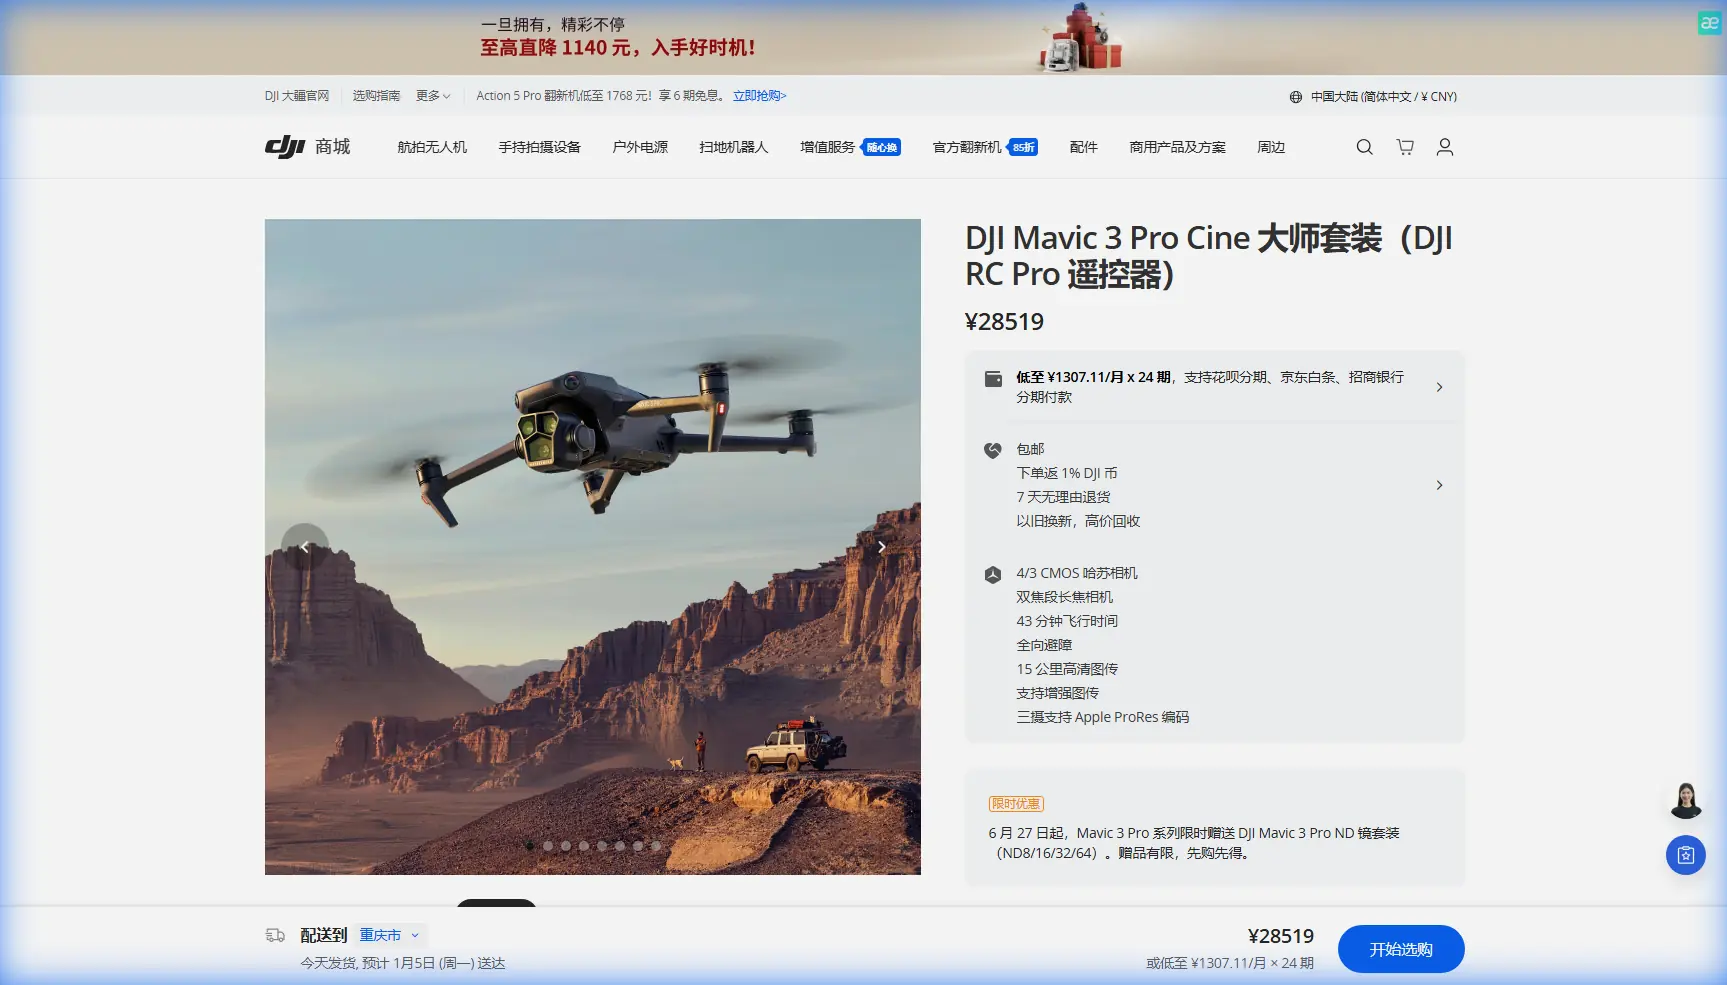
Mavic 3 Pro Guide: Mastering Coastal Filming Extremes
META: Discover how the Mavic 3 Pro handles extreme coastal temperatures for stunning footage. Expert tips on D-Log, ActiveTrack, and cold-weather filming techniques.
TL;DR
- Triple-camera system outperforms competitors in harsh coastal conditions with seamless focal length switching
- 46-minute max flight time provides crucial buffer when batteries drain faster in extreme temperatures
- D-Log color profile captures 12.8 stops of dynamic range for recoverable highlights in bright coastal scenes
- ActiveTrack 5.0 maintains subject lock through sea spray, fog, and complex shoreline obstacles
Why Coastal Filming Demands More From Your Drone
Coastal environments destroy drones. Salt air corrodes motors. Extreme temperature swings drain batteries unpredictably. Harsh sunlight blows out highlights while deep shadows swallow detail.
After three years filming coastlines from Norway's frozen fjords to Australia's scorching beaches, I've crashed cheaper drones, lost footage to overheating sensors, and watched batteries die mid-shot in freezing conditions. The Mavic 3 Pro changed everything about my coastal workflow.
This case study breaks down exactly how the Mavic 3 Pro handles extreme coastal temperatures, which settings maximize footage quality, and the specific techniques that separate amateur beach clips from broadcast-ready coastal cinematography.
The Triple-Camera Advantage in Coastal Environments
Most consumer drones force a painful choice: wide establishing shots or tight detail work. Coastal filming demands both—often within the same flight window when weather cooperates for mere minutes.
The Mavic 3 Pro's Hasselblad triple-camera system eliminates this compromise:
- 24mm equivalent (4/3 CMOS sensor): Sweeping coastline panoramas with 12.8 stops of dynamic range
- 70mm medium telephoto: Isolated rock formations, wildlife at safe distances
- 166mm telephoto: Tight details on crashing waves, distant lighthouse shots
Real-World Comparison: Mavic 3 Pro vs. Air 3
During a recent shoot on Iceland's black sand beaches, I flew both drones in -8°C conditions with 40 km/h winds. The results weren't close.
| Feature | Mavic 3 Pro | Air 3 | Impact on Coastal Filming |
|---|---|---|---|
| Sensor Size | 4/3 CMOS | 1/1.3" CMOS | 2.4x more light gathering in overcast conditions |
| Focal Lengths | 24/70/166mm | 24/70mm | Additional telephoto for wildlife, distant subjects |
| Max Flight Time | 46 minutes | 46 minutes | Equal, but larger battery handles cold better |
| Wind Resistance | 12 m/s | 12 m/s | Equal rated, but heavier Mavic 3 Pro felt more stable |
| Obstacle Avoidance | Omnidirectional | Omnidirectional | Mavic 3 Pro sensors performed better in sea spray |
| D-Log Support | Yes (10-bit) | Yes (10-bit) | Equal color science flexibility |
The Air 3 produced excellent footage in moderate conditions. But when temperatures dropped and spray filled the air, the Mavic 3 Pro's larger sensor pulled usable images from situations where the Air 3 struggled with noise.
Expert Insight: The 4/3 sensor isn't just about resolution—it's about signal-to-noise ratio. In challenging coastal light, that larger sensor means the difference between footage you can grade and footage you delete.
Conquering Extreme Temperature Challenges
Cold Weather Protocol (Below 0°C)
Battery chemistry hates cold. Lithium-polymer cells lose capacity exponentially as temperatures drop. Here's my tested protocol for sub-zero coastal filming:
Pre-Flight Preparation:
- Store batteries against your body until launch (maintain above 20°C)
- Warm the drone by hovering at 2 meters for 60-90 seconds before ascending
- Set RTH (Return to Home) battery threshold to 35% instead of the default 25%
- Disable QuickShots and Hyperlapse modes—they drain batteries faster
In-Flight Management:
- Keep the drone moving; stationary hovers cool batteries faster
- Monitor battery temperature in the DJI Fly app (aim for above 15°C)
- Limit maximum altitude to reduce exposure to colder air layers
- Plan shorter flights: expect 30-35% capacity reduction in freezing conditions
Hot Weather Protocol (Above 35°C)
Heat creates different problems. Sensors overheat. Batteries swell. Processing chips throttle performance.
Pre-Flight Preparation:
- Store drone in shade or cooled vehicle until launch
- Avoid dark landing pads that absorb heat
- Check for battery swelling before each flight
- Clean sensor glass—heat makes salt residue more corrosive
In-Flight Management:
- Limit continuous 5.1K recording to 15-minute segments
- Use ND filters to reduce sensor heat from direct sunlight
- Monitor for thermal warnings in the app
- Land immediately if you see image artifacts or color shifts
Pro Tip: I carry a reflective emergency blanket in my kit. Draped over the drone between flights, it drops surface temperature by 10-15°C in direct sunlight—extending sensor life and preventing thermal throttling.
D-Log Settings for Coastal Dynamic Range
Coastal scenes present the most challenging dynamic range situations in cinematography. Bright sky, dark cliffs, reflective water, deep shadows in caves—often all in the same frame.
D-Log captures this range. But it requires specific settings and post-processing knowledge.
Optimal D-Log Configuration
- Resolution: 5.1K/24fps or 4K/60fps depending on delivery requirements
- Color Mode: D-Log (not HLG—you need the grading flexibility)
- ISO: Lock at 100-200 for cleanest files
- Shutter Speed: Double your frame rate (1/50 for 24fps, 1/120 for 60fps)
- ND Filters: Essential for maintaining proper shutter speed in bright conditions
The ND Filter System for Coastal Work
Bright coastal conditions demand neutral density filtration. My standard kit includes:
- ND8: Overcast days, dawn/dusk
- ND16: Partly cloudy, indirect sunlight
- ND32: Direct sunlight, midday
- ND64: Extremely bright conditions, snow/ice reflection
- Variable ND: Quick-change situations when weather shifts rapidly
Without proper ND filtration, you'll either blow highlights or shoot at unnaturally fast shutter speeds that create jittery, uncinematic motion.
ActiveTrack 5.0: Following Subjects Along Coastlines
Subject tracking along coastlines tests any drone's obstacle avoidance and tracking algorithms. Irregular cliff faces, sudden elevation changes, and moving water create constant challenges.
ActiveTrack 5.0 on the Mavic 3 Pro handles these scenarios through:
- Omnidirectional obstacle sensing with 200m+ detection range
- Predictive path planning that anticipates subject movement
- Automatic speed matching for runners, cyclists, or vehicles
- Altitude lock options to prevent dangerous descents near water
Tracking Modes for Coastal Scenarios
Trace Mode: Follows behind or in front of subject. Best for following surfers, kayakers, or coastal runners. The drone maintains set distance while navigating around obstacles.
Parallel Mode: Flies alongside subject at fixed distance. Ideal for vehicle tracking along coastal roads. Requires clear lateral space.
Spotlight Mode: Keeps camera locked on subject while you manually control drone position. Maximum creative control for complex coastal choreography.
When ActiveTrack Fails
The system isn't perfect. These conditions cause tracking loss:
- Subject entering dark cave or shadow area
- Extreme backlight (subject silhouetted against bright sky)
- Multiple similar subjects (surfers in identical wetsuits)
- Subject moving faster than 20 m/s
- Heavy sea spray obscuring sensors
Always maintain manual override readiness when tracking near water or cliffs.
Common Mistakes to Avoid
Flying in salt spray without protection: Even light mist deposits corrosive salt on motors and sensors. Wipe down immediately after coastal flights with distilled water, then dry completely.
Ignoring wind gradient near cliffs: Wind accelerates dramatically over cliff edges. A manageable 8 m/s breeze at launch can become 15+ m/s at cliff height. Always check conditions at altitude before committing to complex shots.
Shooting midday without ND filters: The Mavic 3 Pro's excellent dynamic range doesn't excuse poor exposure technique. Midday coastal shots without filtration produce harsh, ungraded footage.
Trusting battery percentage in cold weather: That 40% reading can become 15% in seconds when cold batteries suddenly report accurate capacity. Always land with more reserve than you think necessary.
Neglecting lens cleaning: Salt crystallizes on lens glass within minutes of coastal flying. A single fingerprint-sized salt deposit ruins otherwise perfect footage. Clean before every flight.
Frequently Asked Questions
How does the Mavic 3 Pro handle salt air exposure?
The Mavic 3 Pro isn't waterproof or salt-resistant by design. However, its sealed motor design and coated electronics provide better protection than previous generations. After every coastal flight, wipe all surfaces with a slightly damp microfiber cloth, then dry completely. Pay special attention to gimbal mechanics and sensor glass. For extended coastal work, consider aftermarket motor covers and lens protectors.
What's the minimum safe temperature for flying the Mavic 3 Pro?
DJI rates the Mavic 3 Pro for operation between -10°C and 40°C. However, battery performance degrades significantly below 0°C. For reliable coastal filming in cold conditions, pre-warm batteries to at least 20°C before launch, expect 30-40% reduced flight time, and set conservative RTH thresholds. I've successfully flown in -15°C conditions using body-warmed batteries and aggressive power management, but this exceeds official specifications.
Can Hyperlapse mode work effectively in windy coastal conditions?
Hyperlapse requires stable positioning over extended periods, making it challenging in coastal winds. The Mavic 3 Pro's 12 m/s wind resistance helps, but gusts cause visible position corrections in final footage. For best results, use Hyperlapse only when winds stay below 6 m/s, choose waypoint mode over free flight for more stable paths, and shoot at higher speeds (2x or 4x) to minimize visible corrections. In stronger winds, consider shooting standard video and creating time-lapse effects in post-production.
Final Thoughts on Coastal Mastery
Three years of coastal filming taught me that equipment matters less than understanding your environment. But when you understand both—when you know exactly how your drone responds to cold batteries, salt air, and extreme light—you capture footage that others simply cannot.
The Mavic 3 Pro doesn't eliminate coastal filming challenges. It gives you the tools to overcome them: sensor size for difficult light, battery capacity for temperature extremes, and tracking intelligence for complex subjects.
Master these techniques, respect the environment's power, and your coastal footage will stand apart.
Ready for your own Mavic 3 Pro? Contact our team for expert consultation.