M3P Wildlife Delivery Tips for Urban Photographers
M3P Wildlife Delivery Tips for Urban Photographers
META: Master urban wildlife photography with Mavic 3 Pro. Learn obstacle avoidance, subject tracking, and D-Log techniques for stunning city nature footage.
TL;DR
- Triple-camera system captures wildlife at multiple focal lengths without repositioning
- ActiveTrack 5.0 maintains lock on moving animals through complex urban environments
- Omnidirectional obstacle avoidance prevents crashes near buildings, trees, and power lines
- D-Log color profile preserves detail in challenging city lighting conditions
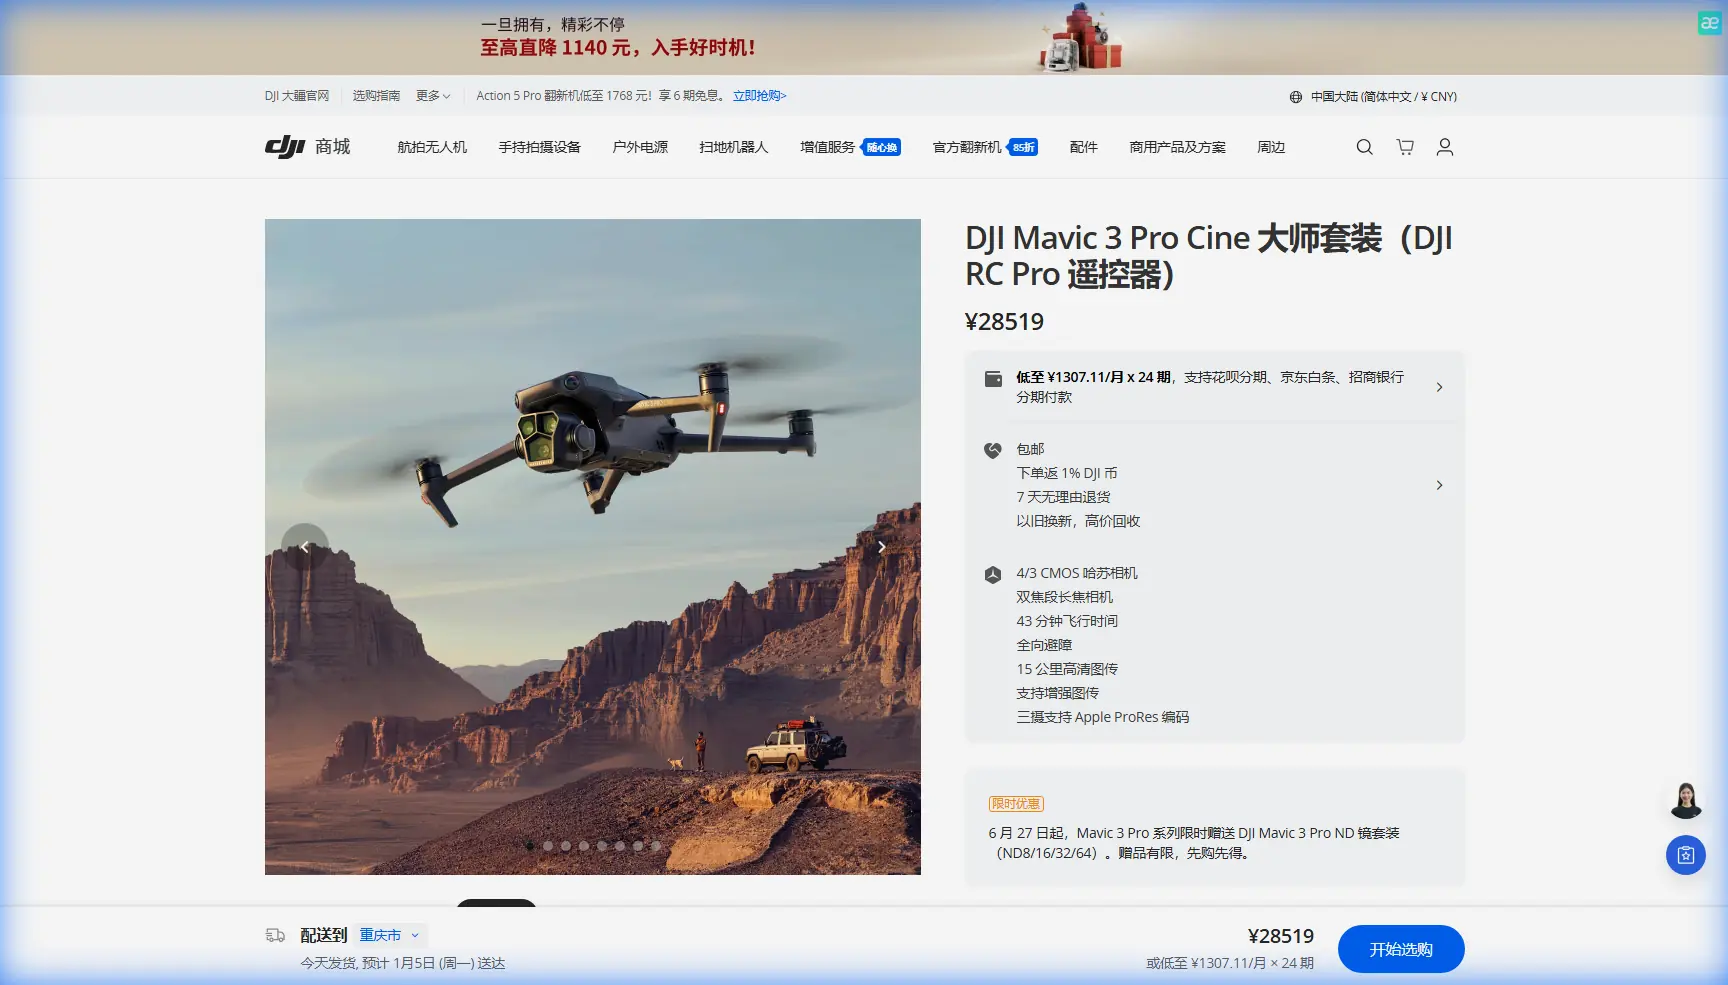
Last spring, I lost a red-tailed hawk sequence that took three weeks to plan. My older drone couldn't track the bird through downtown Chicago's maze of glass towers, and the footage I salvaged was overexposed garbage. That failure pushed me toward the Mavic 3 Pro, and the difference has transformed my urban wildlife work entirely.
Urban wildlife photography presents unique challenges that rural shoots simply don't. You're navigating tight spaces between buildings, dealing with reflective surfaces that confuse sensors, and tracking animals that move unpredictably through three-dimensional cityscapes. The Mavic 3 Pro addresses these specific pain points with technology that finally matches the complexity of the environment.
Understanding Urban Wildlife Photography Challenges
City environments create a perfect storm of obstacles for drone photographers. Buildings generate turbulent wind patterns. Glass facades reflect signals and confuse positioning systems. Wildlife moves through narrow corridors between structures, under bridges, and through tree canopies that would send lesser drones into panic mode.
Traditional drone setups force impossible choices. You either fly high enough to avoid obstacles but lose intimate footage, or you risk expensive equipment for close shots. The Mavic 3 Pro eliminates this compromise through intelligent systems working in concert.
The Sensor Advantage
The omnidirectional obstacle avoidance system uses eight sensors covering all directions. During my recent coyote documentation project in San Francisco's Golden Gate Park, the drone navigated autonomously through eucalyptus groves while I focused entirely on composition.
Expert Insight: Urban wildlife often retreats to areas with overhead cover—tree canopies, bridge undersides, parking structures. The Mavic 3 Pro's upward-facing sensors are critical for these environments. I've flown confidently under pedestrian bridges tracking river otters, something I'd never attempt with drones lacking comprehensive obstacle detection.
The system processes environmental data 200 times per second, creating real-time 3D maps of surroundings. This speed matters when a startled deer suddenly changes direction toward a fence line or a hawk dives between buildings.
Mastering Subject Tracking for Unpredictable Animals
ActiveTrack 5.0 represents a generational leap in autonomous subject following. Previous iterations struggled with animals—they'd lock onto shadows, lose subjects against busy backgrounds, or simply give up when targets moved erratically.
The current system uses machine learning trained on thousands of animal movement patterns. It predicts trajectory changes before they happen, maintaining smooth footage even when subjects behave chaotically.
Practical Tracking Techniques
Start by selecting your subject in Spotlight mode when animals are stationary or moving slowly. This locks focus while giving you full flight control. Once the animal begins moving predictably, switch to ActiveTrack for autonomous following.
For birds specifically, I've developed a hybrid approach:
- Begin in manual mode, positioning above the perching location
- Activate Spotlight when the bird takes flight
- Let the system track while I manage altitude and distance
- Switch to full ActiveTrack once flight patterns stabilize
This method captured my best great blue heron footage along Chicago's lakefront. The bird flew between marina docks, and the drone threaded through mast rigging autonomously while maintaining perfect framing.
Pro Tip: Set your tracking sensitivity to Medium for most urban wildlife. High sensitivity causes jerky movements when animals make small adjustments, while Low sensitivity loses fast-moving subjects. Medium provides the best balance for mammals and wading birds. Reserve High sensitivity exclusively for raptors and fast-flying species.
Leveraging the Triple-Camera System
The Mavic 3 Pro's three-camera array solves a fundamental urban wildlife problem: you can't always reposition without disturbing your subject or violating airspace restrictions.
| Camera | Sensor Size | Focal Length | Best Urban Wildlife Use |
|---|---|---|---|
| Hasselblad Main | 4/3 CMOS | 24mm equivalent | Environmental context, habitat documentation |
| Medium Tele | 1/1.3-inch | 70mm equivalent | Medium mammals, large birds, behavioral footage |
| Tele | 1/2-inch | 166mm equivalent | Small subjects, detail shots, distant wildlife |
The 70mm medium telephoto has become my most-used lens for urban work. It provides enough reach to maintain ethical distance from wildlife while capturing behavioral details impossible with wider angles.
During a recent raccoon family documentation in Portland, I positioned the drone 40 meters from a den entrance. The telephoto captured intimate footage of kits playing without any disturbance—the mother never showed awareness of the aircraft.
Seamless Lens Switching
Practice switching between cameras until it becomes muscle memory. Urban wildlife moments happen fast, and fumbling through menus means missed shots.
My workflow for approaching wildlife:
- Begin with the 24mm Hasselblad to establish location and context
- Switch to 70mm as I close distance for behavioral footage
- Use 166mm for specific details—eye contact, texture, small movements
- Return to 24mm for departure shots showing the animal in its urban habitat
This progression tells a complete visual story while maintaining safe, ethical distances throughout.
D-Log and Color Science for Urban Environments
City lighting creates nightmarish exposure challenges. You're often dealing with deep shadows from buildings adjacent to bright sunlit areas, reflective surfaces throwing unpredictable highlights, and mixed color temperatures from artificial and natural light sources.
D-Log color profile captures 12.8 stops of dynamic range, preserving detail in both shadows and highlights that would clip in standard profiles. This latitude is essential when wildlife moves between sun and shade—common in urban parks and greenways.
Post-Processing Workflow
Shoot D-Log exclusively for serious urban wildlife work. Yes, footage looks flat and desaturated straight from the card. The payoff comes in post-production flexibility.
My Lightroom/Premiere workflow:
- Apply a base LUT designed for Mavic 3 Pro D-Log footage
- Adjust exposure to center the histogram
- Recover highlights in bright areas (usually sky and reflective surfaces)
- Lift shadows to reveal detail in darker regions
- Fine-tune white balance for accurate animal coloration
- Add subtle contrast curve to taste
This process recovered a peregrine falcon sequence shot against a glass-heavy downtown skyline. The original footage showed the bird as a silhouette against blown-out building reflections. D-Log's latitude let me bring back feather detail while maintaining sky texture.
QuickShots and Hyperlapse for Documentary Work
While these automated modes might seem gimmicky, they serve legitimate documentary purposes when used thoughtfully.
Hyperlapse mode creates compelling establishing sequences showing urban wildlife habitat over time. I've used it to document:
- Dawn activity patterns at urban wetlands
- Traffic flow around wildlife corridors
- Seasonal changes in park habitats
- Human-wildlife interaction patterns at feeding sites
Set Hyperlapse to Course Lock mode for consistent directional movement. 2-second intervals work well for most urban scenes, creating smooth footage when rendered at standard frame rates.
QuickShots provide reliable B-roll when you need consistent results. The Orbit mode works particularly well for stationary wildlife—nesting birds, basking turtles, resting mammals. You'll get smooth, professional footage while the animal remains undisturbed by erratic drone movements.
Common Mistakes to Avoid
Flying too close initially. Urban wildlife tolerates drones better than rural animals due to constant noise exposure, but they still have limits. Start at 50+ meters and close distance gradually over multiple sessions. Habituated animals provide better footage than stressed ones.
Ignoring wind patterns between buildings. Skyscrapers create wind tunnels and turbulence that don't exist in open environments. Check wind conditions at street level AND at your intended flight altitude. The Mavic 3 Pro handles 12 m/s winds, but urban gusts can exceed this unpredictably.
Relying entirely on obstacle avoidance. The system is excellent but not infallible. Thin branches, wires, and transparent surfaces can defeat sensors. Maintain situational awareness regardless of automation capabilities.
Shooting only in good weather. Urban wildlife often becomes more active during overcast conditions when human activity decreases. The Mavic 3 Pro's large sensor handles low light well—don't limit yourself to sunny days.
Neglecting audio considerations. While the drone itself is relatively quiet at 75 dB at 1 meter, urban ambient noise affects wildlife behavior. Coordinate flights during quieter periods when possible.
Frequently Asked Questions
How close can I safely fly to urban wildlife without causing disturbance?
Distance varies by species and individual habituation levels. As a baseline, maintain 30 meters minimum for most mammals and 50 meters for nesting birds. Watch for stress indicators: raised heads, alert postures, movement away from the drone. If you observe these behaviors, increase distance immediately. Habituated urban animals often tolerate closer approaches over time, but always prioritize animal welfare over footage.
What's the best time of day for urban wildlife drone photography?
The golden hours—first two hours after sunrise and last two before sunset—provide optimal lighting and wildlife activity. Urban animals often shift their schedules to avoid peak human activity, making early morning particularly productive. The Mavic 3 Pro's sensor handles low-light conditions well, so don't pack up when light gets challenging. Some of my best footage comes from overcast midday conditions when harsh shadows disappear.
How do I handle restricted airspace in urban areas?
Use DJI's built-in geofencing as a starting point, but verify restrictions through official sources like the FAA's B4UFLY app. Many urban wildlife hotspots fall within controlled airspace near airports or restricted zones around government buildings. Apply for authorizations through LAANC when available—approvals often come within minutes. For locations requiring manual authorization, submit requests well in advance of planned shoots.
Urban wildlife photography demands equipment that matches environmental complexity. The Mavic 3 Pro's combination of intelligent obstacle avoidance, advanced subject tracking, and professional imaging capabilities makes previously impossible shots routine. The learning curve exists, but the results justify the investment in mastering these systems.
Ready for your own Mavic 3 Pro? Contact our team for expert consultation.