Capturing Urban Forests with Mavic 3 Pro | Expert Tips
Capturing Urban Forests with Mavic 3 Pro | Expert Tips
META: Master urban forest cinematography with the Mavic 3 Pro. Learn obstacle avoidance settings, D-Log color grading, and pro techniques for stunning canopy footage.
TL;DR
- Triple-camera system enables seamless transitions from wide canopy shots to detailed bark textures without landing
- APAS 5.0 obstacle avoidance requires specific calibration for dense tree environments to prevent false positives
- D-Log color profile captures 12.8 stops of dynamic range, essential for dappled forest light conditions
- PolarPro VND filters proved critical for maintaining proper exposure during golden hour shoots through tree gaps
Urban forests present unique cinematographic challenges that separate amateur drone footage from professional-grade content. Dense canopy coverage, unpredictable light conditions, and tight maneuvering spaces demand equipment that performs flawlessly under pressure.
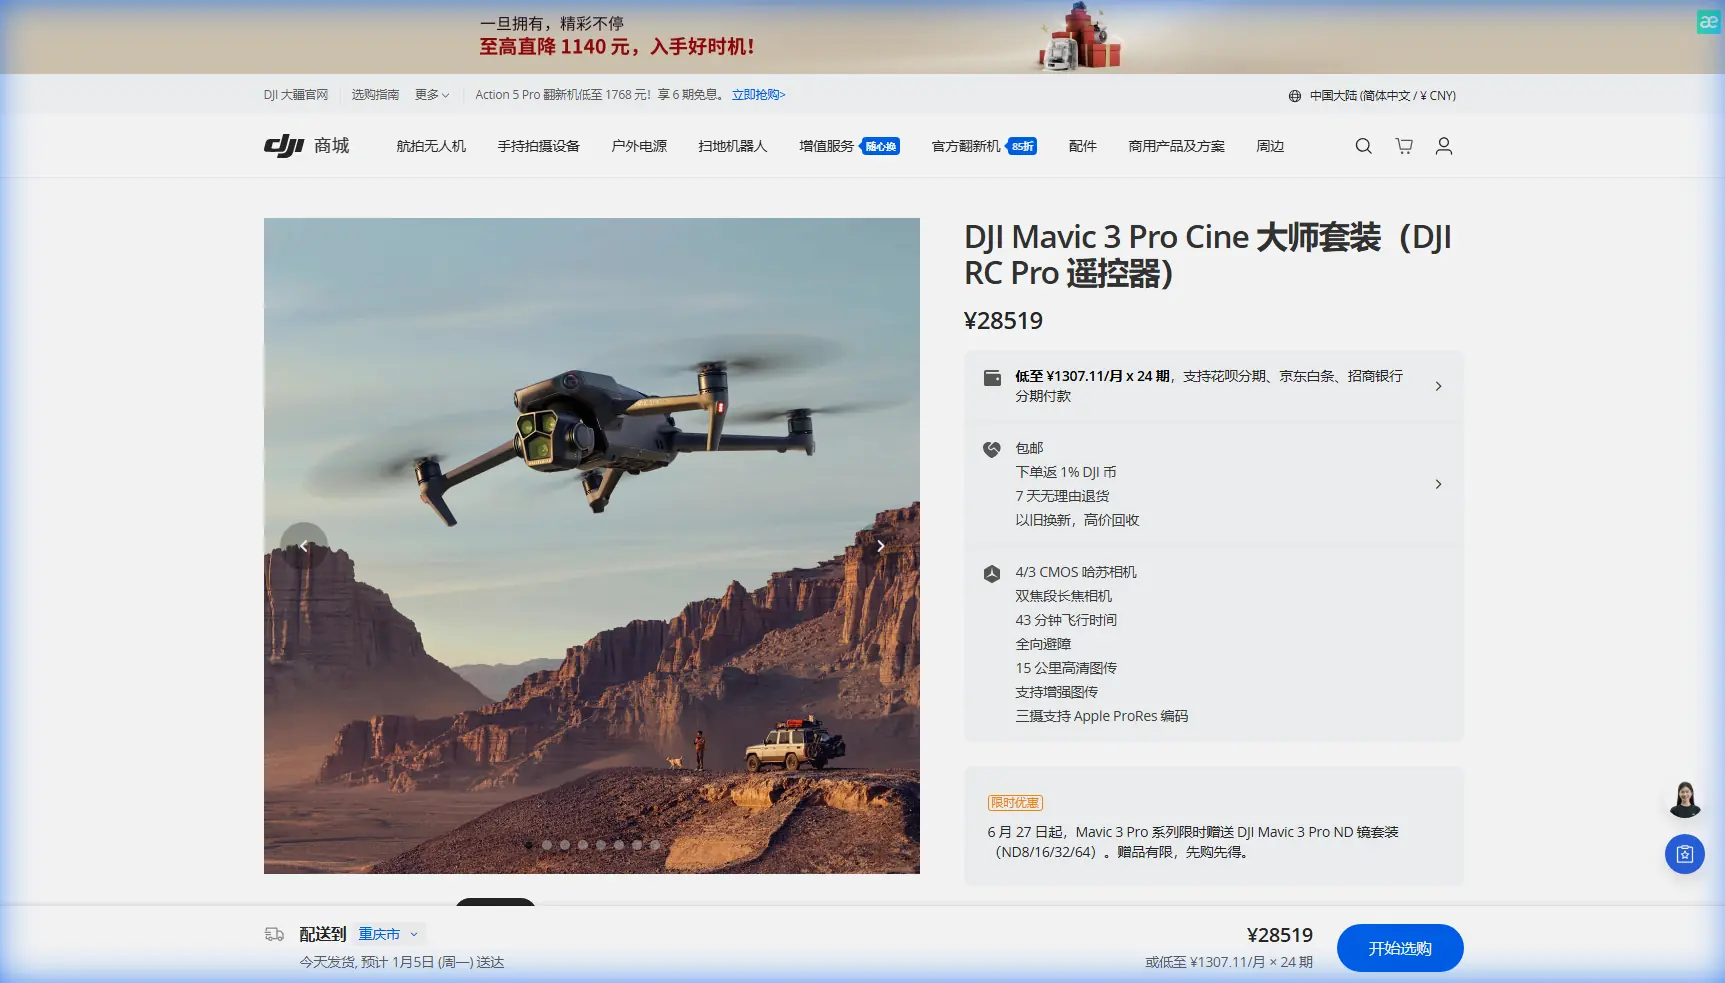
The Mavic 3 Pro addresses these challenges with its Hasselblad triple-camera system and advanced autonomous flight modes. After spending three months documenting urban green spaces across the Pacific Northwest, I've compiled the techniques and settings that consistently deliver broadcast-quality results.
Understanding the Urban Forest Environment
Urban forests differ dramatically from rural woodland. You're dealing with mixed vegetation density, artificial structures at forest edges, and wildlife patterns influenced by human activity. These factors directly impact flight planning and camera settings.
The Mavic 3 Pro's omnidirectional obstacle sensing becomes both an asset and a potential frustration in these environments. Tree branches, power lines at forest perimeters, and even dense leaf clusters can trigger the system.
Light Conditions You'll Encounter
Forest canopies create what cinematographers call "cathedral lighting"—dramatic shafts of light penetrating through gaps in the foliage. This presents a dynamic range challenge that pushes most camera sensors to their limits.
The Mavic 3 Pro's 4/3 CMOS Hasselblad sensor handles these conditions remarkably well, but only when configured correctly:
- ISO 100-400 for daylight canopy work
- Shutter speed double your frame rate (1/50 for 24fps, 1/60 for 30fps)
- Aperture f/2.8-f/5.6 depending on depth requirements
- D-Log M color profile for maximum post-production flexibility
Camera System Deep Dive for Forest Work
The triple-camera configuration transforms how you approach urban forest documentation. Each lens serves a specific purpose in your shot sequence.
Primary Hasselblad Camera (24mm equivalent)
This 20MP sensor with adjustable aperture from f/2.8 to f/11 handles 70% of typical forest work. The wide field of view captures canopy scale while the variable aperture lets you control depth of field for isolating specific trees or features.
Medium Telephoto (70mm equivalent)
The 1/1.3-inch sensor at this focal length excels at capturing wildlife without disturbing it. Urban forests often host hawks, owls, and other birds that tolerate drone presence at 30-40 meters but flee from closer approaches.
Telephoto Camera (166mm equivalent)
This 1/2-inch sensor might seem excessive for forest work, but it's invaluable for:
- Documenting tree disease or pest damage from safe distances
- Capturing texture details on ancient bark
- Isolating specific branches against blurred backgrounds
Expert Insight: Switch between cameras mid-flight using the scroll wheel rather than digital zoom. The optical quality difference is immediately apparent in post-production, especially when color grading D-Log footage.
Obstacle Avoidance Configuration for Dense Environments
The Mavic 3 Pro's APAS 5.0 system uses vision sensors and ToF sensors to detect obstacles in all directions. In urban forests, this system requires careful tuning.
Recommended Settings by Forest Density
| Forest Type | APAS Mode | Brake Distance | Speed Limit |
|---|---|---|---|
| Open Canopy (>50% sky visible) | Bypass | Standard | 15 m/s |
| Medium Density (25-50% sky) | Bypass | Extended | 10 m/s |
| Dense Canopy (<25% sky) | Off (manual) | N/A | 5 m/s |
| Mixed Urban Edge | Brake | Standard | 12 m/s |
Disabling obstacle avoidance in dense environments sounds counterintuitive. However, false positives from swaying branches and leaf clusters cause more aborted shots than actual collision risks when you're flying manually with full attention.
GPS Signal Considerations
Urban forest canopies frequently block GPS signals. The Mavic 3 Pro switches to ATTI mode when satellite lock drops below acceptable thresholds. Practice ATTI flying in open areas before attempting dense canopy work.
The aircraft maintains position using downward vision sensors when GPS fails, but these require:
- Adequate ground lighting (problematic in deep shade)
- Textured surfaces (leaf litter works well)
- Flight height under 10 meters for reliable positioning
Subject Tracking and ActiveTrack in Forest Settings
ActiveTrack 5.0 performs impressively in urban forests when tracking hikers, cyclists, or wildlife along established trails. The system struggles with:
- Subjects moving through dense undergrowth
- Rapid direction changes around trees
- Low-contrast subjects (earth-toned clothing against bark)
Optimizing ActiveTrack Performance
Select your subject using the Spotlight mode rather than Trace or Parallel when trees are present. Spotlight keeps the camera locked on your subject while you manually control aircraft position, preventing the autonomous flight path from attempting to navigate through obstacles.
For wildlife tracking, the 70mm camera combined with ActiveTrack creates stable, professional footage without the proximity that triggers flight responses.
Pro Tip: Attach a small piece of high-visibility tape to your subject's backpack or hat. This dramatically improves tracking reliability in dappled light conditions where the algorithm might otherwise lose lock.
QuickShots and Hyperlapse Applications
The automated flight modes produce mixed results in forest environments. Here's what works and what to avoid.
QuickShots That Work
- Rocket: Ascending straight up through a canopy gap creates dramatic reveals
- Circle: Functions well in clearings with a single prominent tree as subject
- Helix: Excellent for showcasing individual specimen trees
QuickShots to Avoid
- Dronie: The backward flight path frequently triggers obstacle warnings
- Boomerang: Unpredictable arc intersects with branches
- Asteroid: Requires clear airspace that forests rarely provide
Hyperlapse in Forest Settings
The Waypoint Hyperlapse mode excels at capturing light changes through forest canopies. Set waypoints at the start and end of your desired path, then let the aircraft execute the movement over 30-60 minutes during golden hour.
Key settings for forest Hyperlapse:
- 2-second intervals for smooth motion
- JPEG+RAW capture for maximum flexibility
- Manual exposure to prevent flickering from passing clouds
- Gimbal pitch locked to prevent hunting
The Accessory That Changed Everything
After struggling with exposure control during my first month of urban forest work, I invested in the PolarPro VND 2-5 Stop filter set designed specifically for the Mavic 3 Pro.
The variable neutral density filter solved the constant battle between maintaining proper shutter speed and managing the extreme brightness variations in forest environments. Moving from deep shade to a sunlit clearing no longer required landing to swap fixed ND filters.
The filter attaches magnetically and adds negligible weight. More importantly, it maintains the optical quality that the Hasselblad lens deserves—cheap filters create color casts and softness that defeat the purpose of the premium camera system.
D-Log Color Grading Workflow
Shooting D-Log captures flat, desaturated footage that looks terrible straight from the card. This is intentional—the profile preserves maximum dynamic range for post-production manipulation.
Basic D-Log Processing Steps
- Apply a LUT (Look-Up Table) designed for D-Log M
- Adjust exposure to taste
- Fine-tune shadows and highlights separately
- Add saturation gradually (forest greens oversaturate quickly)
- Apply subtle sharpening as final step
The 12.8 stops of dynamic range mean you can recover shadow detail in those dark forest floor shots while maintaining highlight detail in bright sky patches visible through the canopy.
Common Mistakes to Avoid
Flying too fast through gaps: The temptation to capture dramatic through-the-trees shots leads to crashes. Slow, deliberate movements look more professional anyway.
Ignoring wind at canopy level: Ground-level calm means nothing. Trees sway because wind exists at their height. Check forecasts for winds at 30-50 meter altitudes.
Forgetting spare batteries: Cold forest shade drains batteries 15-20% faster than warm, sunny conditions. Carry at least three fully charged batteries.
Neglecting propeller inspection: Forest debris, spider webs, and small insects accumulate on props. Inspect before every flight.
Over-relying on automated modes: QuickShots and ActiveTrack serve as tools, not replacements for skilled manual flying. The best forest footage comes from practiced stick control.
Frequently Asked Questions
Can the Mavic 3 Pro fly safely under dense tree canopy?
The aircraft can physically navigate tight spaces, but safety depends entirely on pilot skill. Disable obstacle avoidance, fly in Cine mode for dampened controls, and maintain visual line of sight. Never fly where you can't safely land if problems occur.
What's the best time of day for urban forest filming?
The two hours after sunrise and two hours before sunset provide the most dramatic lighting. Midday creates harsh shadows and blown highlights that even D-Log struggles to manage. Overcast days offer even, workable light throughout.
How do I prevent the gimbal from hunting in low light?
Switch to manual focus and set focus distance based on your typical shooting range. The autofocus system hunts when contrast is low, creating unusable footage. Manual focus at 10-15 meters covers most forest work.
Urban forest cinematography rewards patience and preparation. The Mavic 3 Pro provides the technical capabilities—your job is developing the skills to deploy them effectively.
Ready for your own Mavic 3 Pro? Contact our team for expert consultation.